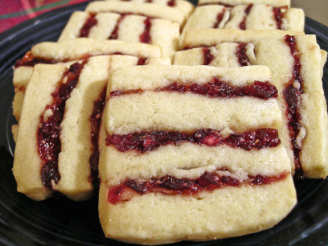
Ribbon Cookies

"This recipe has been a Christmas tradition in my house for as long as I can remember. I'm not sure where it originally came from, I can only remember a tattered old page torn out of a magazine or cookbook that we would fish out of our recipe drawer every year when we got ready to make them. These are tri-color cookies with a fantastic buttery flavor. I've seen other variations using cherries and melted chocolate, but this is the version I grew up with, so I use this one. I don't have the original directions anymore, since I never write them down whenever I recopy the recipe, because I've made them so many times. But if you've made cookies a few times before, you know the order that everything should be mixed. The directions say to chill them in the fridge over night, but I usually just put them in the freezer for an hour or so, til they're firm enough to slice....because I don't like to wait."
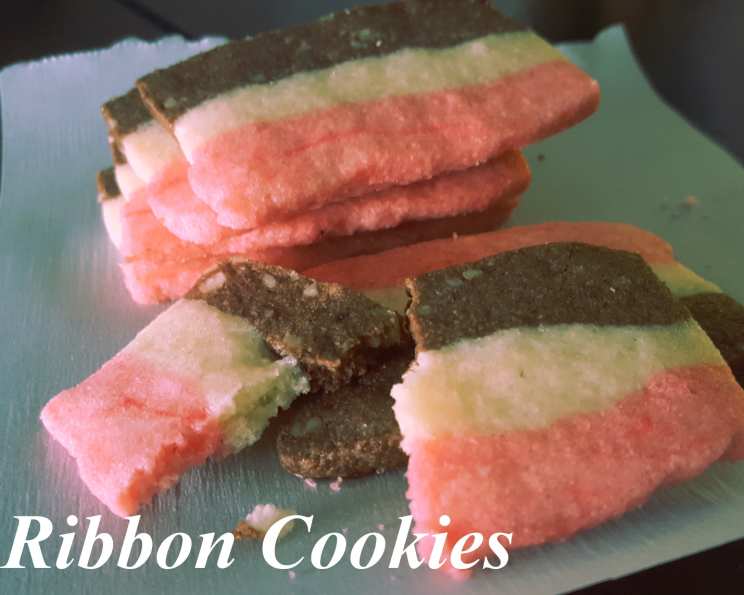
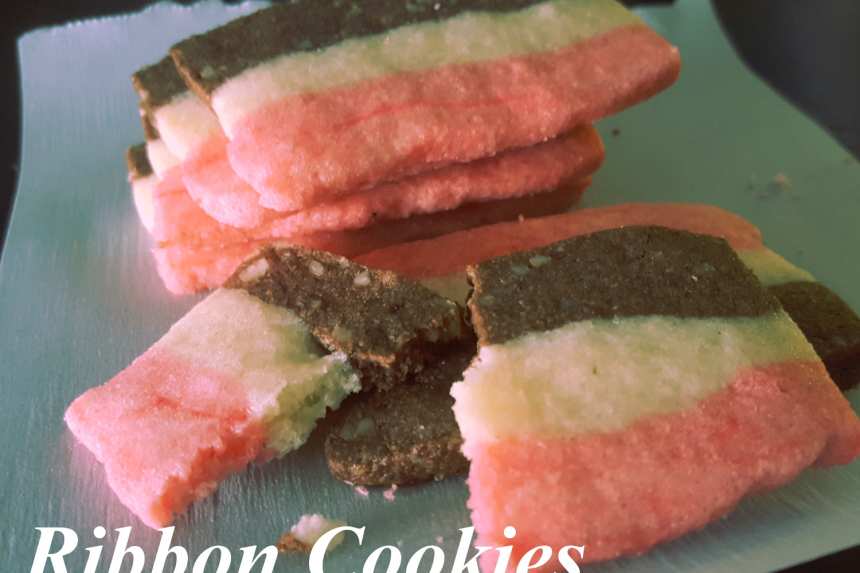
photo by Emily T.


- Ready In:
- 30mins
- Ingredients:
- 10
- Yields:
-
48 cookies
- Serves:
- 48
ingredients
directions
- Cream butter until light and fluffy. Add sugar gradually. Add egg and vanilla, mixing well after each addition.
- In another bowl, mix together the flour, salt, and baking powder. Slowly add to the butter mixture, making sure all ingredients are incorporated.
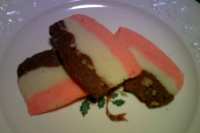
- Divide dough into three equal parts. Add a few drops of red food coloring to one third, mixing until the color is even. Add cocoa and pecans to one third, mixing well. Leave the other third plain.
- Line a loaf pan with wax paper or foil. Press the chocolate layer into the bottom of the pan, pressing firmly to make the dough as flat and even as possible on top. Add the plain dough to the pan, again making an even layer on top of the chocolate. On top of the plain dough, add the red, pressing down flat on top. Wrap the dough completely, leave it in the loaf pan, and chill over night, or until firm enough to slice.
- Preheat oven to 325 degrees. Remove dough from loaf pan and place on cutting board. Cut the dough lenghth-wise, down the middle, so you have two long "bars" of dough. Put one bar back in the refrigerator, to keep chilled while you work with the other.
- Slice into about 1/8" slices, or thicker if you like them a little softer. The thinner they are sliced, the crispier they will be.
- Bake for about 10 minutes at 325 degrees. Take them out when the bottoms are just browned. Try not to overbake, or they will lose their pretty color.
- Cool on wire rack.
Questions & Replies

Got a question?
Share it with the community!
Reviews
-
 I have made these many times. Easier to make layers, one pink layer cherry with amaretto, one green mint and one chocolate. Take each dough and place on individual sheet wax paper. Put another piece wax paper on top and use rolling hands or hands to past dough into rectangle. Chill all layers. When stig you can take off wax paper and layer cookie. Less gooey and easy to have cookie look more uniform.
 -
 These were my favorite growing up, though I never got the recipe from my mother. Thank you so much for posting this. I made this recipe last year and they were exactly as I remembered them! Yummy! Can't wait to make them this year!
Tweaks
-
 A similar recipe appeared in a magazine long ago. The layers were chocolate (without nuts), a green-tinted layer with pecans (1/4 cup) and a pink-tinted layer with bits of candied cherries (1/4 cup). The pink and green make it more Christmas-y, and the layers each have a different flavor. This year I plan to put the chocolate in the middle.
RECIPE SUBMITTED BY

NicolaWinston
Fort Myers, Florida