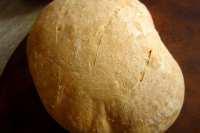
Sourdough Ciabatta

"As you'll note, there is a wide range in the amount of flour needed. The essence of ciabatta is it's coarse texture with large interior holes; this is possible with the right proportion of flour and liquid. A dough with too much flour will have a fine texture; a slack dough, one with too much liquid, will spread out on the baking sheet, rather than rising up. Experience, and maybe a few failures, will teach you just what the dough of a perfect ciabatta should feel like. Found this recipe on King Arthur's website."
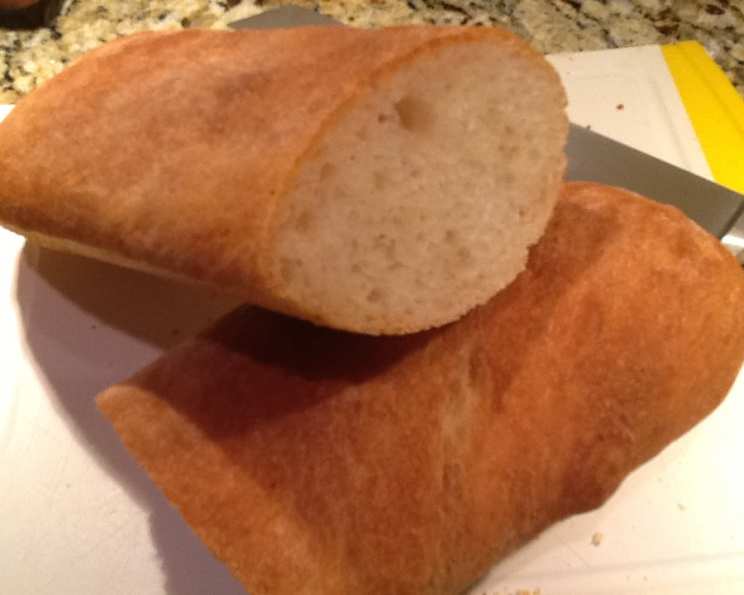
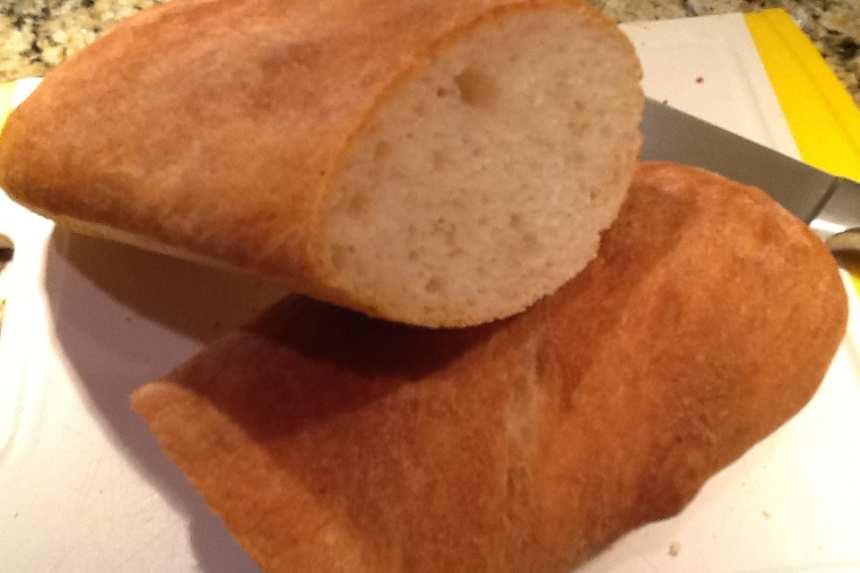
photo by Galley Wench


- Ready In:
- 2hrs 20mins
- Ingredients:
- 7
- Yields:
-
3 loaves
ingredients
- 2 teaspoons instant yeast
- 1 cup sourdough starter
- 1 1⁄4 cups water
- 3⁄4 cup milk
- 1 tablespoon olive oil
- 1 tablespoon salt
- 6 -8 cups unbleached all-purpose flour
directions
- In a large bowl mix together the water, milk, olive oil, and starter.
- Mix the yeast and salt into the flour.
- Stir 6 cups of flour into the liquid mixture, a cup at a time, until you have a dough the consistency of drop-cookie batter.
- Turn the dough out onto a lightly floured work surface and knead, adding more flour as necessary, until the dough is smooth and satiny.
- The dough should be on the slack side, but not oozy; it needs to be able to hold its shape in the oven.
- Place the dough in an oiled bowl and cover with plastic wrap or a damp towel.
- Place the bowl in a warm spot and let the dough rise, undisturbed, about 1 1/2 to 2 hours, or until doubled in size.
- Punch the dough down and turn it onto a lightly floured work surface. Knead the dough gently and divide it into three pieces.
- Form the loaves into torpedo shapes, and place the loaves on parchment-lined baking sheets.
- With a serrated knife or lamé, make three slashes in the tops of the loaves, each 1/2-inch deep.
- Cover with a damp towel.
- Let the loaves rise until they look puffy.
- This should take approximately 30 minutes. While the loaves are rising, preheat the oven to 425°F.
- Brush or spray the loaves with water; a plant mister is good for this job.
- Bake for 10 minutes, spraying the loaves with water two more times.
- Lower the oven to 375°F and bake for an additional 25 minutes, or until golden brown.
Questions & Replies

Got a question?
Share it with the community!
Reviews
-
 GW as usual this is one great recipe. I made a BIG mistake with this one and it still came out just as I'd hoped. I was wanting a sourdough bread to make panninis for DH and myself and this was perfect. Used my SF starter and followed the directions exactly up to the first rise - then got an unexpected invitation to a neighbors for a visit and forgot all about the bread. Needless to say by the time I got home it had not only doubled in size but over-run the bowl and over the side. I figured it was ruined, punched it down and retarded overnight in the fridge. The next morning let it come to room temp, it still rose nicely (during this time I visited the sourdough thread just to report on what had happened with a questionable response to possible viability) I then shaped into round flat bread and allowed to raise again. As another error - forgot to slash, don't know what's been going on with my mind - maybe it's because DH is heading overseas again!! Placed all four rounds into the oven and sprayed as directed. When it came out they were lovely, puffed just right for what I was wanting and a great sourdough flavor. So even with my errors, this still worked awesome. I took pics of the sandwiches to place here but afraid they came out to blurry but the bread is OK. Thanks GW, I love this bread.
 -
 This was a really beautiful bread. Wonderful alongside soup, dipped in Recipe#475401 #475401, and as grilled ham and cheese.
 -
Wonderful bread! Right when I thought life was getting just too easy, I find me another sourdough bread recipe. I'm lucky like that.
-
This was very easy to make and tasted very good. I made half of the recipe and used the KitchenAid to knead the dough. I made one large loaf. The top half was airy and had nice holes in the bread, but the bottom half didn't. It was still very tender and tasty. My loaf may have been too big to get the right texture throughout. I'll keep playing with it because it was really close to perfect.
-
-
absolutely awesome

see 2 more reviews
RECIPE SUBMITTED BY

Galley Wench
Oro Valley, Arizona
"Life is not a journey to the grave with the intention of arriving safely in a pretty and well preserved body, but rather to skid in broadside . . . Chardonnay in one hand . . .chocolate in the other; the body thoroughly used up, totally worn out and screaming "WOO-HOO, what a ride!!"