
How to Make Bone Broth
Make your own nutrient-rich superfood.

Bone broth, that nutrient-rich superfood, is said to boost our immune system, support proper digestion, decrease joint pain and provide many other potential health benefits. It can also provide a very flavorful base for cooking. But how do we make sure it's packed full of all the nutrients, collagen and flavor possible? After all, if we're going to simmer something on our stovetop for hours upon hours, don't we want to get all the benefits we can?
Turns out there are four simple keys to creating the flavorful broth we covet.
1. Consider the health of the source animal. For the healthiest broth, choose bones from the healthiest animals. Makes sense, right? Look for bones from grass-fed, pastured animals. Ideally, choose bones from younger animals.
2. Get the bone to water ratio right. Too much water dilutes both the flavor and the texture of the broth. When filling the pot, only add water to just barely cover the bones.
3. Add acid. Adding vinegar, an acid, to the water and allowing the bones to soak for a bit before cooking draws out minerals from the bones.
4. Finally, give it time. Simmer those bones low and slow for a long time to extract maximum nutrients.
Now that you know the basics, whip out your stock pot, grab a few pounds of quality bones and follow these steps to simmer up the perfect batch of bone broth.
1 Select Bones

Bone broth is most commonly made with beef bones, but can also be made with chicken, turkey, fish or lamb bones.
Select about 4 pounds of bones from your local butcher or farmers' market. Or, look for bones in the freezer section of your grocery store — you will probably see them labeled as "soup bones." For increased collagen in your finished broth, try including a couple of chicken feet.
2 Roast Bones

If using raw bones, first roast the bones to caramelize them and improve the broth's flavor.
Rinse and clean the bones under running water to remove any loose bits. Pat dry with paper towels. Place bones in a roasting pan and bake at 400 degrees F for one hour.
Drain any fat that accumulates in the pan.
3 Place Bones & Water in a Stock Pot

Place roasted bones in a large stock pot. I use my largest pot, which holds about 5 gallons. Pour water in the pot to just barely cover the bones. Too much water will dilute the broth's flavor — if the bones float, you've got too much!
4 Add Vinegar
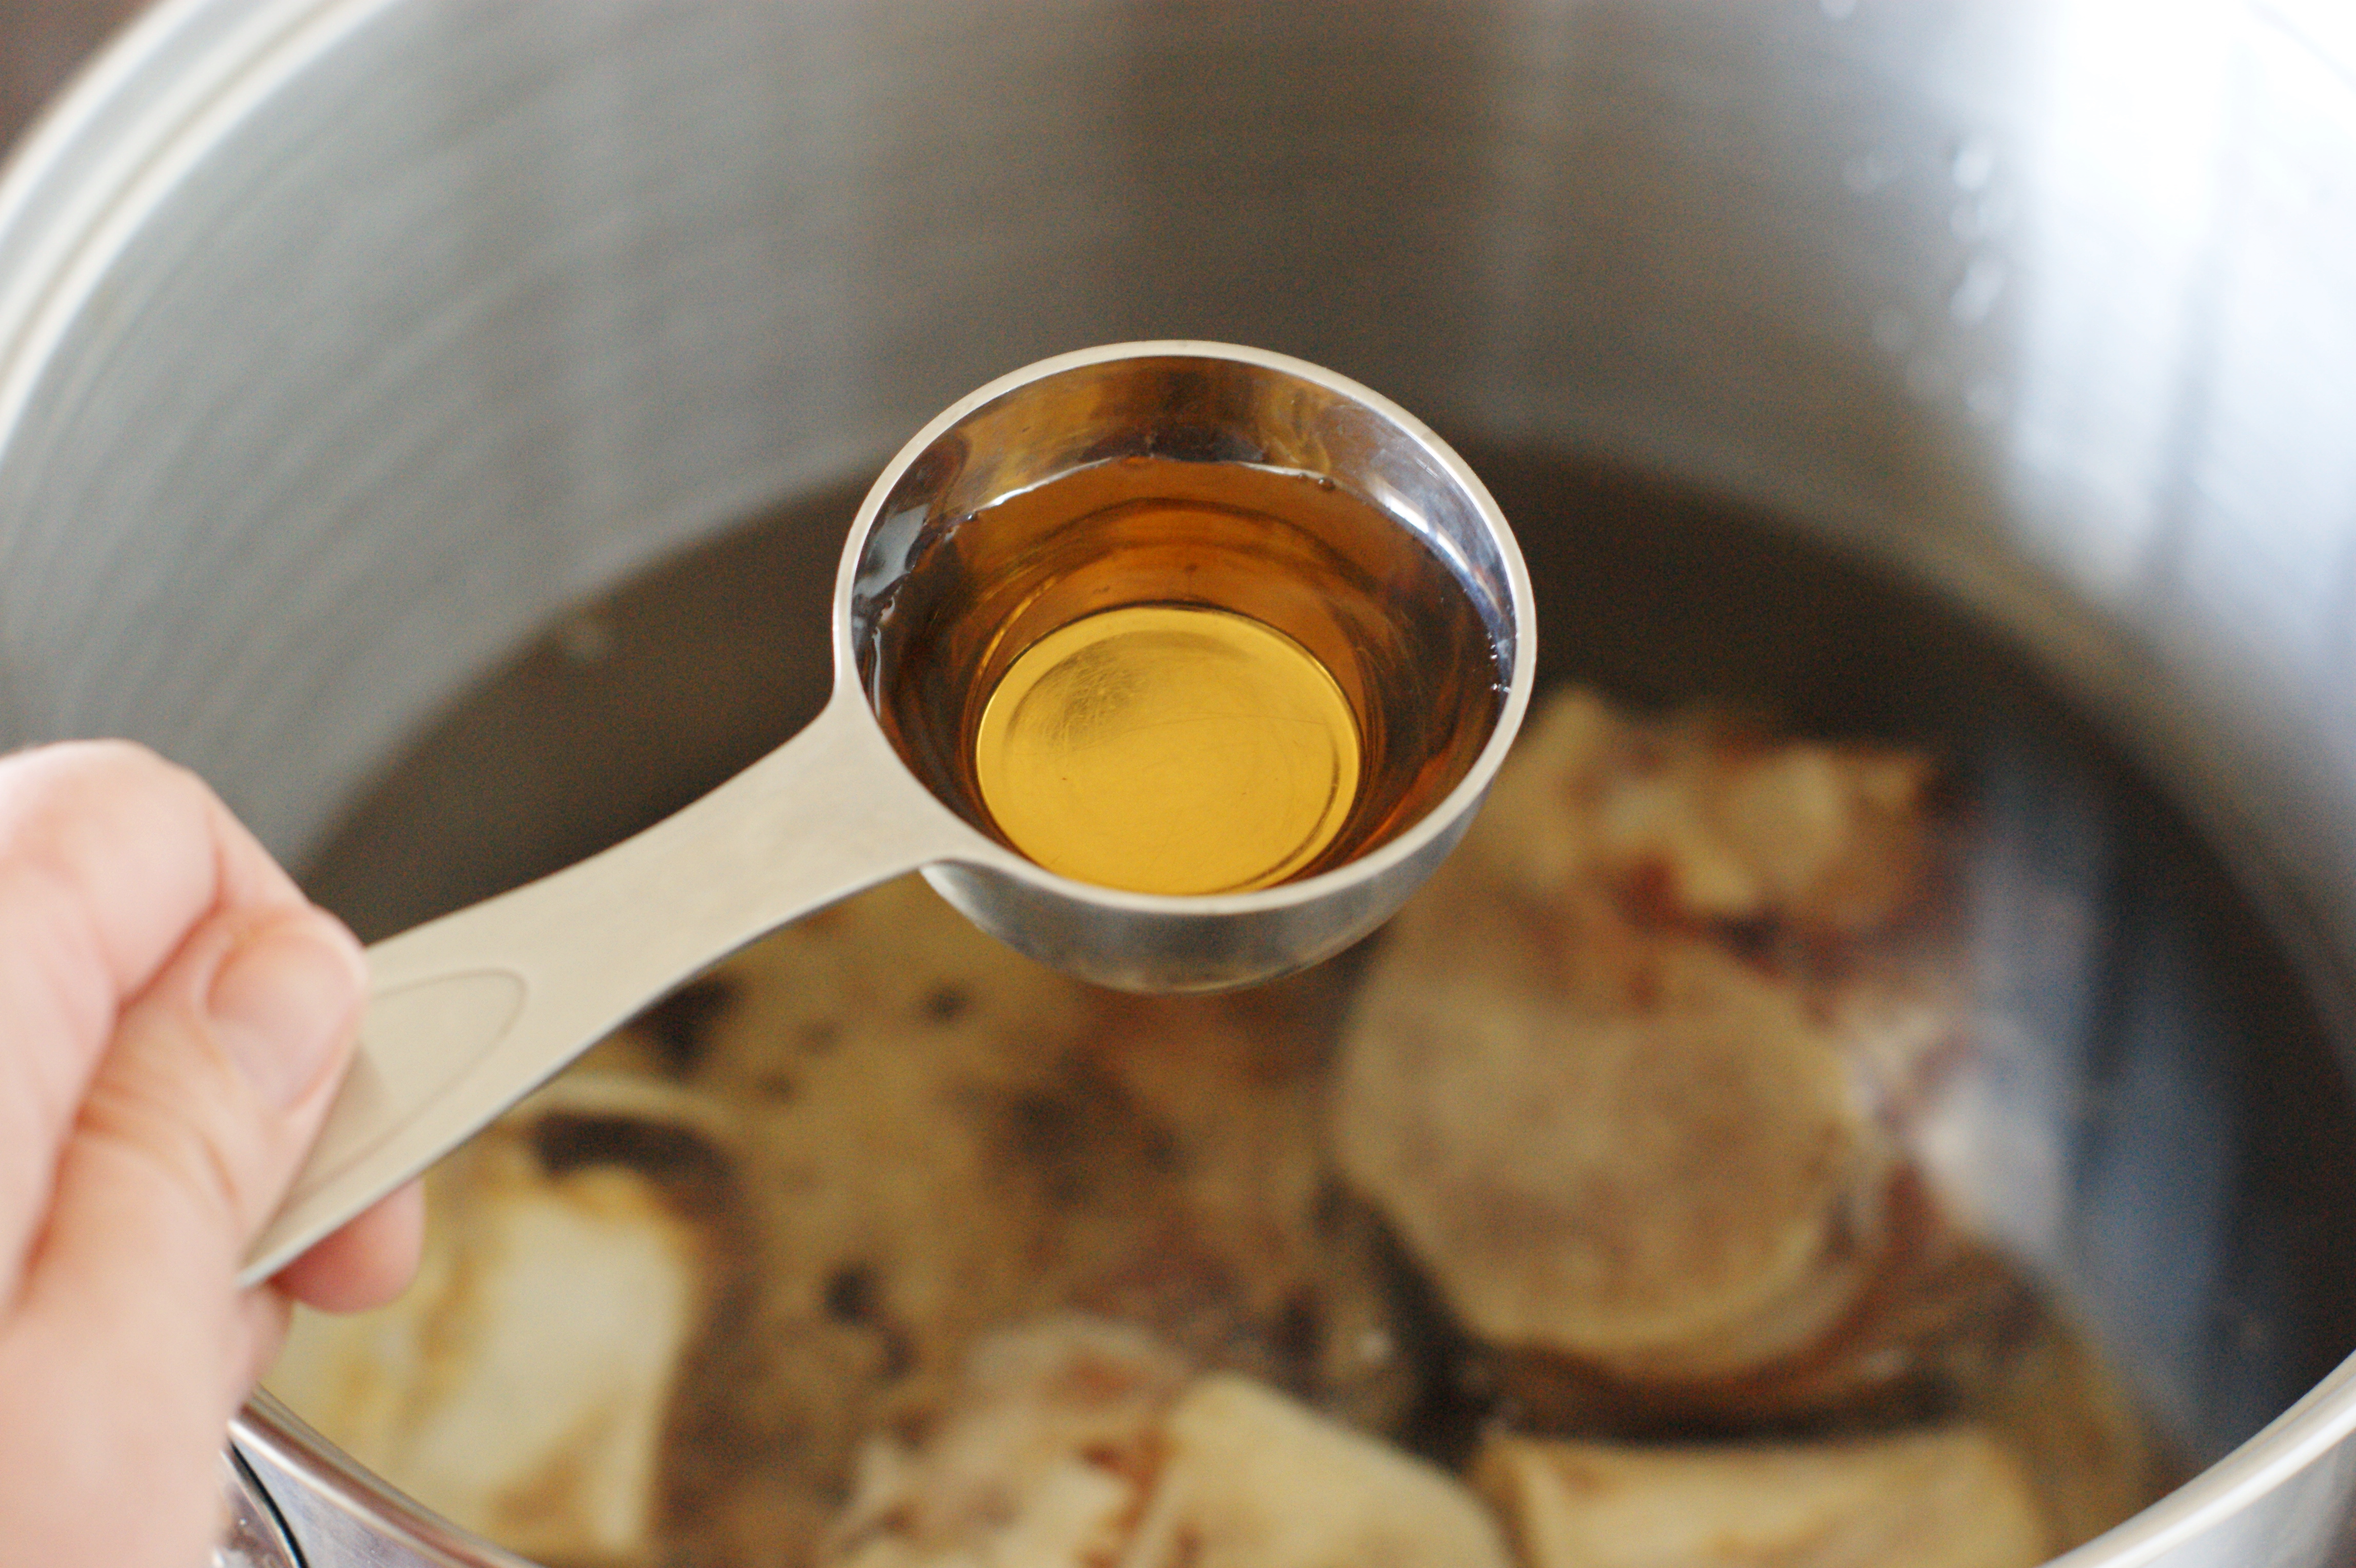
Add 1/4 cup apple cider vinegar to the pot and let sit at room temperature for 30 minutes to draw out minerals (and other good stuff) from the bones.
5 Boil & Simmer

Bring the pot to a boil. Once the pot reaches a boil, skim any accumulated foam from the top and discard it.
Reduce heat to low, cover and simmer gently for 24 to 48 hours. Periodically skim foam as the broth simmers, if needed.
6 Add Aromatics

Adding spices and vegetables, referred to as aromatics, provides balanced flavor to the broth. Simmering aromatics, however, for the entire time the bones simmer can impart bitterness as the aromatics break down too much. Adding them to the pot part-way through cooking solves this potential problem.
When 6 to 8 hours remain in the broth's cooking time, add these aromatics to the pot:
3 celery stalks, halved
3 carrots, peeled and cut into large chunks
3 onions, peeled
2 teaspoons sea salt
1 teaspoon whole peppercorns
Once the broth is finished simmering, taste it and season with additional sea salt and pepper if desired.
7 Cool & Strain

Cool at room temperature until the broth can be handled. Use tongs to remove large bones from the pot and strain remaining broth through a fine-mesh sieve. Discard bones and other solids.
Refrigerate until completely cooled. Remove the fat layer that forms on the top.
8 Store & Enjoy

Spoon broth into sealable containers. Store in the refrigerator for 5 to 7 days, or freeze for up to 6 months.
Know that the broth will thicken and become gel-like as it cools due to the gelatin and collagen released from the bones. It will become liquid again once reheated.