Bunny's Pierogies

"My entire family loves pierogis....a rare thing indeed! This is a recipe I found in our local newspaper. Sometimes I lower the fat by replacing the sour cream with yogurt. Prep time includes cooking the pierogies, since that is active. The passive time is to potatoes cooking and the dough resting. If you've never made pierogis, this could take you quite some time. When I first started making them, I would double or triple the batch and spend on taking most of the day making them and freezing for later. Now, I can make a single batch in about an hour. A few tips for newbies....put some extra flour in my dough. Add a little milk to the potato filling to make it a little softer; roll out the dough a little thicker so you have more to work with when you stretch and fold; don't overfill the pierogis."
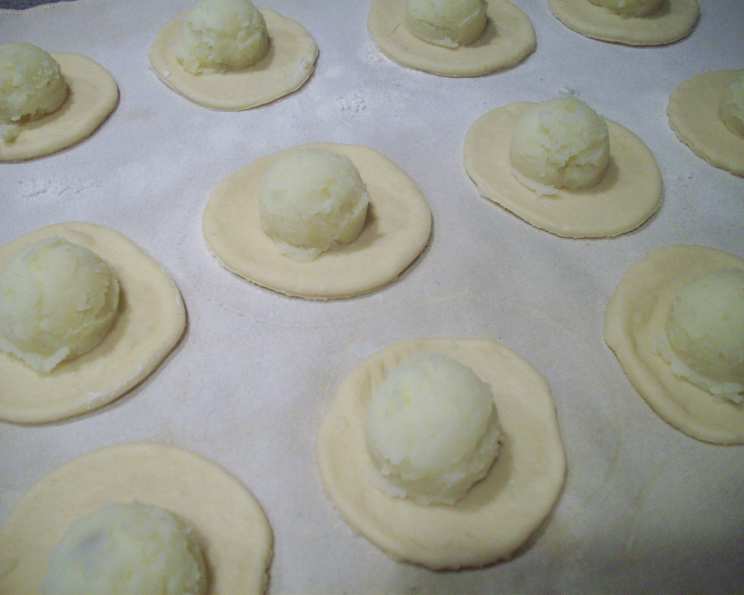
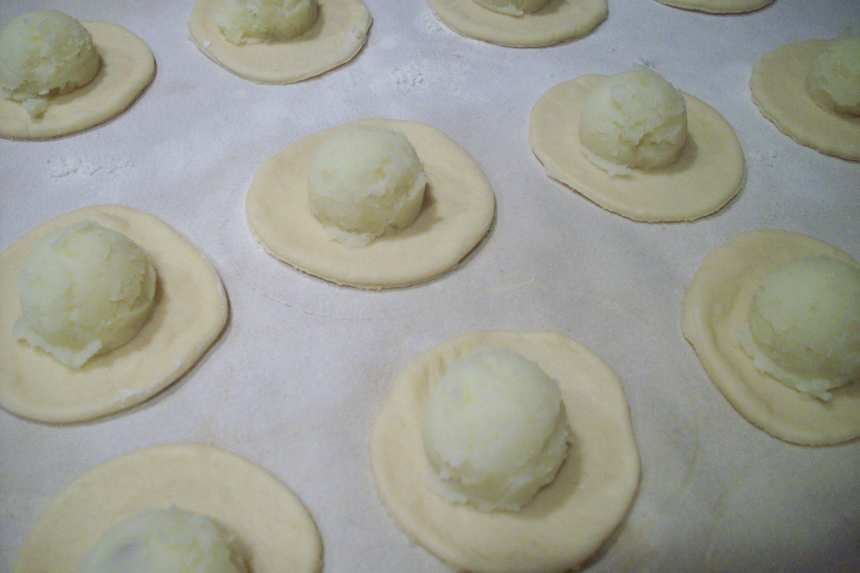
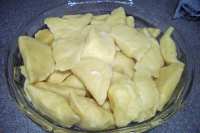
photo by MsBindy


- Ready In:
- 1hr 30mins
- Ingredients:
- 6
- Yields:
-
36 pierogis
- Serves:
- 6
ingredients
directions
- Peel and boil potatoes until soft.
- Saute diced onion in butter until soft.
- Add onions with butter to potatoes and mash. Salt and pepper to taste. Cool. If you are new to pierogi-making, add a little milk to the potatoes to make them softer. This will make it easier later when you are folding the pierogis.
- For the dough, mix the ingredients together.
- Let dough rest for about 1/2 hour.
- Roll out half the dough on a floured surface. I usually flour my surface liberally. The dough will be very sticky, but I like to work with it that way. I just use a lot of flour when I roll out the dough. If the stickiness bothers you, just add more flour to the dough. I usually roll about about 1/2 the dough about 1/4-1/2 inch thick. Roll thicker if you are less experienced so that you won't be breaking the dough when you handle later. I completely assemble this batch. Then I roll the other half and do likewise. Finally, I take the dough bits left over from the 2 batches and roll them together for a third batch.
- Use a 3-inch round cookie cutter to cut dough.
- Put about 1 Tbsp potato filling in center of cut out circle. I use a cookie dropper. Don't overfill. I've posted a picture of what my prep looks like at this stage.
- Fold dough over and pinch edges to seal. This is the hard part! I pick up my little circles with filling, push the filling down a little and fold the dough edges over the filling and press together. Soft filling, not overfilled, and slightly thicker dough will make this process a little easier if you are new to the process. Once you get the hang to handling the dough, it will go quicker.
- At this point, you can freeze the pierogis and cook later.
- Or, drop the pierogis into boiling salted water and cook for about 3 minutes. You will know that they are done when they float to the surface of your boiling water. (If you are cooking the frozen pierogis, drop the frozen pierogis directly into the boiling water and cook for about 10 minutes. No need to thaw -- they will just get sticky if you try.).
- Serving suggestions: You can serve with a sauted onions and butter; or with sour cream; or with applesauce.
Questions & Replies

Got a question?
Share it with the community!
Reviews
-
 It took a lot of time and work to make these, but they turned out to taste really good.
 -
 This was fun for me because I have been meaning to learn how to make pirogies for years now. I grew up in an area of the States where they are eaten often but I have lived in UK, where they are more or less never eaten, for nearly 12 years now and so you can't buy them here when I have a craving. You are right about the dough being sticky. I had to flour and re-flour the surface often to keep it workable but it did work. Also, having never made them before I didn't know how thickly I should be rolling out the dough but once I figured it out it went fine. I froze most of these to be an easy fix for future cravings but the ones I tried tasted great. Some of them I sort of 'fried off' in a bit of butter after the boiling just to get the crispy variety that I ate a lot as a kid (too often). Thanks for teaching me something new today. Made for ZWT4.
 -
 These were very filling, and the flavor was very unique. The preparation was very difficult, however, and I spent over 6 hours in the kitchen making them. I'd say it was worth it, but next time I'll make sure I'm prepared for a day in the kitchen. :)
RECIPE SUBMITTED BY

<embed src="http://walkertracker.com/badge/v1/flashbadge.swf?id=Ms*Bindy&date=20070316" width="140" height="200" type="application/x-shockwave-flash" /></embed>
<a href="http://walkertracker.com/walker.php?Ms*Bindy&i=1eb0d8f2e3b" title="A walking community for pedometer geeks">View Ms*Bindy's Step Blog at Walker Tracker</a>


