Cheesecake Boo-Raj

"My beloved 8-year-old nephew nicknamed himself "Boo-Raj" (rhymes with garage) and this is his favorite dessert. I cannot show up at his home without this cheesecake, and I live in another state (so I bring my giant cheesecake pan with me). We have a big family, so I need to make a big cake when we are together. I have to go to Costco to buy a 3lb brick of cream cheese, because this is one big Boo-Raj cheesecake! NOTE: I also have used the "bain marie" method of baking this - where you put the cheesecake pan in a deep roasting pan and fill the outer pan half way up the side of the cheesecake pan with hot water, after you put it in the oven -- it bakes a little nicer this way, but is not critical. If I use this method, I always encase the bottom of the cheesecake pan with foil, letting it come up over the edges to keep the water from seeping into the bottom of the springform pan. Passive work time listed reflects the entire cooling and chilling process, and you really can't speed it up - I start it before breakfast so it's ready for dinner."
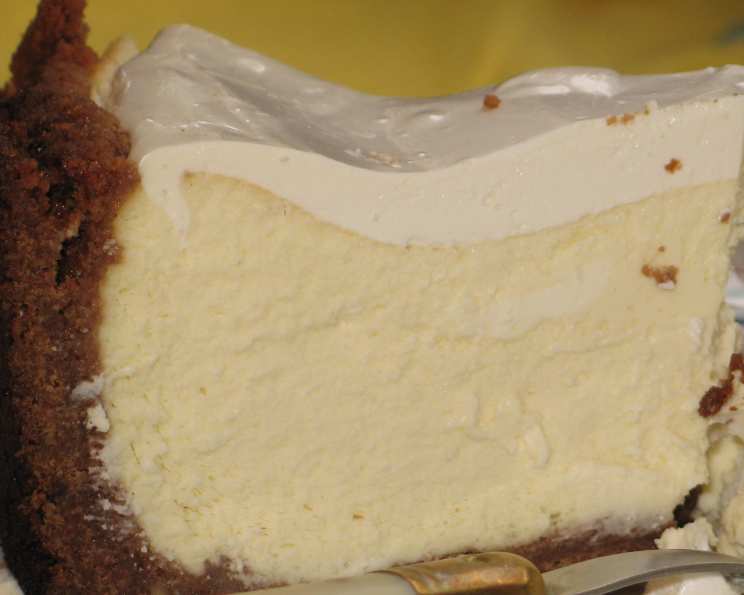
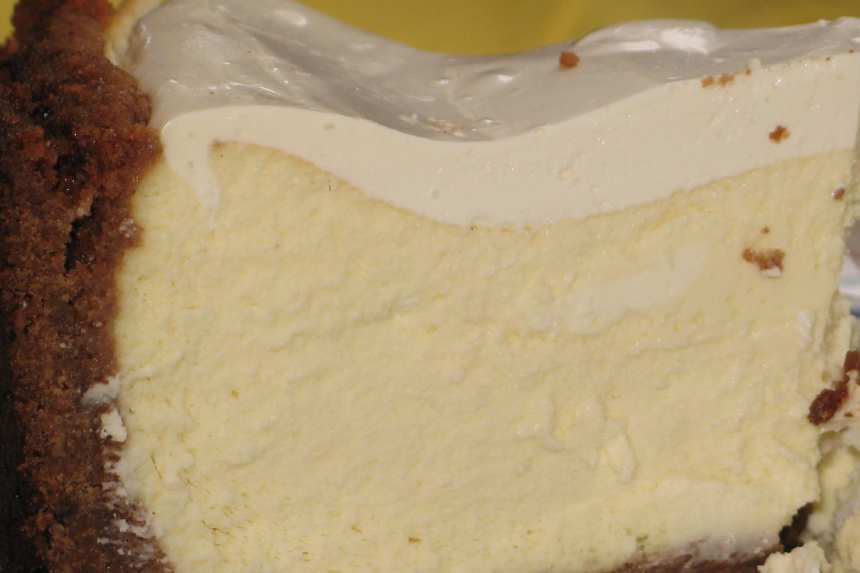
photo by justcallmejulie

- Ready In:
- 6hrs 30mins
- Ingredients:
- 13
- Serves:
-
15
ingredients
-
Crust
- 4 cups graham crackers, ground into crumbs (2 celophane packages)
- 1 cup pecans, chopped finely (feel free to omit these or replace with some other kind of nut, macadamea, almond, etc)
- 2⁄3 cup brown sugar
- 2 teaspoons cinnamon (you can skip if you want a more "pure, basic" cheesecake)
- 1 cup butter, melted
-
Filling
- 3 lbs softened cream cheese
- 1 cup sugar
- 4 teaspoons fresh lemon juice
- 2 teaspoons pure vanilla extract
- 6 eggs
-
Topping
- 16 ounces sour cream
- 2 tablespoons sugar
- 1 tablespoon vanilla extract
directions
- Use a 12" spring form pan- I've used a 10" pan, but had a little filling left over.
- Preheat oven to 350.
- Combine graham crackers, butter, brown sugar, and pecans until nice and crumbly (I use a food processor).
- Press into the springform pan, use a metal measuring cup to flatten bottom and build up the sides of the crust as close to the top edge of the pan as possible.
- In Kitchenaid or other stand mixer, whip soft cream cheese (must be soft and smooth or you will have ghastly chunks in the finished product), sugar, lemon juice and vanilla.
- Beat in eggs one at a time until well blended.
- Place cheesecake pan on top of a rimmed baking sheet to keep melted butter from running into your oven.
- Pour filling into crust (If there is a little filling left over, just pour it into another cake pan and bake a small cake"for sampling").
- Bake until the cheesecake has just begun to crack and is not jiggly, about 70 minutes- check at 45-50 minutes and keep an eye on it.
- Remove from oven and allow to cool several minutes.
- Keep oven heat at 350.
- Combine topping ingredients and pour over warm cake, tilt to cover to edges.
- Return to oven for 20 minutes.
- Remove from oven and cool to room temperature.
- Chill in refrigerator 4 to 5 hours.
- Serve.
Questions & Replies

Got a question?
Share it with the community!
Reviews
-
 This is a great cheesecake I have made it four times and have always gotten great commment the only thing is you must wacth your time the last cake I left in the over about 10 minture to long it was still good but was getting dry. Thank You Lee
 -
 This makes a lot of filling (as the description says) so I used my 10-inch springform pan and also made four little cheescakes in ramekins. We enjoyed the mini cheesecakes more than the big cake so next time I'll use this recipe to make lots of mini cheesecakes in various shapes and top the cheesecakes with strawberries. Thanks for sharing!
RECIPE SUBMITTED BY

Jellyqueen
Repton, 39
<p>Well, in trying to make a few corrections on my about me page, I managed to delete all the banners I have had in the past. So bear with me as I try to rebuild this mistake <img src=http://i424.photobucket.com/albums/pp330/LadyBlueNose/Contest%20Banners%20-%20Feb%202010/05-1-1-1-1.jpg border=0 alt= />.<img src=http://i424.photobucket.com/albums/pp330/LadyBlueNose/Contest%20Banners%20-%20Feb%202010/beans3Participant-1.jpg alt= width=300 height=200 /><a href=http://i424.photobucket.com/albums/pp330/LadyBlueNose/Contest%20Banners%20-%20Feb%202010/beans3Participant-1.jpg><img src=http://i250.photobucket.com/albums/gg271/MrsTeny/Permanent%20Collection/Sharon123CookathonParticipationSticker.jpg alt= width=406 height=111 /></a><a href=http://smg.photobucket.com/albums/v51/tiggrr34/?action=view?t=HolidayOrnamentSwapTag2c-1-1-1.jpg target=_blank><img src=http://img.photobucket.com/albums/v51/tiggrr34/HolidayOrnamentSwapTag2c-1-1-1.jpg border=0 alt=Photobucket /> <br /><img src=http://i16.photobucket.com/albums/b2/kiwidutch/my3chefs2009final-1.jpg alt= /> <br /><img src=http://i270.photobucket.com/albums/jj81/HokiesLady65/Recipezaar%20Album/iplaytagin.jpg alt= /><img src=http://i10.photobucket.com/albums/a132/tgifford/Game%20Room%20Banners/AM%20Banners/ZaarStar-AMBanner.jpg border=0 alt=Photobucket /> <br /><br /><img src=http://i80.photobucket.com/albums/j166/ZaarNicksMom/Animation6.gif alt= /><img src=http://i80.photobucket.com/albums/j166/ZaarNicksMom/PACsticker-Adopted.jpg alt= /> <br /><img src=http://www.satsleuth.com/cooking/Swap14.JPG alt= /> <br /><img src=http://i6.photobucket.com/albums/y227/vjuhl/MEPcookathon.jpg alt= /> <br /><img src=http://i2.photobucket.com/albums/y22/dcmac/dpg11.gif alt= /></a></p>
<p> </p>


