Dark Chocolate Cookie Box

"An edible take on a classic Valentine's staple."
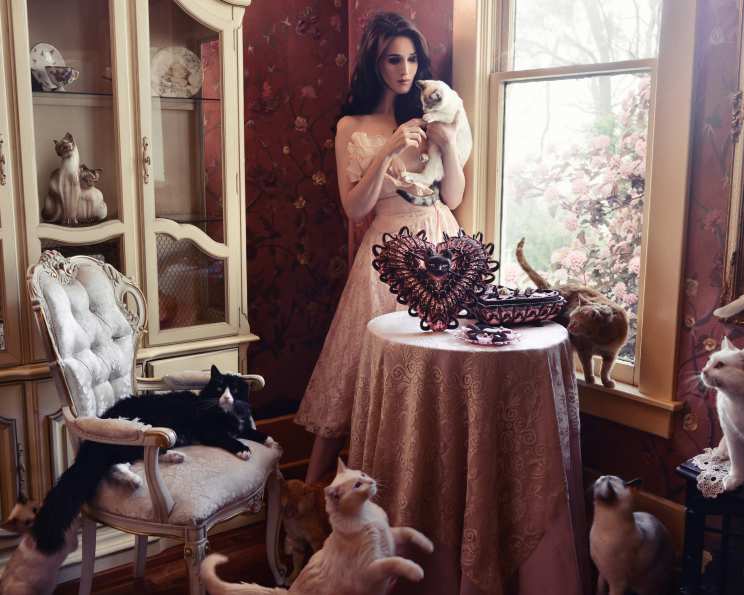

photo by ChristineMcConnell


- Ready In:
- 1hr
- Ingredients:
- 12
- Yields:
-
1 15- x 15-inch 3D Cookie Box
ingredients
- 1 1⁄2 cups unsalted butter
- 1 1⁄2 cups brown sugar, packed
- 1 1⁄2 cups dark Hershey's syrup
- 2 teaspoons salt
- 5 tablespoons extra dark cocoa
- 2 large eggs
- 7 cups all-purpose flour
-
FINAL TOUCHES
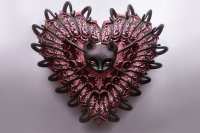
- frost with Royal Icing for frosting
- decorate with Isomalt Jewels for candy
- fill with Caramel Pecan Bonbons for chocolate
- fill with Almond Coconut Rum Clusters for chocolate
- fill with Dark Chocolate & Bourbon Bonbons for chocolate
directions
-
ADDITIONAL TOOLS:
- Parchment paper.
- Heavy duty aluminum foil.
- large cookie sheets.
- Dremel Tool, with various attachments.
- In a stand mixer beat butter and sugar until creamy, add Dark Chocolate syrup and eggs. In another bowl, mix all dry ingredients. Once done slowly mix into wet ingredients and stir until dough ball forms. Wrap softball sized portions in foil and chill until ready to use.
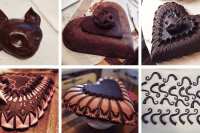
- Bunch wads of crumpled aluminum foil until you have a basic heart shape. Begin layering and smoothing the aluminum until you have a perfect homemade mold. This took me a little over an hour to do, but I was so happy and proud when I was done. I'm generally not crazy about using molds or stencils unless I've made them myself. It's more challenging this way, but I feel like you force yourself to learn more about proportions and sculpting and it's, generally, cheaper :D.
- Heat oven to 375 degrees F.
- Once your mold is ready, and your dough is good to go. Oil and flour the exterior of your mold. Roll out a 1/8-inch thick layer of your cookie dough on a floured surface and, using a large rolling pin as a hanger, gently roll your sheet onto the pin, transfer to mold and unroll -- My sheet tore twice while doing this, so know that it's hard and your first attempt may not be a success.
- Bake 15-17 minutes and allow to cool completely before removing from mold. Do this twice so you'll have a top and a bottom for your cookie box.
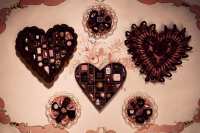
- Coat the interiors with dark chocolate royal icing and allow to dry overnight before continuing to work.
- The next morning I used a Dremel tool to smooth imperfections and create grooves to build royal icing decorations around on the outside of the cookies. I measured my spaces and marked them using an edible pen and a flexible ruler.
- Bake all other shapes afterward -- cat head, flat heart shapes, 1-inch wide strips for the dividers (see images), cat's tail embellishments and paws.
Questions & Replies

Got a question?
Share it with the community!
Reviews
Have any thoughts about this recipe?
Share it with the community!
RECIPE SUBMITTED BY

ChristineMcConnell
United States
Artist, photographer, baker and author of Deceptive Desserts


