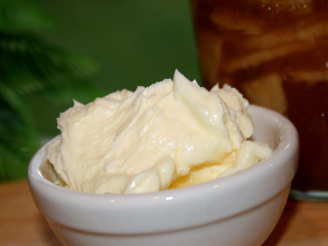
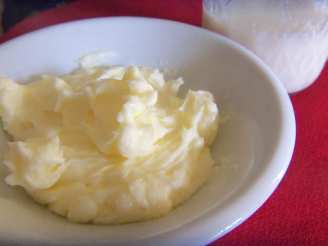
Homemade Butter

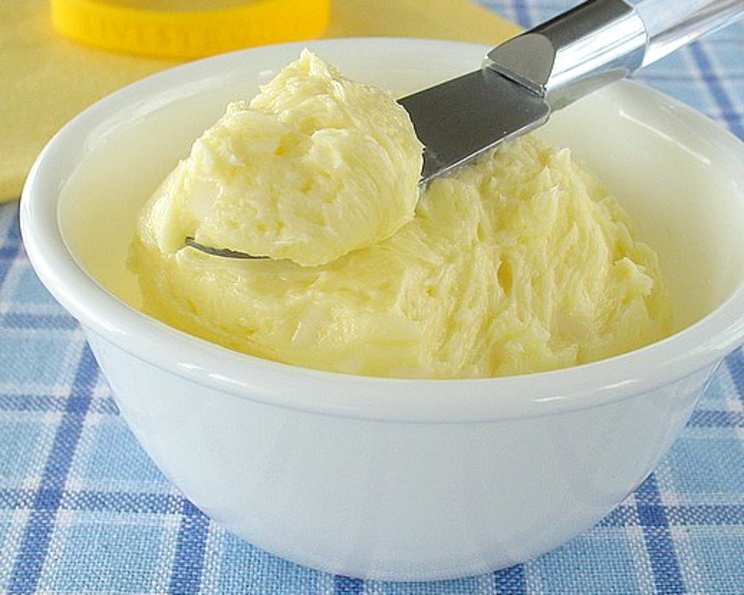
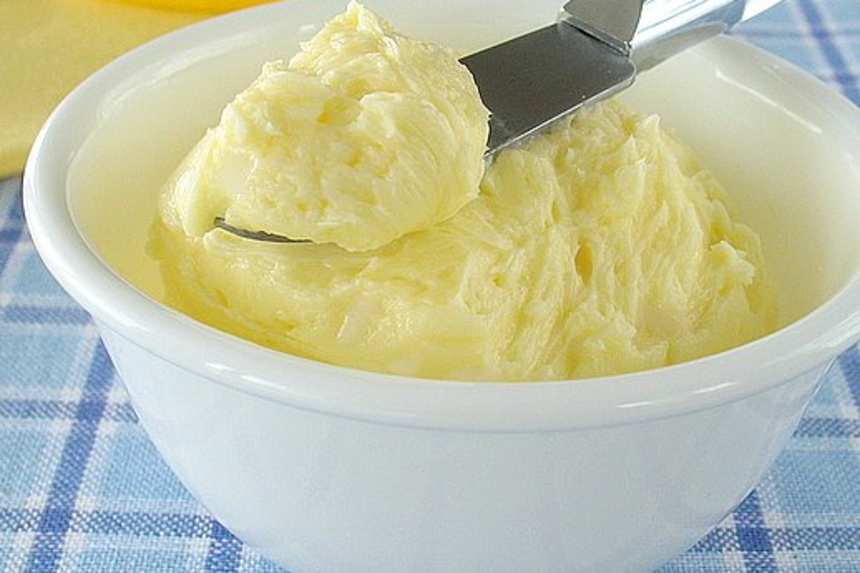
photo by Calee

- Ready In:
- 6hrs 35mins
- Ingredients:
- 1
- Serves:
-
12
ingredients
- 1 cup heavy cream (1/2 pint)
directions
- Place the bowl and blade of a food processor into the freezer to chill for 4 to 5 hours.
- Refit the bowl and blade, turn on the food processor, and pour the cream through the feed tube. Continue to process for about 10 minutes, until the Butter has hardened around the blade, leaving the liquid that has separated from the cream in the bottom of the bowl.
- Transfer the Butter to a fine sieve and shake 2 or 3 times over the sink to allow any excess liquid to drain.
- Put the butter in a bowl, cover, and chill for at least 1 hour before using.
- Store it in the refrigerator, where it has a shelf life of about 1 week.
- While holding the ruler, grab the end of the top layer of wax paper and slowly pull it toward you; this will form the Butter into the shape of a log.
- Roll the paper around the log and chill.
- Serve whole or cut off medallions as needed.
Questions & Replies

Got a question?
Share it with the community!
Reviews
-
 Yay! I am so exicited I finally got this to work! I have made butter before by skimming my own cream off of milk, but have never been able to get this to work. So, when I saw this recipe on this site, I thought I'd give it another shot. I too used my kitchen aid mixer, which if you have one, I would reccommend. Simply because when it turn into butter, it all collects into the wisk an you can lift the top up and let it drip dry for a couple minutes! The only thing I wasn't sure of was speed. What I learned was to use hi speed, but back it down a gear if it's splashing. When you start out it's a liquid. Start on speed 8 or it will spash. Once it takes on the whipping cream form, turn it on max. But stand by, because if your not there when the butter seperates from the liquid, it will go everywhere! So I slowly started backing it down! After I put it in the bowl, I use the back of a spoon and squeeze out any excess milk I can and then I quicKly run cold water over it to wash it clean. just some tips I picked up from a butter making sight! It's perfect and I am so happy to finally have this!! Thank You! 8-)
 -
 5 Stars is a must!!! I make my butter the same way, but I do "wash" and "work" the butter after the separating process. I add salt during the working process. I do a quart of cream at a time and it yields about 50/50 ratio of butter and buttermilk. I let the buttermilk stand at room temperature for about 12 hours then refrigerate. Then the next morning make me some buttermilk biscuits and slather em up with some of that good ol butter. P.S. Save a little buttermilk and add it to the cream the next time and let it sit out for a few hours at room temp to add a little extra flavor to the butter taste much deeper and complex. Then start the process again.
 -
Doesn't get much simpler than this! I ran out of butter and since it's 10 miles to the store I didn't want to go for just butter so I made this up. I did add a little salt, but look forward to making it without for baking too. It's a great recipe to keep on hand everyone!
-
 Fantastic Recipe!! Nice and Easy! Thanks heaps for sharing!
 -
 This is a really easy butter recipe to make. Butter seems to taste better when it's homemade! THANK YOU, 5++ STARS FROM ME
see 2 more reviews