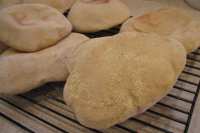
Khubz Arabi (Pita or Flat Bread)

"These are Excellent! This recipe takes some time to accomplish, but the end result is a little magic in the kitchen and so satisfying as a cook! The cooking time is per batch - this makes 24 and you'll probably have to do at least 4 batches in your oven depending on the size (of your oven). At least, much of the prep time is inactive time while waiting for the dough to rise. All in all, they are pretty easy to make (if not on a time schedule)."
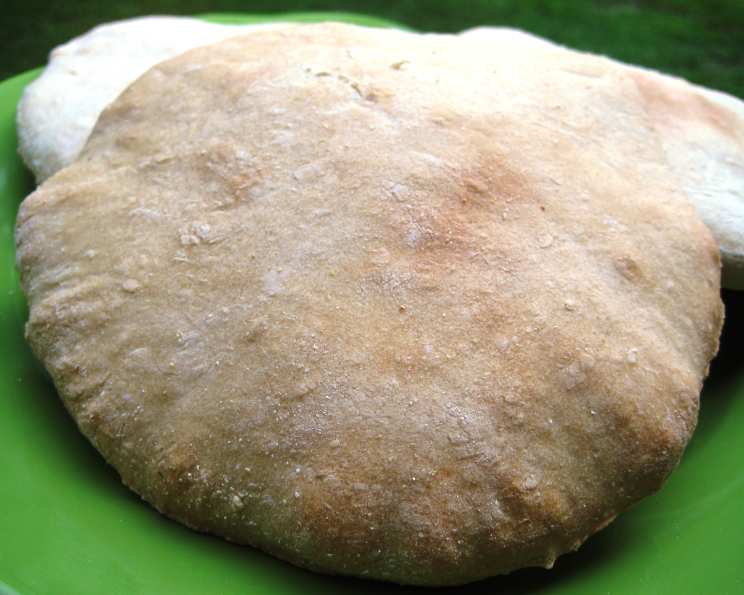
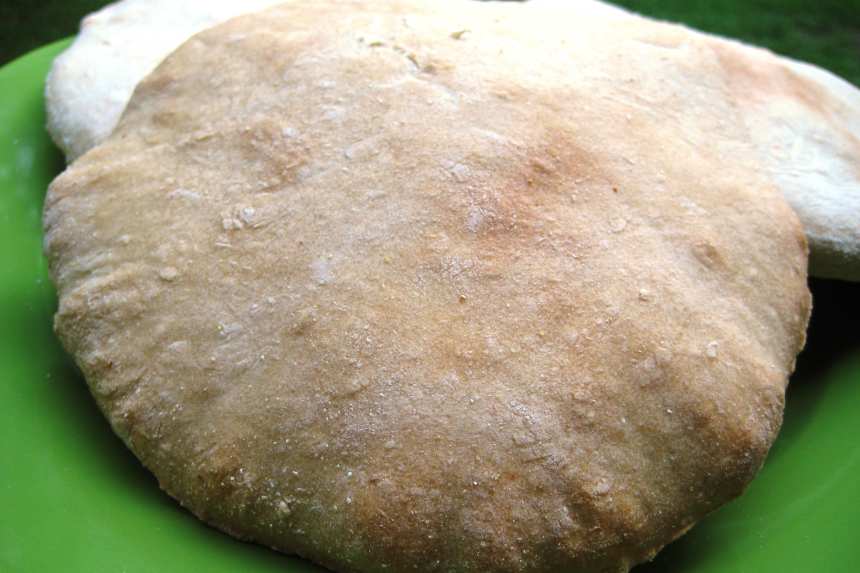
photo by gailanng


- Ready In:
- 2hrs 10mins
- Ingredients:
- 5
- Yields:
-
24 pitas
- Serves:
- 24
ingredients
- 2 1⁄2 cups warm water
- 2 (1/4 ounce) packages active dry yeast
- 1 tablespoon salt
- 6 cups all-purpose flour, sifted
- 2 tablespoons vegetable oil
directions
- In a large bowl, scatter the yeast over the warm water and stir until dissolved.
- Add the salt.
- While kneading constantly, gradually add 6 cups of flour and 2 tablespoons of oil until the dough is smooth and elastic. Continue to add more flour if the dough still sticks to your hands.
- Put the dough into a large, greased bowl and turn dough to grease all sides of it.
- Cover with a dry tea towel and let rise in a warm place until doubled in size, about 1 1/2 hours.
- Preheat oven to 375-degrees F.
- Punch dough down gently.
- Divide the dough into 24 equal portions and shape them each into smooth balls.
- Place on a floured surface and dust tops lightly with flour. Cover with a dry tea towel.
- Let rest undisturbed 15 minutes more.
- Roll out each ball into a 6-inch diameter circle.
- Place on greased baking sheets.
- Bake in 375-degree F oven for 10-12 minutes or until the bread puffs. Do not leave baking unattended.
- YUM!
Questions & Replies

Got a question?
Share it with the community!
Reviews
-
 I cut the recipe in half and made in my Kitchen Aid mixer. The only problem I had with the recipe was that the first two that I baked at (375 F) did not fully puff up. The balance of the recipe I baked at 500 F for 2 minutes on one side, and 1 1/2 minute on the other. They looked like ballons when I took them out of the oven, of course they collapsed as they cooled, but it made a good size pocket on the inside! Thanks for sharing!
 -
 This was not just bread baking, but an adventure! Never had I made pita's before and so wanted to give my hand a try at it. My lessons learned: Patting the dough into circles, instead of rolling is easier and doesn't stick to the counter. Handling the dough too much results in a flatter pita. Pat the rounds thinner than you would think. A higher oven temperature encourages the 'puff daddies' that I so eagerly desired. Better overcooked than undercooked. Mine probably looked and tasted more like an artisan bread, but in time I have every intention of perfecting my technique. Now, I'm off to find something to fill them with. Made for Everyday Is A Holiday.
RECIPE SUBMITTED BY

Gaia22
Brooklyn, New York
I've enjoyed baking and cooking since I was a little girl. I wish I had more time in the kitchen, but I keep a busy pace here in NYC. I became a premium member Jan. 1, 2009 as holiday gift to myself in hopes of amalgamating my favorite recipes and discovering new ones all in one place!