Low Carb - Garlic Parmesan Flax Seed Crackers

"A great high fiber, crunchy, nutritious, and tasty snack. Good with dips, spreads, or plain."
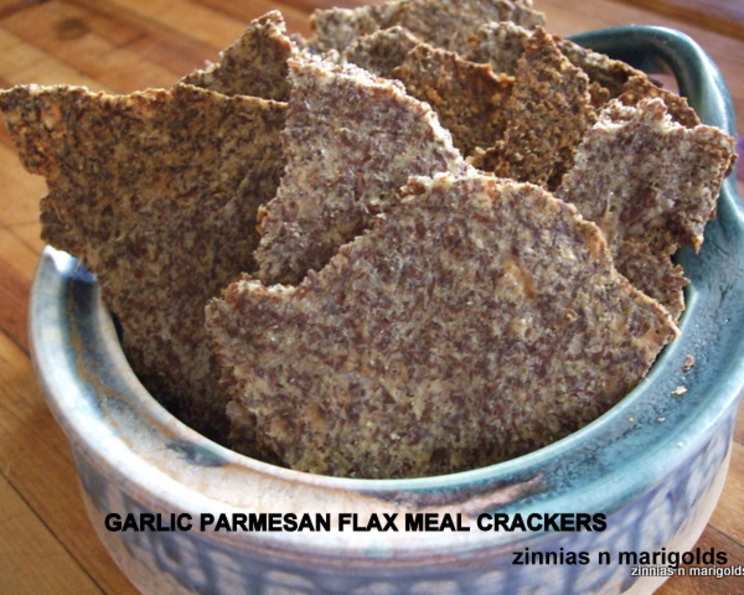
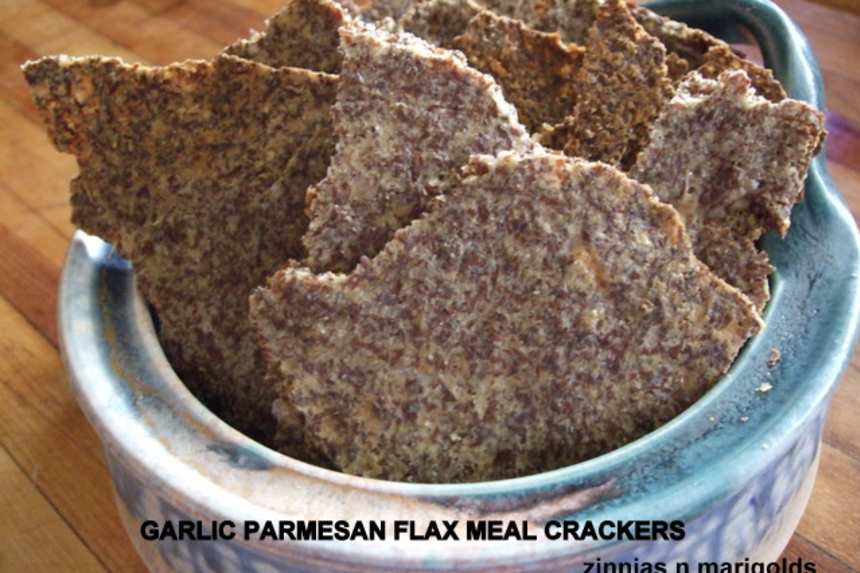
photo by zinnias n marigolds

- Ready In:
- 25mins
- Ingredients:
- 5
- Serves:
-
2
ingredients
- 1 cup flax seed meal
- 1⁄3 cup parmesan cheese, grated
- 1 1⁄2 teaspoons garlic powder
- 1⁄2 teaspoon salt
- 1⁄2 cup water
directions
- Heat oven to 400°F.
- Mix all ingredients together.
- Spoon onto sheet pan which is covered with a silicone mat or greased parchment paper.
- Cover the mixture with a piece of parchment or waxed paper.
- Even out the mixture to about 1/8 inch. I find a straight edge, like a ruler, works well, though you can use a rolling pin or wine bottle too. The important thing is not to let it be too thin around the edges or that part will overcook before the center firms up.
- So after you spread it out, remove the paper and go around the edges with your finger and push the thin part inwards to even it up.
- Bake until the center is no longer soft, about 15-18 minutes. If it starts to get more than a little brown around the edges, remove from oven.
- Let cool completely - it will continue to crisp up.
- Break into pieces.
- The whole recipe is 6 grams of effective carbohydrate plus 35 grams of fiber.
Questions & Replies

Got a question?
Share it with the community!
Reviews
-
 I tried this with onion powder instead of garlic powder and I loved the taste. (Like a cheesy, dark/hearty, onion bun)<br/><br/>I've only made it once, so I'm sure I'll get better with practice, but I now realize I should work more to get it much more thin in the middle. In the end, I think the middle of my mixture was more like 3/16 inch instead of 1/8, and that made a difference.<br/><br/>The parts on the ends darkened and crisped up just fine in the 15-18 minutes suggested, but the middle was still soft. I ended up using a pizza cutter to remove outer sections that were already crisp enough, then putting the middle back in for about 4 minutes more. <br/><br/>I repeated this with the newly-dark edges, and put the smaller middle back in for another 4 minutes. Then I got smart and just used the pizza cutter to cut the rest up into small rectangles and let them go in for a final 4 minutes, hoping as many of the ends as possible would crisp up.<br/><br/>So I'm left with two slightly different kinds of crackers: one that looks more like the pictures and one that looks like a small, slightly thicker, commercial health cracker with a more uniform rectangular shape. They both taste very nice, though. The ones cut into rectangles will hold up better for dipping whereas the fully crisped-up ones are more fragile.<br/><br/>The first little taste of the edge I tried tasted a bit salty, I thought, but my husband didn't think his test piece was too salty, and I tried from another area and it seemed fine. (But, it's still noticeably salted.) Looking up the nutrition content of generic onion powder now after it's done, it seems to have twice as much sodium as generic garlic powder, so when I try them again, I'm going to use half as much salt to compensate.<br/><br/>Overall, an excellent recipe! My mother uses a cracker recipe that suggests something like 20 hours in the oven, so it was nice to find something that actually worked and only required a reasonable amount of baking time.
 -
I have made these a few times and each batch is different, they are my FAVE cracker! I don't add the salt as I find the cheese has enough for my taste. In todays batch I added 1 tsp of baking powder, a shake of onion powder as well as the garlic powder and after I had rolled them out,( I use bamboo skewers at the sides of the dough for an even thickness) I sprinkled the dough with LaGrille Unsalted Vegetable seasoning and patted it so it would stick to the dough. I cut the dough with a pizza wheel before I bake it. YUMMY :)
-
 These are amazing! I couldn't stop eating them. The only change I made is to use 1 tsp. Salt. The recipe made 24 saltine sized crackers.
 -
 Didn't want to rate this because I didn't get the recipe from this site but I watched a video with the same recipe. The recipe wrote 1/2 c. water but in the video it said 1 cup water. So I went with the video instructions and had to wind up doubling the other ingredients & use a 15 X 17 baking sheet. Don't make my mistake. After all was said and done, they were pretty decent crackers. The cheese makes them palatable.
 -
 Love it, love it, love it! Just what I wanted! I have been looking for a crispy crackers and this fits the bill.
Tweaks
-
I tried this with onion powder instead of garlic powder and I loved the taste. (Like a cheesy, dark/hearty, onion bun)<br/><br/>I've only made it once, so I'm sure I'll get better with practice, but I now realize I should work more to get it much more thin in the middle. In the end, I think the middle of my mixture was more like 3/16 inch instead of 1/8, and that made a difference.<br/><br/>The parts on the ends darkened and crisped up just fine in the 15-18 minutes suggested, but the middle was still soft. I ended up using a pizza cutter to remove outer sections that were already crisp enough, then putting the middle back in for about 4 minutes more. <br/><br/>I repeated this with the newly-dark edges, and put the smaller middle back in for another 4 minutes. Then I got smart and just used the pizza cutter to cut the rest up into small rectangles and let them go in for a final 4 minutes, hoping as many of the ends as possible would crisp up.<br/><br/>So I'm left with two slightly different kinds of crackers: one that looks more like the pictures and one that looks like a small, slightly thicker, commercial health cracker with a more uniform rectangular shape. They both taste very nice, though. The ones cut into rectangles will hold up better for dipping whereas the fully crisped-up ones are more fragile.<br/><br/>The first little taste of the edge I tried tasted a bit salty, I thought, but my husband didn't think his test piece was too salty, and I tried from another area and it seemed fine. (But, it's still noticeably salted.) Looking up the nutrition content of generic onion powder now after it's done, it seems to have twice as much sodium as generic garlic powder, so when I try them again, I'm going to use half as much salt to compensate.<br/><br/>Overall, an excellent recipe! My mother uses a cracker recipe that suggests something like 20 hours in the oven, so it was nice to find something that actually worked and only required a reasonable amount of baking time.