Peppermint Cream Cheese Mints

"These are so rich and addicting. You'll make yourself sick eating so many but somehow still want more. I like to freeze these and thaw only a few at a time. I got this recipe from Southern Living a while back."
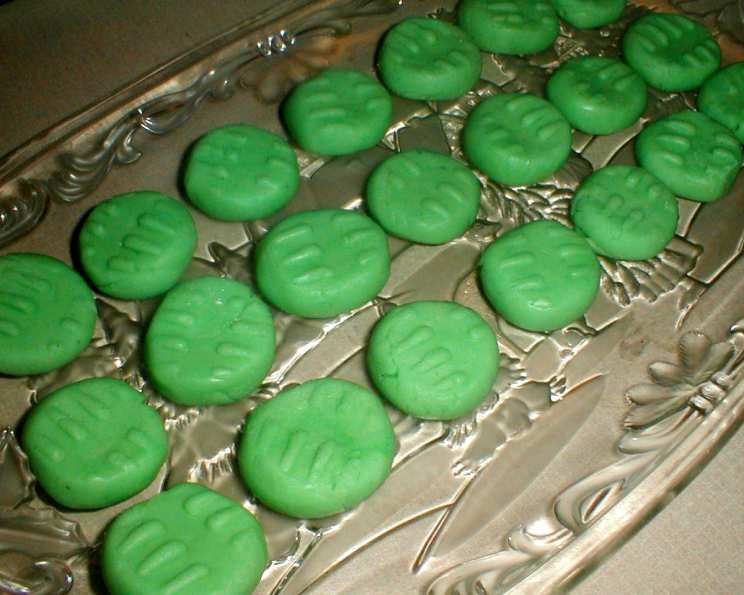
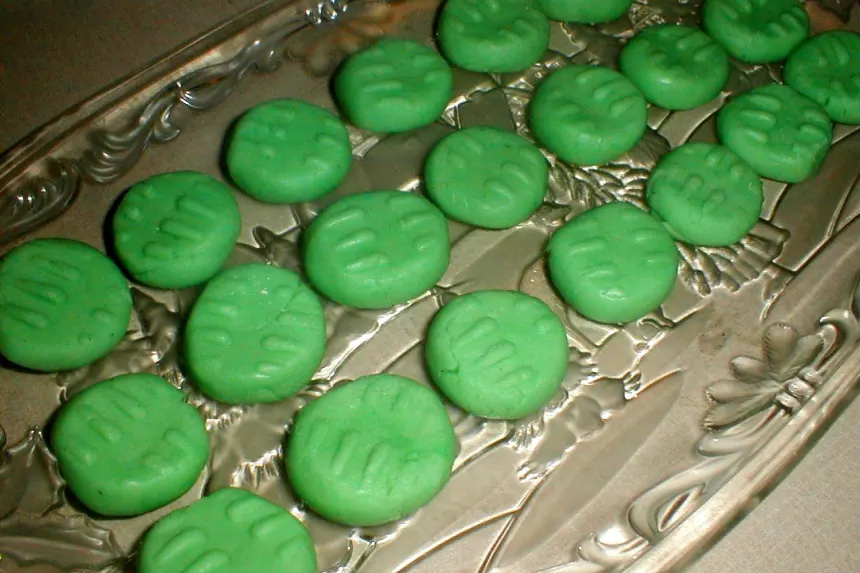
photo by truebrit

- Ready In:
- 40mins
- Ingredients:
- 5
- Yields:
-
96 mints
ingredients
- 1 (8 ounce) package cream cheese
- 1⁄4 cup butter, softened
- 1 (2 lb) package powdered sugar
- 1⁄2 teaspoon peppermint extract
- 6 drops red liquid food coloring (optional)
directions
- In a large saucepan over medium-low heat, blend together cream cheese and butter.
- Slowly add powdered sugar, stirring well between each addition.
- Stir in peppermint extract.
- If you want to add color to your mints, you can either add all six drops to the full mixture, or divide the mixture in half and only add three drops to one half and leave the other half white.
- Make 1 inch balls of the mixture and press onto wax paper or parchment paper with the bottom of a glass dipped in powdered sugar.
- You can use a 2" cookie press to press them.
- I just press them with my fingers.
- Let cool for four hours uncovered.
- Store in the refrigerator or freezer.
Questions & Replies

Got a question?
Share it with the community!
Reviews
-
 These are my favorite mints. I have made them with mint molds, and by rolling into balls and flattening with a patterned glass. I have used various food colorings depending on the occassion.
 -
 Don't be afraid to use other flavors. Almond, butter rum, root beer, even a raspberry is good. I hardly ever use peppermint, most of the tune it is butterrum.
 -
 they are splendid mints
 -
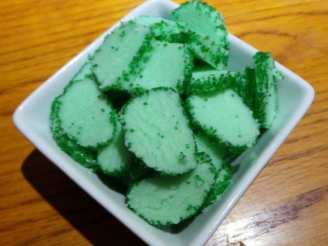
 I really liked these, but a few folks I offered them to weren't so keen. I decided to use green food coloring to tint the mints, and I used the back of a slotted spoon to press the indentations on them. I had a bit of trouble mixing in all the powdered sugar, so I kneaded it with my hands until it was smooth. Next time, I might try flattening them so they're quite thin, and dipping them in dark chocolate.
 -
 I am not going to rate these, because they just didn't work out for me. They were very crumbly and wouldnt stick together, I am not sure if it is something I did wrong, I am guessing it is. If you have any advice about them to make them better, it would be appreciated. The flavor was great, the texture all wrong, so again I think it was me.
see 1 more reviews
RECIPE SUBMITTED BY

elainegl
United States
My family is gluten free, meaning we can't eat anything with the slightest amount of wheat, rye, oats, or barley. While it makes cooking a challenge, it also makes it fun!
I spend too much time on the computer (mostly 'Zaar) looking up new recipes to try. I've collected a bunch of recipes from 'Zaar, my cookbooks, and other websites that I use on a regular basis, most of which have been tweaked to be gluten-free. I guess I have about 100 so far.
I have two kids, so spend my days at home with them. :-)
What do I like? My husband, my kids, skiing, spending time on the computer, reading old gentle romances, going to playgroups, and girl's night out.
My favorite cookbooks? How to Cook Without a Book by Pam Anderson; Cooking Gluten-Free by Karen Robertson; Wheat-Free Recipes and Menus by Carol Fenster; and Gluten-Free Baking by Annalise Roberts.