Pita Chips Filled With Spiced Lentils

"A recipe from Coup de Pouce. Posted for ZWT - NA*ME Use with recipe#428713"
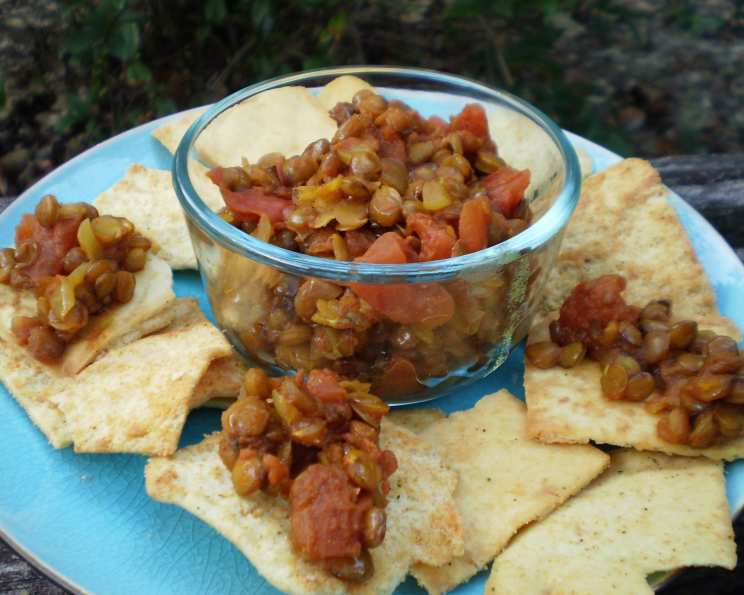
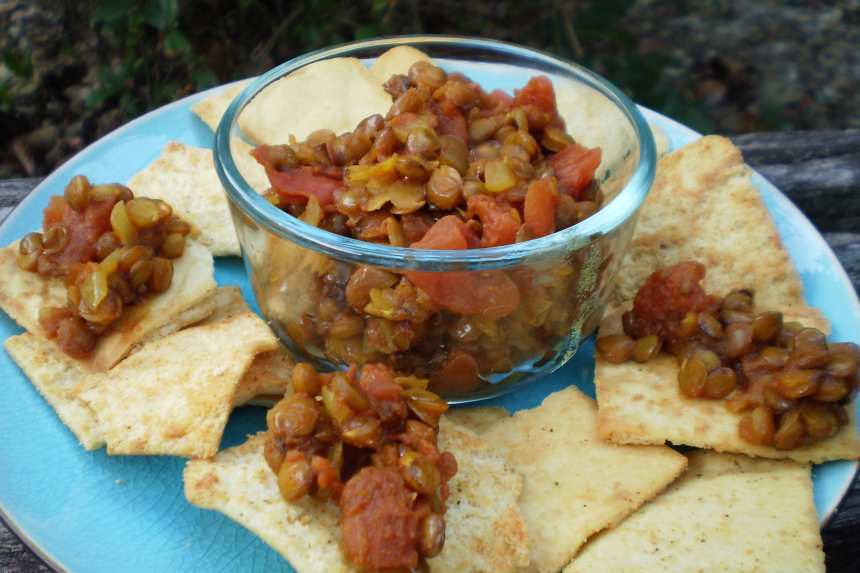
photo by breezermom


- Ready In:
- 50mins
- Ingredients:
- 13
- Yields:
-
48 filled pita
- Serves:
- 48
ingredients
- 1 tablespoon olive oil
- 1⁄2 onion, finely chopped
- 1 garlic clove, finely chopped
- 1 teaspoon fresh ginger, grated or 1/4 teaspoon ground ginger
- 1⁄2 teaspoon turmeric
- 1⁄2 teaspoon ground cumin
- 1 pinch salt
- 1 pinch cayenne pepper
- 1 cup dried red lentils
- 14 ounces diced tomatoes
- 1 1⁄2 teaspoons lemon juice
- 1 tablespoon fresh cilantro or 1 tablespoon fresh parsley, chopped
- paprika pita chips (see Paprika Pita Chips)
directions
- In a saucepan, heat oil at medium heat. Add onion, garlic, ginger, turmeric, cumin, salt and cayenne pepper and cook, while stirring, for about 5 minutes or until onion has softened. Add lentils and tomatoes. Bring to boil. Reduce heat, cover and let simmer, stirring often, for about 20 minutes or until lentils are tender without losing their shape. Add lemon juice and stir. Let cool a little bit. (You can prepare the lentil filling in advance and put in an hermetic container. It will be good in fridge up to 2 days. Reheat before doing the remaining steps). Add cilantro and stir.
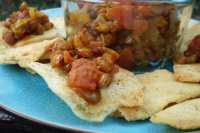
- When ready to serve, spread the filling on the pita chips.
Questions & Replies

Got a question?
Share it with the community!
Reviews
-
 I preferred to use this as a dip instead of filling the pita chips ahead of time....kept them from getting soggy. My lentils took about twice as long to get tender, but I don't think there was enough liquid to cook them. About halfway through I added a bit of hot water, and that seemed to do the trick. Great taste from the spice mix....Great appetizer or snack. I used it as a snack while watching football! Thanks for sharing!
RECIPE SUBMITTED BY

<p><strong><span>I'm the host of Bargain Basement tag game in the cooking game forum. You're welcome to play anytime. You'll be surprised to find great recipes that were never reviewed. <br /></span></strong></p>
<p>~~~~~~~~~~~~~~~~~~~~~~~~~~</p>
<p><strong><span>I want to say a big thank you to everyone who tries my recipes and post photos. I don't always have the time to say thanks to each of you but be sure it's so appreciated :)</span></strong></p>
<p>~~~~~~~~~~~~~~~~~~~~~~~~~~</p>
<p> </p>
<p><img src=http://i195.photobucket.com/albums/z205/jubespage/zwt6%20banners%20and%20photos/captain.jpg alt=width=150 height=200 /></p>
<p><br /><img src=http://i27.photobucket.com/albums/c175/emmyduckie/zwt/ZwizzleBadge.jpg alt=width=200 height=300 /><br /> <br /><a title=banner3 href=http://www.flickr.com/photos/26630178@N05/3510953178></a><img src=http://farm4.static.flickr.com/3387/3510953178_b35b3086a8.jpg alt=banner3 width=500 height=250 /> <br /><img src=http://i23.photobucket.com/albums/b399/susied214/permanent%20collection/captain.jpg border=0 alt=Photobucket /> <br /><img src=http://i23.photobucket.com/albums/b399/susied214/permanent%20collection/PAC08Main.jpg border=0 alt=Photobucket /> <br /><img src=http://i23.photobucket.com/albums/b399/susied214/permanent%20collection/adoptedspring08.jpg border=0 alt=Photobucket /> By Brooke The Cook in WI <br /><img src=http://i147.photobucket.com/albums/r317/j_welcome/pics2/food/PRMRcopy.jpg alt=/ /> <br /><a href=http://www.recipezaar.com/bb/viewtopic.zsp?p=3510511#3510511> <br /> <br /><img src=http://i23.photobucket.com/albums/b399/susied214/projects/200_PACpic.jpg border=0 alt=Photo /> <br /> <br /></a><a title=Photo href=http://www.flickr.com/photos/boomette1/514183676></a><img src=http://farm1.static.flickr.com/252/514183676_f79b486466_m.jpg alt=good width=240 height=137 /> <br /><img src=http://i23.photobucket.com/albums/b399/susied214/permanent%20collection/Adopted1smp.jpg border=0 alt=Photo /> <br /><img src=http://i23.photobucket.com/albums/b399/susied214/permanent%20collection/smPACp.jpg border=0 alt=Photo /></p>
<p><img src=http://img.photobucket.com/albums/v726/annacia/Permanent%20Banners/ZTAA-sm.jpg border=0 alt=Photobucket /></p>
<p><img src=http://i21.photobucket.com/albums/b280/carolinamoon21/Ingredients/BANNERS/Pets-STKR.jpg alt=width=200 height=200 /></p>