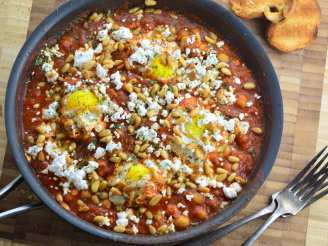
Poached Eggs on Asiatic Bed

"Taken in the Coup de Pouce"
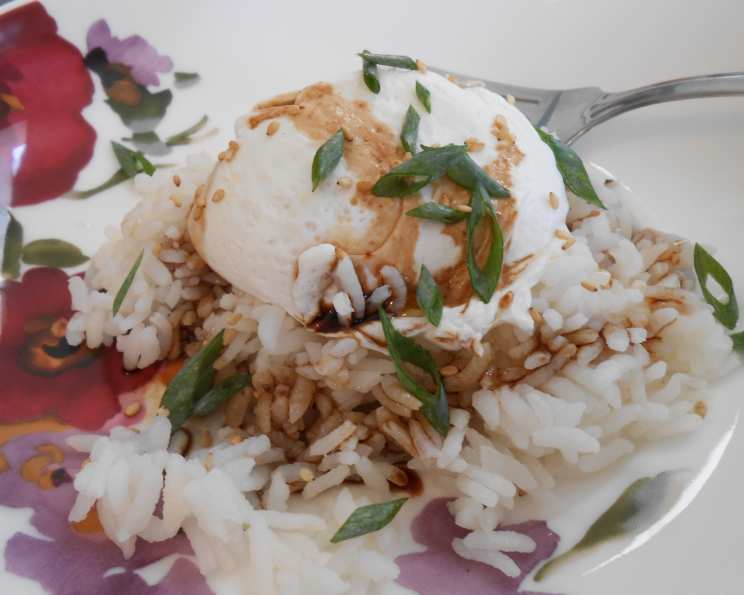
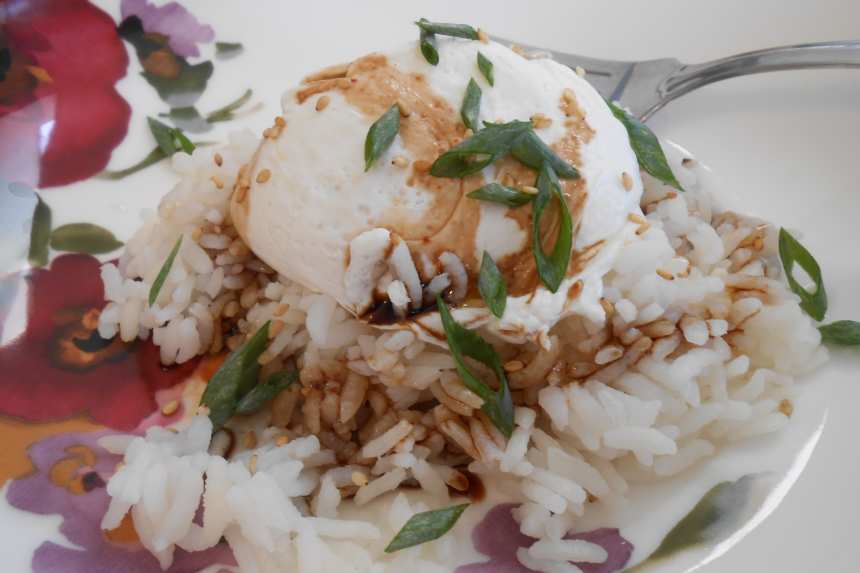
photo by IngridH


- Ready In:
- 22mins
- Ingredients:
- 11
- Serves:
-
4
ingredients
- 8 1⁄2 cups water
- 3⁄4 teaspoon salt
- 2 cups long grain rice, rinsed and drained (type sushi or arborio)
- 1⁄4 cup low sodium soy sauce
- 1 tablespoon sesame oil
- 1 teaspoon rice vinegar or 1 teaspoon apple cider vinegar
- 1⁄2 teaspoon garlic and red chile paste (optional) or 1/4 teaspoon Tabasco sauce (optional)
- 1 teaspoon vinegar
- 4 eggs
- 1 green onion, finely chopped
- 1 tablespoon sesame seeds, grilled
directions
- In a casserole, bring to boil 2 1/2 cup of water and salt. Add rice, cover and bring to boil. Let simmer at low heat for about 12 minutes or until the liquid has absorbed. Stir delicately the rice 2 times while cooking. Cover the casserole, remove from the heat and let sit about 10 minutes.
- Meanwhile, in a small bowl, mix soy sauce, oil, rice vinegar and chili paste, if using. Set aside.
- In another casserole, bring to boil the remaining water and vinegar. Reduce the heat to medium. Break the eggs one at a time in a small bowl and slide them delicately into the water. Let poach 3 to 5 minutes or until the white is firm and yolk is still runny.
- Distribute the rice in bowls and sprinkle with the reserved mixture of soy sauce. Garnish with an egg and sprinkle with green onion and sesame seeds.
Questions & Replies

Got a question?
Share it with the community!
Reviews
-
 This was a very different but delicious brunch for us today. We weren't sure what to expect, but it turned out really nicely and the flavours really popped. Thanks for posting! Made for ZWT 6 :)
 -
 Easy and flavorful dish. I omitted the salt (personal preference) and used rice vinegar and chile flakes for the heat. Thanks for sharing!
 -
 I didn't really understand this recipe. The first few steps were unclear as to how to prepare the rice (I used arborio). The soy sauce mixture with the chili paste was fantastic, however. I also don't know how to classify this as either breakfast, lunch or dinner. It was basically poached eggs over rice with a spicy sauce. I prefer poached eggs for breakfast over bread of some sort. UPDATE: Made this again for my husband and he loved it. He had it with a slice of avocado and tomato wedges on the side. He thought it would go well with poached salmon. Apparently, this combination of flavors and textures is a little more sophisticated than I am used to. I think his idea of serving salmon with this reminds me of sushi/sashimi - only BIGGER. The chili/soy sauce is nice and spicy without the burn, it is just tremendously good.
 -
Yummy! I've never served poached eggs with rice, but it's a great combination. The sauce really brings it together- salty, with a bit of the sesame and chile flavors. A really nice dish for breakfast when you want something different. Made for ZWT9
RECIPE SUBMITTED BY

<p><strong><span>I'm the host of Bargain Basement tag game in the cooking game forum. You're welcome to play anytime. You'll be surprised to find great recipes that were never reviewed. <br /></span></strong></p>
<p>~~~~~~~~~~~~~~~~~~~~~~~~~~</p>
<p><strong><span>I want to say a big thank you to everyone who tries my recipes and post photos. I don't always have the time to say thanks to each of you but be sure it's so appreciated :)</span></strong></p>
<p>~~~~~~~~~~~~~~~~~~~~~~~~~~</p>
<p> </p>
<p><img src=http://i195.photobucket.com/albums/z205/jubespage/zwt6%20banners%20and%20photos/captain.jpg alt=width=150 height=200 /></p>
<p><br /><img src=http://i27.photobucket.com/albums/c175/emmyduckie/zwt/ZwizzleBadge.jpg alt=width=200 height=300 /><br /> <br /><a title=banner3 href=http://www.flickr.com/photos/26630178@N05/3510953178></a><img src=http://farm4.static.flickr.com/3387/3510953178_b35b3086a8.jpg alt=banner3 width=500 height=250 /> <br /><img src=http://i23.photobucket.com/albums/b399/susied214/permanent%20collection/captain.jpg border=0 alt=Photobucket /> <br /><img src=http://i23.photobucket.com/albums/b399/susied214/permanent%20collection/PAC08Main.jpg border=0 alt=Photobucket /> <br /><img src=http://i23.photobucket.com/albums/b399/susied214/permanent%20collection/adoptedspring08.jpg border=0 alt=Photobucket /> By Brooke The Cook in WI <br /><img src=http://i147.photobucket.com/albums/r317/j_welcome/pics2/food/PRMRcopy.jpg alt=/ /> <br /><a href=http://www.recipezaar.com/bb/viewtopic.zsp?p=3510511#3510511> <br /> <br /><img src=http://i23.photobucket.com/albums/b399/susied214/projects/200_PACpic.jpg border=0 alt=Photo /> <br /> <br /></a><a title=Photo href=http://www.flickr.com/photos/boomette1/514183676></a><img src=http://farm1.static.flickr.com/252/514183676_f79b486466_m.jpg alt=good width=240 height=137 /> <br /><img src=http://i23.photobucket.com/albums/b399/susied214/permanent%20collection/Adopted1smp.jpg border=0 alt=Photo /> <br /><img src=http://i23.photobucket.com/albums/b399/susied214/permanent%20collection/smPACp.jpg border=0 alt=Photo /></p>
<p><img src=http://img.photobucket.com/albums/v726/annacia/Permanent%20Banners/ZTAA-sm.jpg border=0 alt=Photobucket /></p>
<p><img src=http://i21.photobucket.com/albums/b280/carolinamoon21/Ingredients/BANNERS/Pets-STKR.jpg alt=width=200 height=200 /></p>