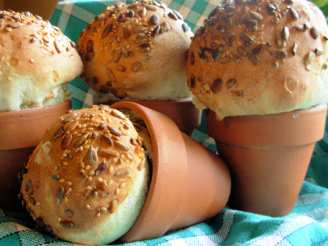
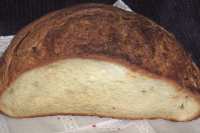
Rustic Potato Loaves

"This bread is fantastic, so don't let the odd directions scare you off. Everyone who has tried this bread has been instantly in love with it, and the loaves never last long - I once had both loaves disappear in 1 day! It's also very simple to put together and make. This bread is truly one of my all time favorites."
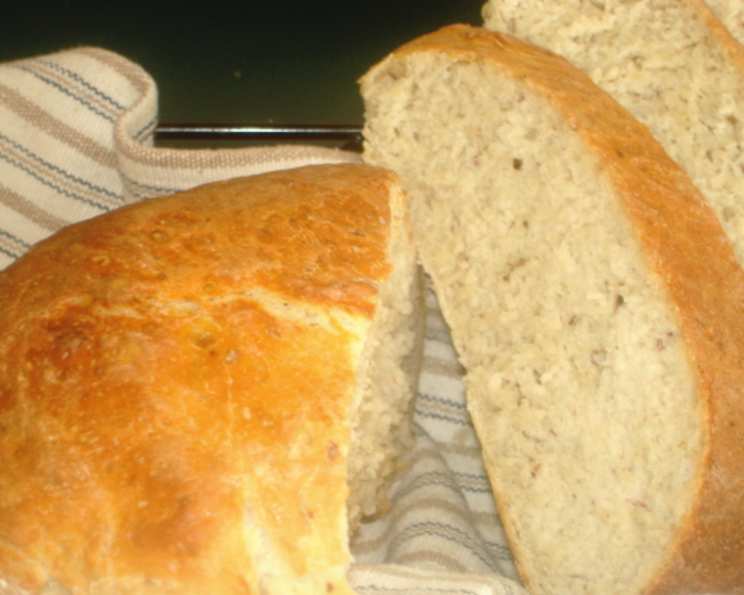
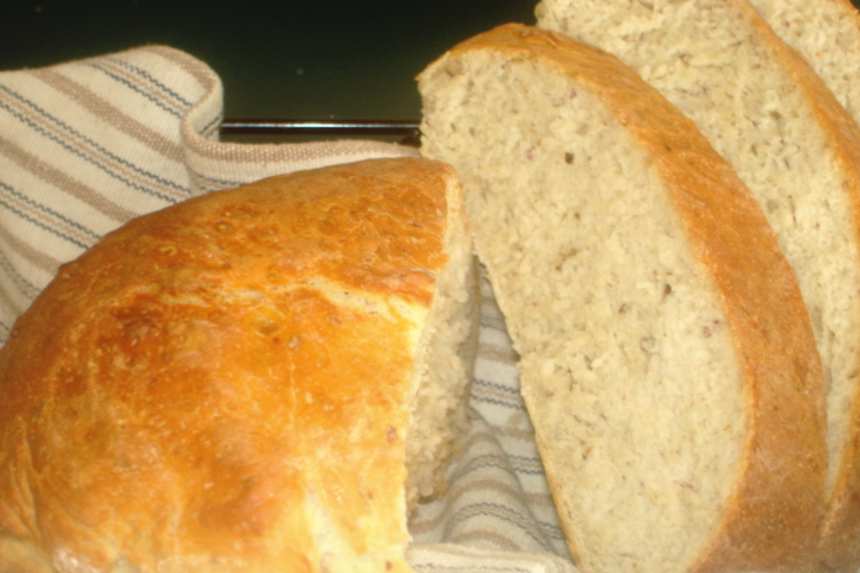
photo by Linajjac


- Ready In:
- 2hrs 20mins
- Ingredients:
- 6
- Yields:
-
2 loaves
ingredients
- 1 1⁄2 lbs russet potatoes (about 3 large)
- 4 teaspoons kosher salt
- 1⁄2 cup tepid reserved potato water
- 1 tablespoon active dry yeast (not instant)
- 2 tablespoons olive oil
- 4 3⁄4 cups unbleached all-purpose flour
directions
- Scrub the potatoes and cube them into large pieces, peel on.
- Toss into a pot, cover with water, add 2 teaspoons salt, and boil until they are completely cooked through.
- Draw off 1/2 cup of the water from cooking the potatoes and set aside; drain the potatoes, and then spread them out flat to dry completely.
- It is a very important to let the potatoes dry and cool for at least 30 minutes prior to mashing. Leave the peel on.
- Once the 1/2 cup water has cooled to tepid, add the yeast and allow to bloom for 5 minutes.
- Put the dried, cooled potatoes in the KA with the paddle attachment and mash smooth; yes, the peel is still on. It looks weird, but let it go.
- When the potatoes are mashed completely, add the bloomed yeast/potato water, and the olive oil. Mix until combined.
- Change to dough hook. Add the flour and the remaining 2 tsp.kosher salt all at once and mix for about 3 minute on low speed, then increase to medium speed and mix for 11 minutes more.
- The dough will be firm at first and soft at the finish. It will look very dry to begin with, like pie dough, but do not add more liquid and do not add more flour, even if you are tempted. Just leave it and let it go. The flour will be absorbed.
- The end result will be very nearly the texture of brioche dough, very soft, almost a batter. You should stop the machine a few times and scrape the dough down off the sides and bottom of the bowl, then let it continue to mix.
- Scrape the dough into a greased bowl, cover with plastic and let rise for 35 minutes. The dough will rise slightly but will not double.
- While the bread is proofing, put your rack in the bottom of the oven and put your pizza stone in.Heat the oven to 375 degrees.
- Invert a baking sheet and place a piece of parchment on it- this will be the resting place for the bread's final rise. Sprinkle the parchment lightly with flour.
- Turn the dough out onto a floured surface and divide it in half. Shape each piece into a torpedo shape, with tapered ends. Place the loaves on the parchment and cover with a towel.
- Let rise at room temperature for about 35 minutes.
- At the end of 35 minutes, slide your loaves onto the pizza stone, and using a spray bottle, spray the oven walls with water and then shut the door quickly to trap the steam.
- Bake the loaves for 50 minutes, spraying the oven with water occasionally.
- When they are done, the breads will be very brown, will sound hollow when thumped, and the interior temperature will be about 200 degrees F.
- Remove from the oven and let cool for at least 20 minutes before slicing.
- NOTES: The first time I made this bread I thought the recipe just had to be wrong on every count. It is very different from any bread I've ever made. But please, follow the directions faithfully and you will be rewarded! These loaves are gorgeous- beautiful- very crusty and brown and smell soooooo good. When I first made them I couldn't wait until they cooled completely so I cut off an end piece and bit into it. It was fantastic! I was surprised that the potato peel didn't make any distinct difference to the texture. I thought it would.The resulting bread was very distinctly tasting of potato. It was soft, as potato breads are, but yeasty and a little dense(in a good way) and had a wonderful crusty exterior.It was fantastic! I think you are going to love these.
- NOTE 2: If you don't have a pizza stone, just bake them on a sheet pan.It won't be quite the same, but it will be close enough.
Questions & Replies

Got a question?
Share it with the community!
Reviews
-
 Next time I bake this bread - it'll be 5 star! I'll reduce the kosher salt to 2 1/2 teaspoons & we will be there. This bread has a lovely crumb - I did use ap flour but subbed 1 cup of King Arthur's white ww flour & added a tablespoon of vital wheat gluten. Opted to use Panasonic bread machine for the mixing & took it out 30 minutes before end of dough cycle as the dough was to the top of the machine! Used 2 large loaf pans dusted with semolina flour & let the dough go a bit more than double. Baked at 375 degree oven 35 minutes - perfect! Browned top & awesome beckoning smell - DH convinced me to cut after only 20 minutes...will use unsalted butter with this batch...will be making this as a standard (with all the peels on LOL). Thank you P4 for a keeper!
 -
 I thought this bread was pretty tasty. But I did have isues with the dough. Mine was very wet. I made 1 big round loaf with it.
 -
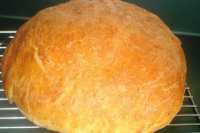
 I've never had bread that tasted so much of potatoes - really liked that. I made it in my breadmachine, just sliced up the boiled potatoes (after peeling, I really do not like the skins in this)and let the machine go. I stood there looking at it, all dry and crumbly, but when I came back towards the end of the mixing cycle, it really looked amazing. However, it was too soft to hold its shape, and I ended up with very flat, pancake like loaves. Ate 'em anyway and they taste great. But I think I'd bake them in a loaf pan, or add just a bit more flour so that they would hold their shape.UPDATE: I made this again using bread flour, and as you can see from photo, this looks like a bread. I would like to make it with ap flour again, as it was a bit more tender, but I would shape it in a banneton.
 -
 This bread was very good. We made it twice -- the first exactly as written; the dough was still very wet, and I didn't care for the skins in the loaves. For the second batch, I baked the potatoes instead of boiling, and the dough was much easier to handle. We will definitely be making this again and again.
RECIPE SUBMITTED BY

P48422
United States