Spiced Applesauce Ornaments I (Non-Edible) Ingredients

"These NON-EDIBLE Ornaments where made often when my children where young. These make great bows for gifts that can be kept forever. You can use any cookie cutter shape and make them all year. Great for bridal shower favors or place cards with names attached to pretty ribbon. Have fun and don't for you children would love to help with this one as well.
You can speed up the drying in a very low oven.
Decorate with glue and glitter, feathers, ribbon, buttons whatever you find that won't attack bugs! No sugar.
Make these as gift tags and wright names on them with the glue and glitter. Or use the decorative glues.
When fragrance fades use just a drop or two of Essential Oils placed right on the back.
Then"
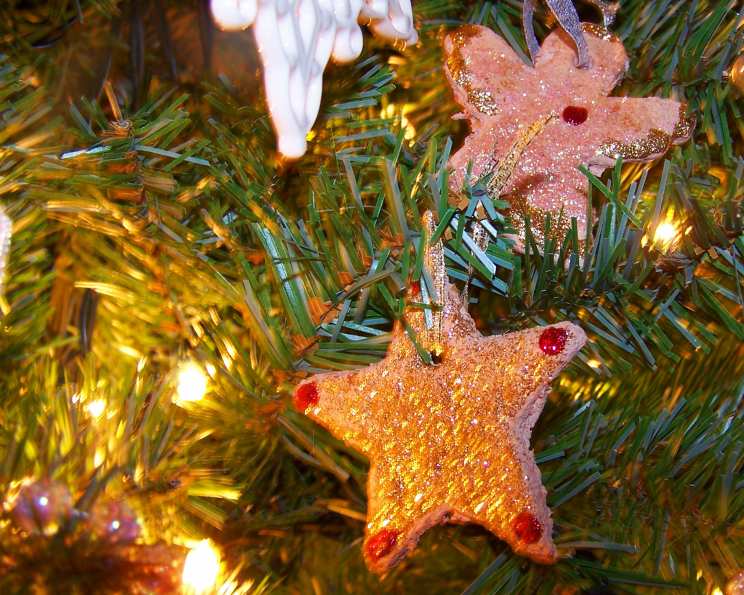
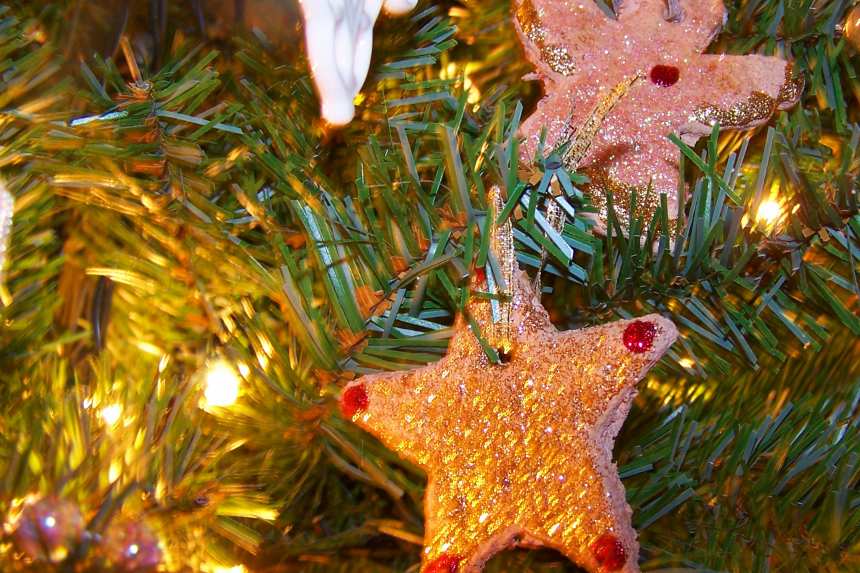
photo by Rita1652


- Ready In:
- 25mins
- Ingredients:
- 6
- Serves:
-
12
ingredients
- 1 cup applesauce
- 1⁄4 ounce unflavored gelatin
- 2 ounces ground cinnamon
- 1 1⁄3 cups cornstarch (starting with 1/3 cup and add as needed)
- 3 tablespoons ground cloves
- 1 teaspoon lemon zest
directions
- Combine applesauce and gelatin in small saucepan and let stand for 3 minutes. Heat over medium heat stirring constantly just until simmering.
- Combine cinnamon, cornstarch (starting with 1/3 cup and add as you need to form a dough to roll), cloves and lemon zest in separate bowl. Stir in applesauce mixture.
- Turn out onto counter and knead a few turns. Divide dough in half and wrap each half in plastic wrap or place in a zip lock bag. Use within 30 minutes. Roll dough between sheets of plastic wrap or a dusted (with cinnamon or flour) surface and rolling pin to a 1/4-inch thickness. Cut out ornaments using 2-inch cookie cutters. Use a straw or plain pastry tip to cut out holes for ribbon to hang. Dry on wire rack overnight turning occasionally. Can take several days depending on humidity.
- Re-roll scraps and repeat cutting and drying as directed.
- Have fun and get the kiddies involved!
Questions & Replies

Got a question?
Share it with the community!
Reviews
-
 I've hated working with applesauce ornament dough in the past because it's always been too crumbly or too sticky, and used an expensive amount of cinnamon. This recipe, however, is incredibly easy to work with and makes a sturdy, easily-moved cookie before it dries. The small amount of cinnamon used is a plus since I can't get cinnamon in bulk here. I only needed 1/3 cup of cornstarch, and even then my dough was a bit crumbly, so I added a splash of water, and it came together beautifully. I placed my cookies (and this made about 20 of them) in my oven at 200* F for an hour, flipping every half hour, to speed up the drying process, and my make my house smell good! Thanks for this.
 -
 Followed the directions exactly and got a really nice soft dough. Initially a little tacky, but after a minute of kneading easy to work with. I think the key here is to make sure you have fully softened the gelatin in the applesauce - my suace was beginning to have a little form before dropping it into the dry ingredients. The smell divine and are still drying -- lots of rain. I'm giving mine as gifts for three sets of friends who have moved this month. The good news is have a few left for me. These would make great gift tags - just write on them with a toothpick while they're still soft. Thanks Rita.
 -
 At first, this "dough" wasn't a dough - it was way too soft and definitely wouldn't hold a form. I started added more cornstarch to try to thicken it up, but eventually gave up and ended up adding a lot of flour. Aside from that though, this was a great project for my young sisters and the ornaments turned out just fine. I wasn't sure how much 2 ounces of cinnamon was, so I just sprinkled a good bit in, and these smell wonderful; my entire house smelled like Christmas all day. The ornaments did lighten in color a good deal as a they dried, but I have a feeling that that's just because of all the flour!
 -
I love making these to give on top of homemade gifts at Christmas. They smell so great all year round. You can use any type of cookie cutter for all year round. I place mine on a paper plate and let dry on top of my refrigerator. It takes about three days to totally dry.
RECIPE SUBMITTED BY

Rita1652
Jamesburg, New Jersey


