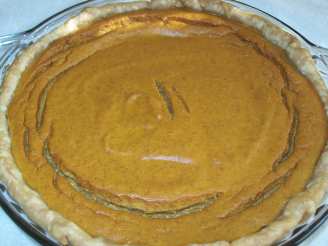
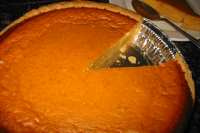
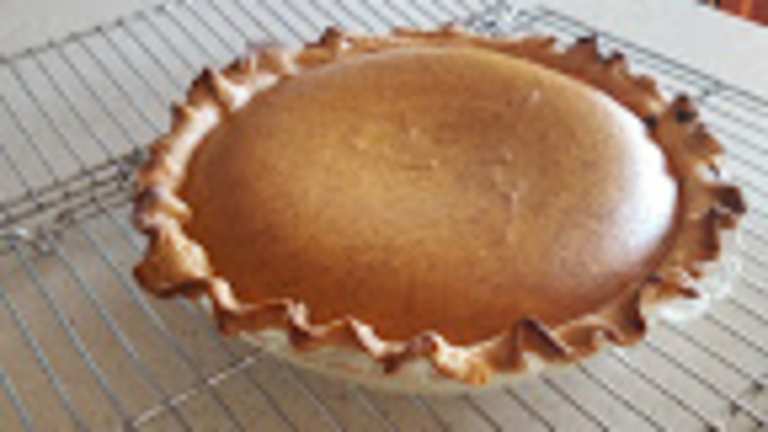
Splenda Pumpkin Pie

"I originally got this recipe from a grocery store ad flyer and LOVE it because it uses Splenda instead of sugar. My diabetic family members love it and I do too! It's terrific!"
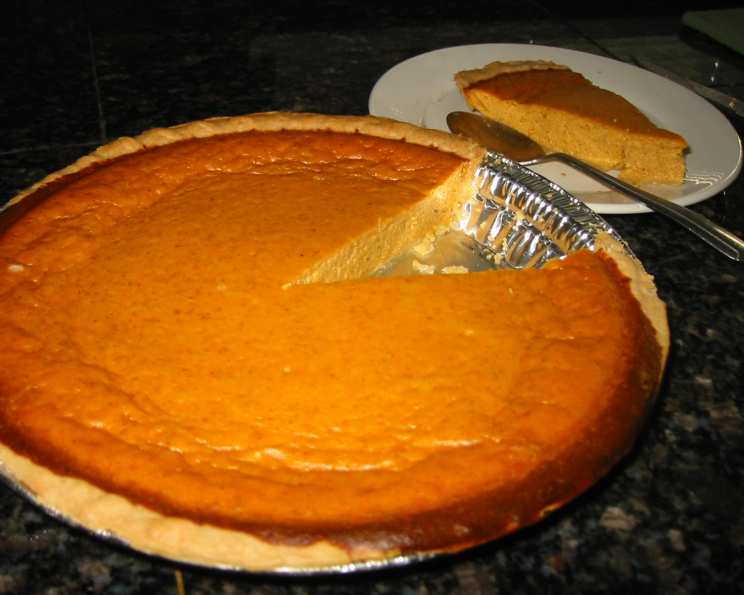
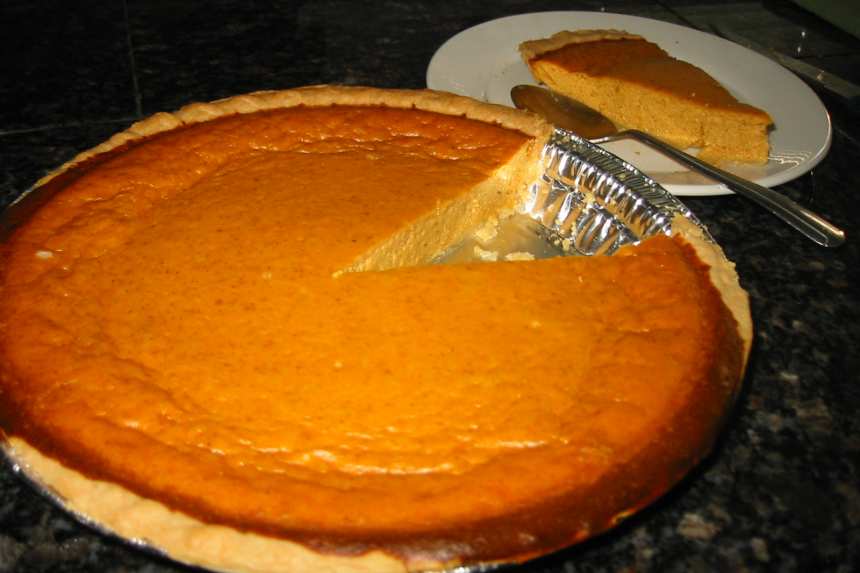
photo by iloverabbits


- Ready In:
- 55mins
- Ingredients:
- 6
- Yields:
-
1 pie
- Serves:
- 8
ingredients
- 1 deep dish pie shell
- 3 large eggs, Beaten
- 425.24 g can solid-pack pumpkin
- 340.19 g can evaporated milk
- 236.59 ml Splenda granular, sugar substitute
- 9.85 ml pumpkin pie spice
directions
- Heat oven to 375 degrees. Allow pie crust to thaw at room temperature for 15 minutes.
- Combine eggs, pumpkin, evaporated milk, Splenda, and pumpkin pie spice in a large mixing bowl using an electric mixer on medium speed for approximately 1 minute.
- Pour this pumpkin mixture into the thawed pie shell. Bake pie on center oven rack for 35-40 minutes or until a knife inserted in the center comes out clean.
- Cool the pumpkin pie before cutting into 8 servings.
- Cooking time does not include time to cool.
Questions & Replies

Got a question?
Share it with the community!
Reviews
-
 Simply wonderful! I made and forgot to review until now. I substituted egg beaters for the eggs and it still turned out great.
 -
 skip the extra egg. all other pumpkin pies call for just two and i had a cup of extra filling and the pie is too moist.<br/>bake at 425 for 15 min. reduce heat to 350 and bake another 45 min to get a golden perfectly cooked pie. i'll add an extra tsp of pumpkin pie spice next time. i also used stevia granulated rather than splenda.<br/>i DON'T miss the sugar at all and the pie looks identical to a sugary one! all in all, i'll make the adjustments next time and will have a go-to sugar free pie.
 -
 This was wonderful but did take a hour to bake. My dh gets to enjoy Pumpkin Pie this year without his sugar going crazy. Thank you! My son ate it too and didn't even know it was made with Splenda.
 -
 Made this for my Diabetic guests for Thanksgiving. Very tasty.
 -
I made the recipe with the ingredients just as it appears, using 3 eggs. This is meant for a "deep dish" pie plate, so be sure you use the appropriate dish. I did bake it using the suggestion to start at 425* for 15 min and lower the temp to 350* for 45 min. The pie was fully baked at the end of an hour total. I spent a year attending pastry school, so I would like to pass along a couple of tips, which I will put in the "tweaks" section. I haven't tasted it yet, but will serve it at a family party tomorrow for the people who need a sugar-free dessert.
-
see 1 more reviews
Tweaks
-
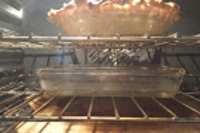
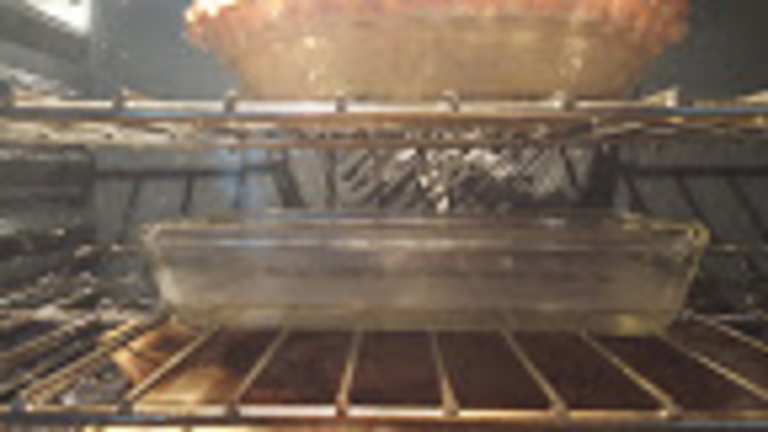
Tip 1: Pumpkin pie is considered a "custard" pie, and the best way to insure a crust which won't get soggy is to partially "blind bake" the crust. After lining the pie plate with the raw crust, grab a fork, and using the tines, make indentations inside the bottom and sides of the crust. Line the inside with a double thickness of aluminum foil, including up the sides. If you have pie weights, distribute them evenly onto the aluminum foil. If not, use a layer of uncooked rice or dry beans. Doing this keeps the crust in place while you par-bake it. Bake the crust in a 400* oven for 6 to 8 minutes, just until the bottom of the crust no longer looks raw. After taking it out of the oven, carefully remove the foil and the weights, and reset your oven temp to 425*. (You can save the rice or beans for another time when you need a pie crust weight, or discard them because they won't be good to eat after baking in the oven. ) While the crust is still warm, pour the pumpkin filling inside, and return to the oven to finish baking. Tip 2: When baking a custard pie, adding moisture to the oven is important. Place a large glass or ceramic dish with at least 2-inch raised sides on the rack underneath where you will place the pie, and add very hot water at least halfway up. As the water evaporates during baking , it will add moisture to the dry oven air and prevent the custard from cracking. (Do not use a metal pan, the water will discolor the metal. )
-
RECIPE SUBMITTED BY

<p>Hi there! I am married to a wonderful man and have a wonderful family! My daughter is a pretty princess at 5, my 3 year old dinosaur (I mean son...) keeps me on my toes, and I've recently been blessed with a second son (my 2nd homebirth VBAC baby!). I absolutely love being a SAHM and we are a homeschooling family as well. <br /> <br />I've become really interested in frugal cooking/cooking from scratch/OAMC. I love to check out cookbooks from the library and am currently working on transferring over my to try recipes while I have the books from the library. <br /> <br />I love Recipezaar and don't know how I lived without this place! It reduces the clutter and book load in my home for sure. The recipes and support are second to none!! <br /> <br />Thanks for checking out more info about me!! <br /> <br /> <br /> <br /> <br /> <br /><br /></p>