Community Pick
Steamed Eggs (Kai Meung)

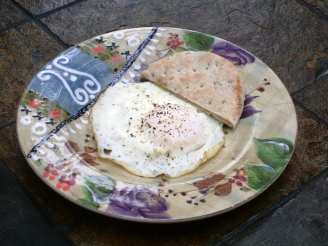
"I found this interesting idea in the book Thai Food by David Thompson. The author suggests steaming for 10 minutes for a slightly soft yolk, but as I desired a firmer yolk steamed for 12 minutes and let them cool at room temperature for a while. David is right that they are more tender than a boiled egg, not a huge difference but these are just that subtly bit better than a boiled egg. Well worth a try for anything where you would otherwise use a boiled egg."
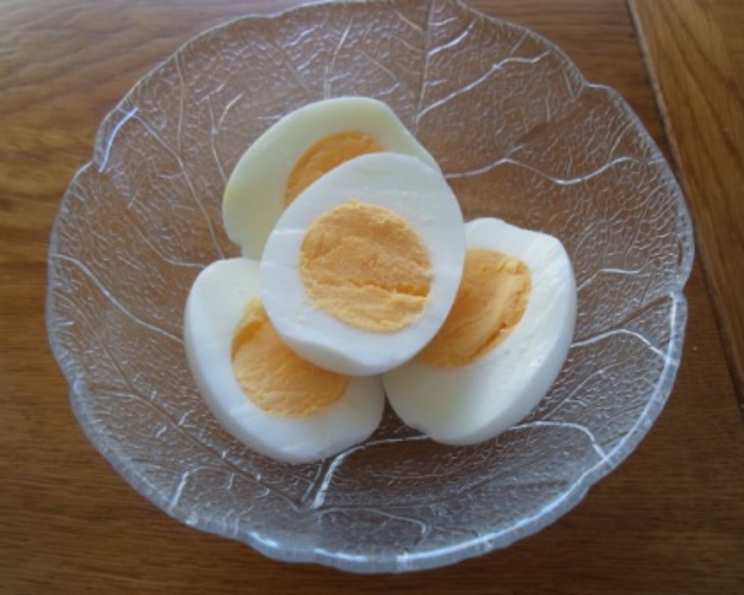
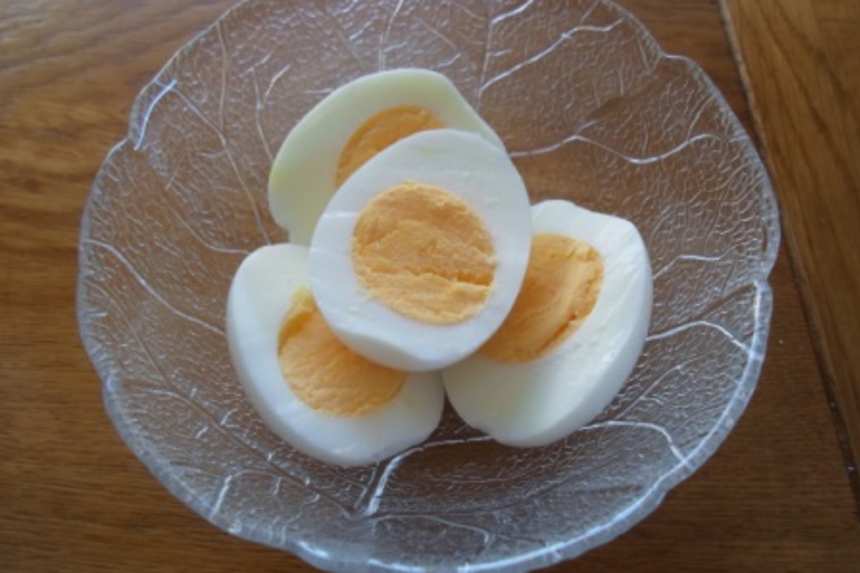
photo by Kiwi Kathy


- Ready In:
- 17mins
- Ingredients:
- 2
- Serves:
-
1-2
ingredients
directions
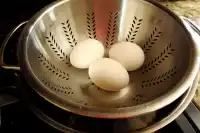
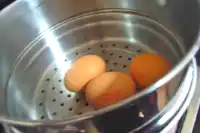
- Prepare a steamer over relatively high heat so you are getting plenty of steam.
- If eggs have been refrigerated leave them out a while until they reach room temperature.
- Steam eggs for 12 minutes.
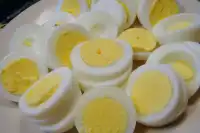
- Allow to cool. I left at room temperature for 15 minutes or so and run under a little cold water just before cracking / peeling.
Questions & Replies

Got a question?
Share it with the community!
Reviews
-
 I was nervous doing my eggs this way and could forsee myself having an eggy mess but not so. I used a metal steamer as I don't have a bamboo one. I did bring the eggs to room temp before steaming and then waited out 20 minutes prior to peeling and all the shells came away really easily.
 -
 I love this technique for hard cooked eggs. So easy and the eggs were much easier to peel. I cooked six eggs (three of them I bought two weeks ago and three were fresh). I put them in my bamboo steamer and steamed them for 14 minutes. To my delight, I found that the fresh eggs peeled as easily as the older eggs. Normally when I hard boil fresh eggs I end up peeling small chunks off of the egg. They don't look very appetizing and it is very frustrating peeling them. After steaming the eggs for 14 minutes, I placed the eggs under cold running water. This is the way I am doing all of my hard cooked eggs from now on. Thanks, Peter, for sharing this great recipe. Made for January 2013 Aus/NZ Swap.
 -
 Thanks to *Tinkerbell* for demoing this recipe. I now have a new favorite way to boil my eggs. Worked wonderfully. :)
 -
 Thanks to Connie Lea's recommendation, I've made this recipe twice now. The first time just to test the recipe, and the second to take photos for a photo demo in the Gadgets Forum, as I've finally found a use my silicone veggie steamer! I've tried dozens of methods for hard-cooking eggs and several have been good for easy peeling, but this recipe is far superior in the final product. Most recipes tend to overcook the eggs, even just slightly, leaving various stages of gray rings around the yolk. This recipe, made as written, cooked the eggs perfectly, and with no sign of overcooking. I am so pleased with this recipe that I have to share it with as many chefs as I can! Thanks for posting it, Peter! :)
 -
 A very nice fool proof way of cooking an egg. No need to prick the shell to stop them bursting and the cooked white is very soft and delicate. The cooking and cooling times very perfect. Made for Aussie / Kiwi Swap May 2014.
see 36 more reviews
RECIPE SUBMITTED BY

<p>I live close Hobart in Tasmania, a wonderful part of Australia but a little chilly in winter so be sure to book your holiday for summer! I'm self-employed in the embedded electronics area and being at home most of the day gives me plenty of time to prepare those recipes with long preparation and cooking times. As most of my clients are either interstate or overseas I get to occasionally catch up with them and enjoy their local restaurants, always nice to have someone else paying the bills! <br /> <br />As well as food I'm partial to the odd beer & wine, so often like to go to a local pub and catch some local bands. No need for an alarm clock in the morning, my cat Molly likes her breakfast at 8:00AM sharp and makes an effective alarm! Lately I've been starting to get into some digital photography so you might be seeing a few additional recipe shots on Zaar... <br /> <br /><a href=http://www.satsleuth.com/VisitorMap/stats.php?id=vUa1ya8Z> <br /><img src=http://www.satsleuth.com/VisitorMap/globes/Globe_vUa1ya8Z.gif alt= /></a></p>
.jpg)