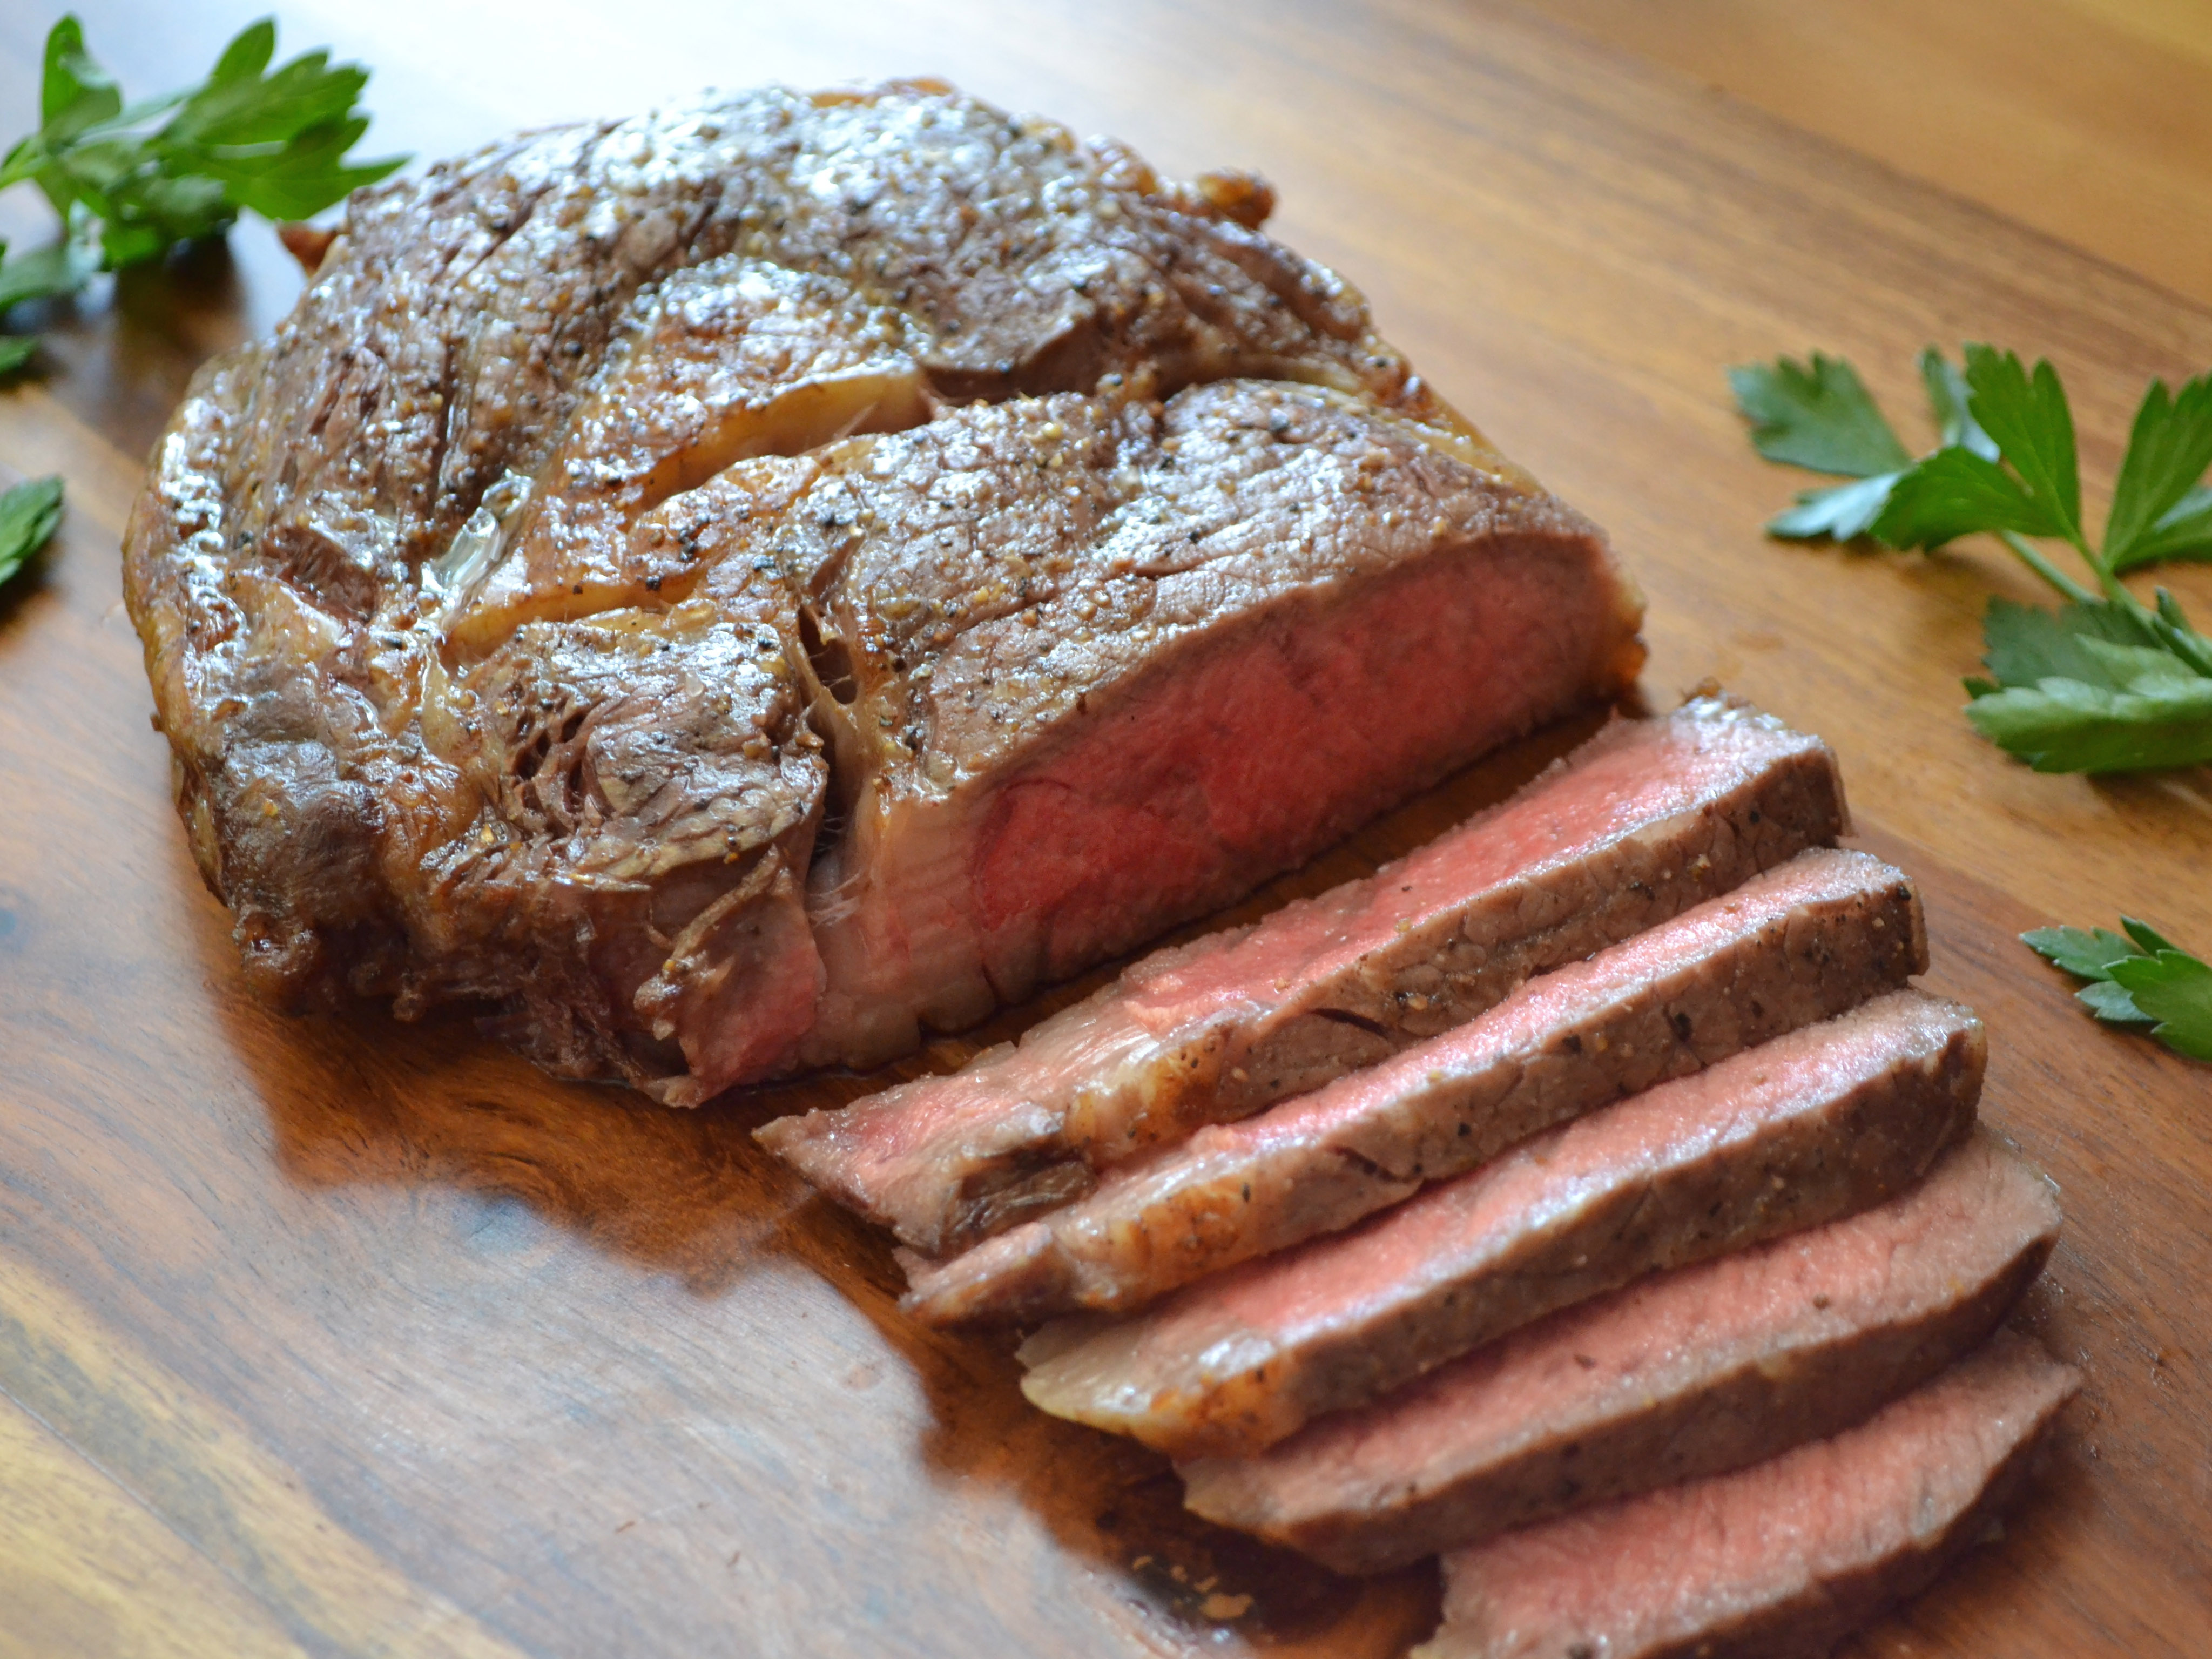
How to Cook the Perfect Steak
Broiled, grilled or in a skillet – you CAN make a restaurant-worthy steak at home.
There's a reason steakhouses are so popular—cooking a $20+ piece of meat at home can be intimidating. Use the wrong method or cook a minute too long and you've got an expensive piece of shoe leather. Try it for yourself using one of these three easy methods to cook the perfect steak. Those special-occasions-only stakes may become a once-a-week affair.
1 Choose a Steak

Regardless of cooking method, a good steak starts with a quality cut of meat. Choose a steak that has plenty of fat marbling, which adds flavor and keeps the meat tender and moist. Rib eye, New York Strip and Porterhouse are all excellent cuts, but any "tender cut" with plenty of marbling will stay buttery soft with these quick, high-heat cooking methods.
Boneless steaks cook more evenly than bone-in, but if you enjoy the carnivorous act of chewing meat off the bone, go for it. Just be aware that the areas near the bone will cook significantly slower than the outer edges.
2 Dry the Steak
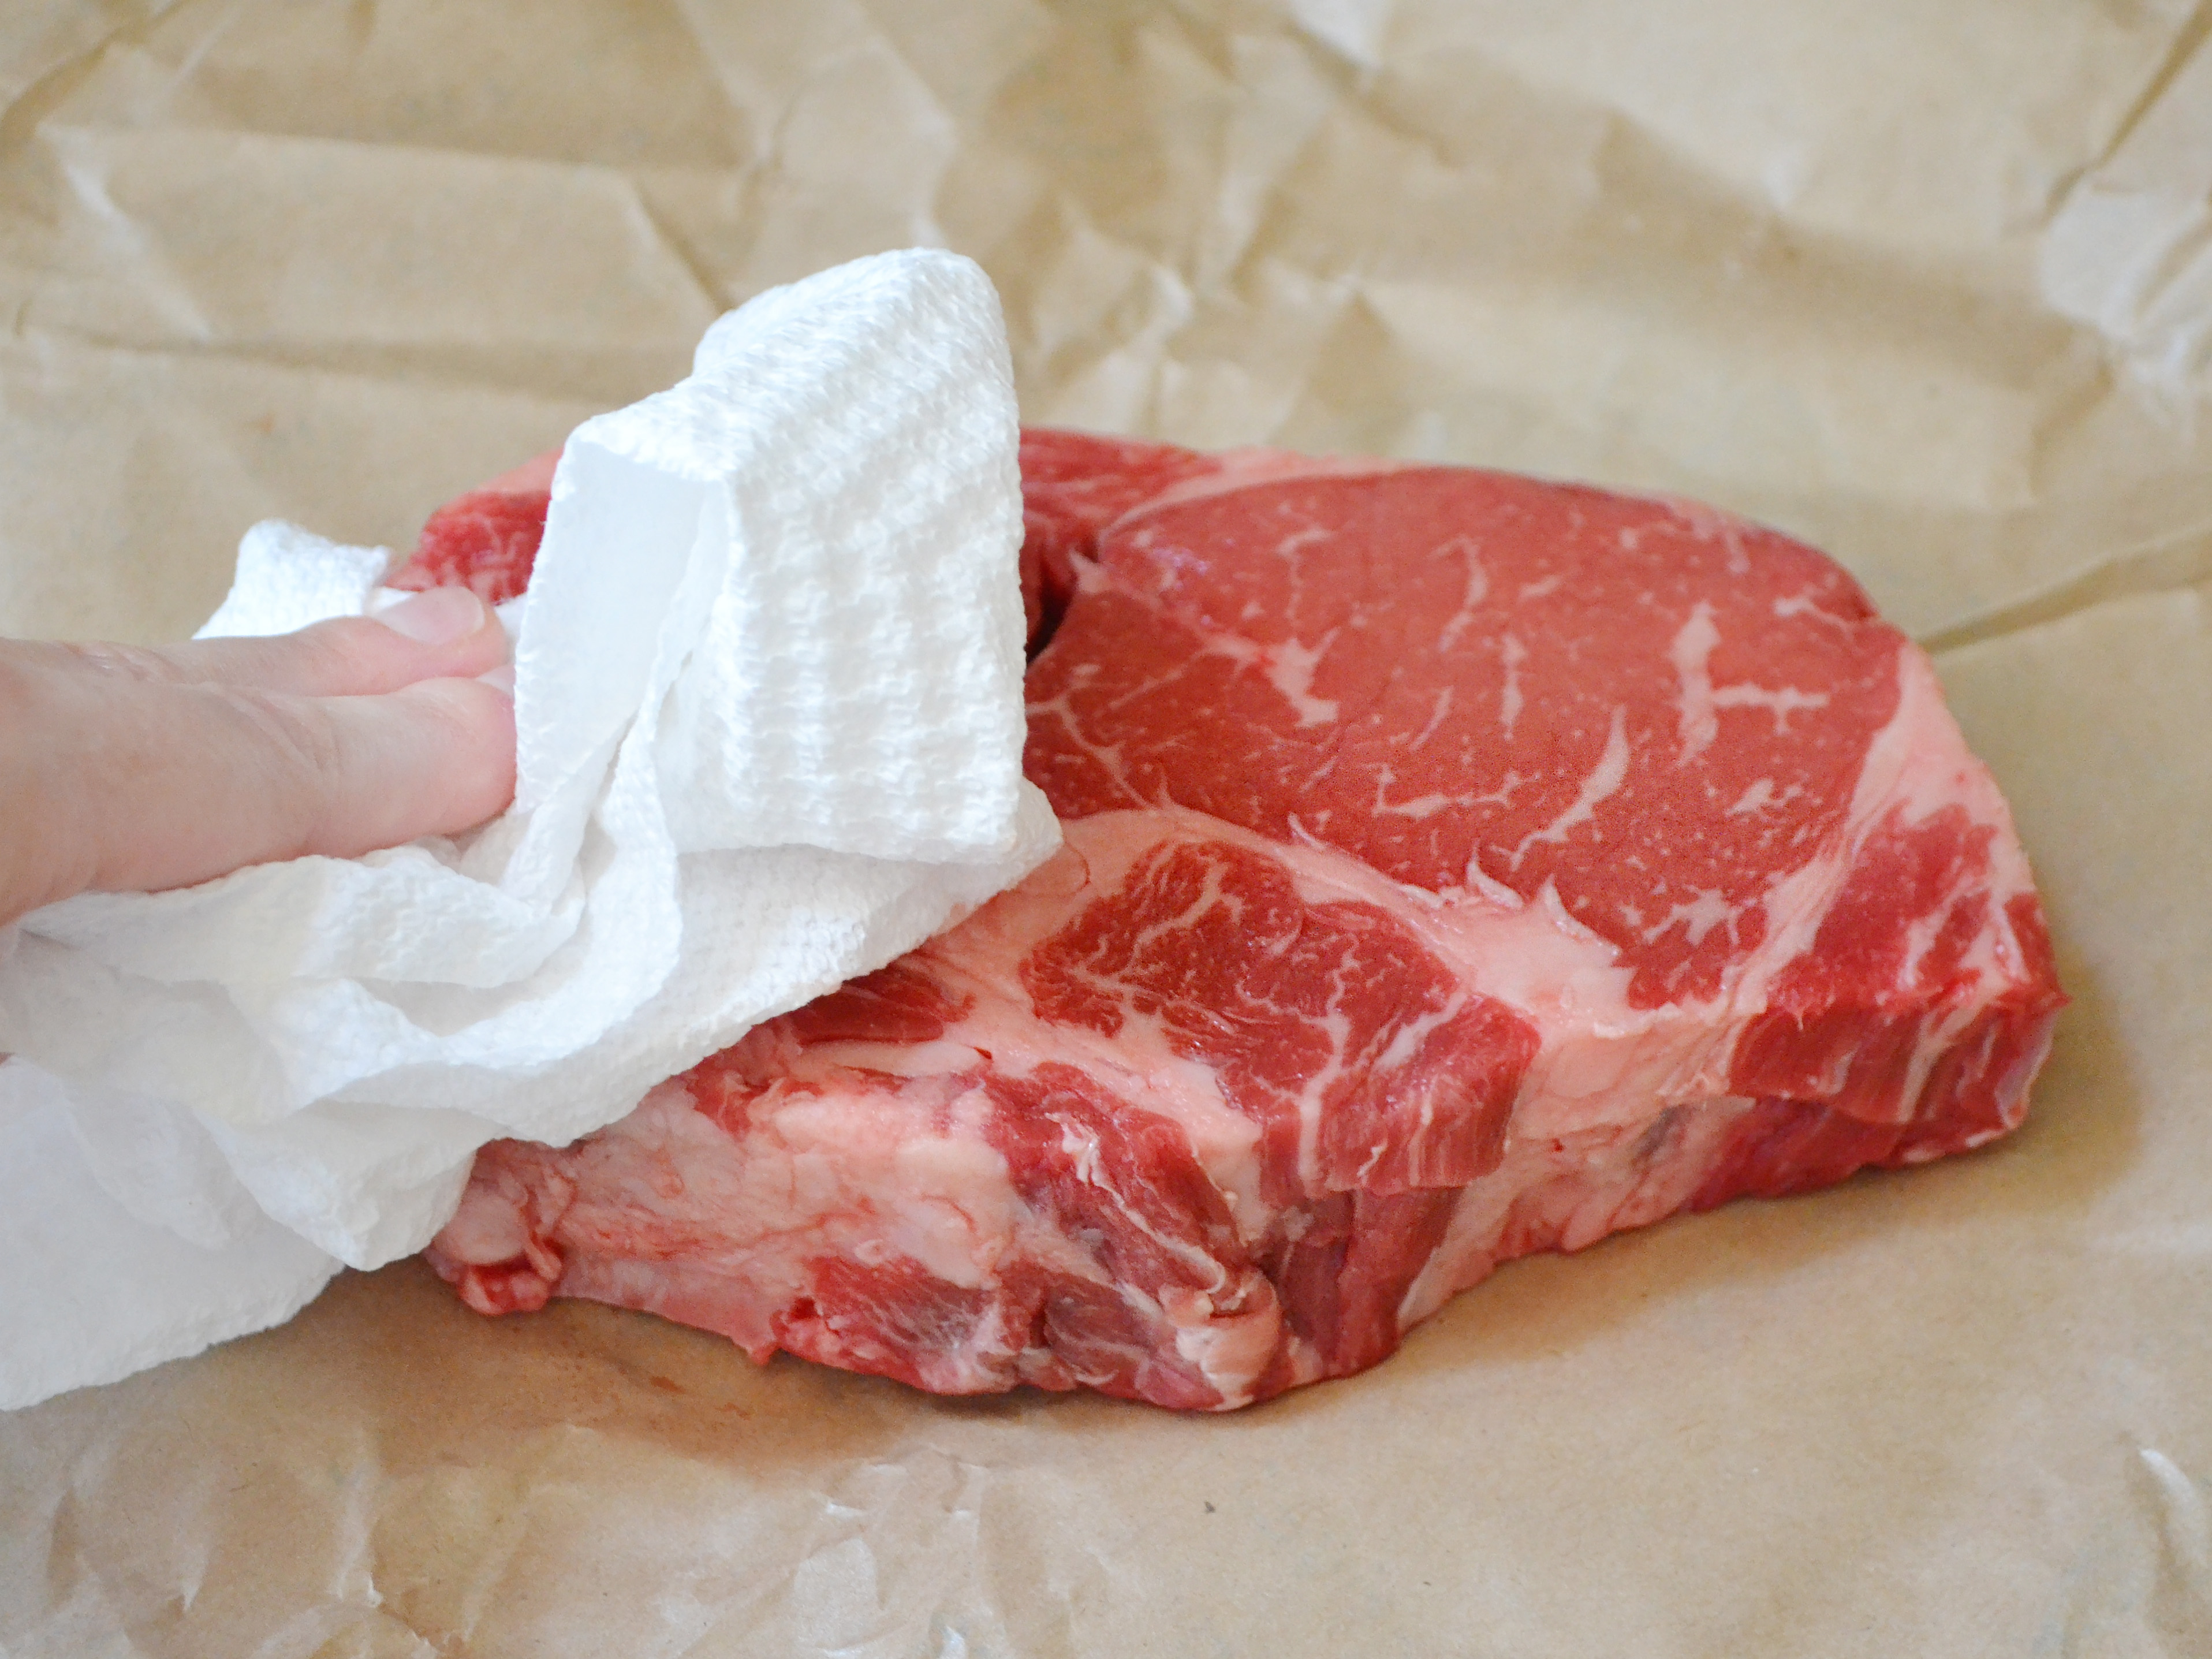
Take the steak out of the refrigerator about 30 minutes before you want to start cooking. Bringing the steak to room temperature helps achieve a good sear and crisp exterior.
Dry the steak well by blotting with a clean paper towel on all sides. The dryer the steak, the better the crust.
3 Broiling Method
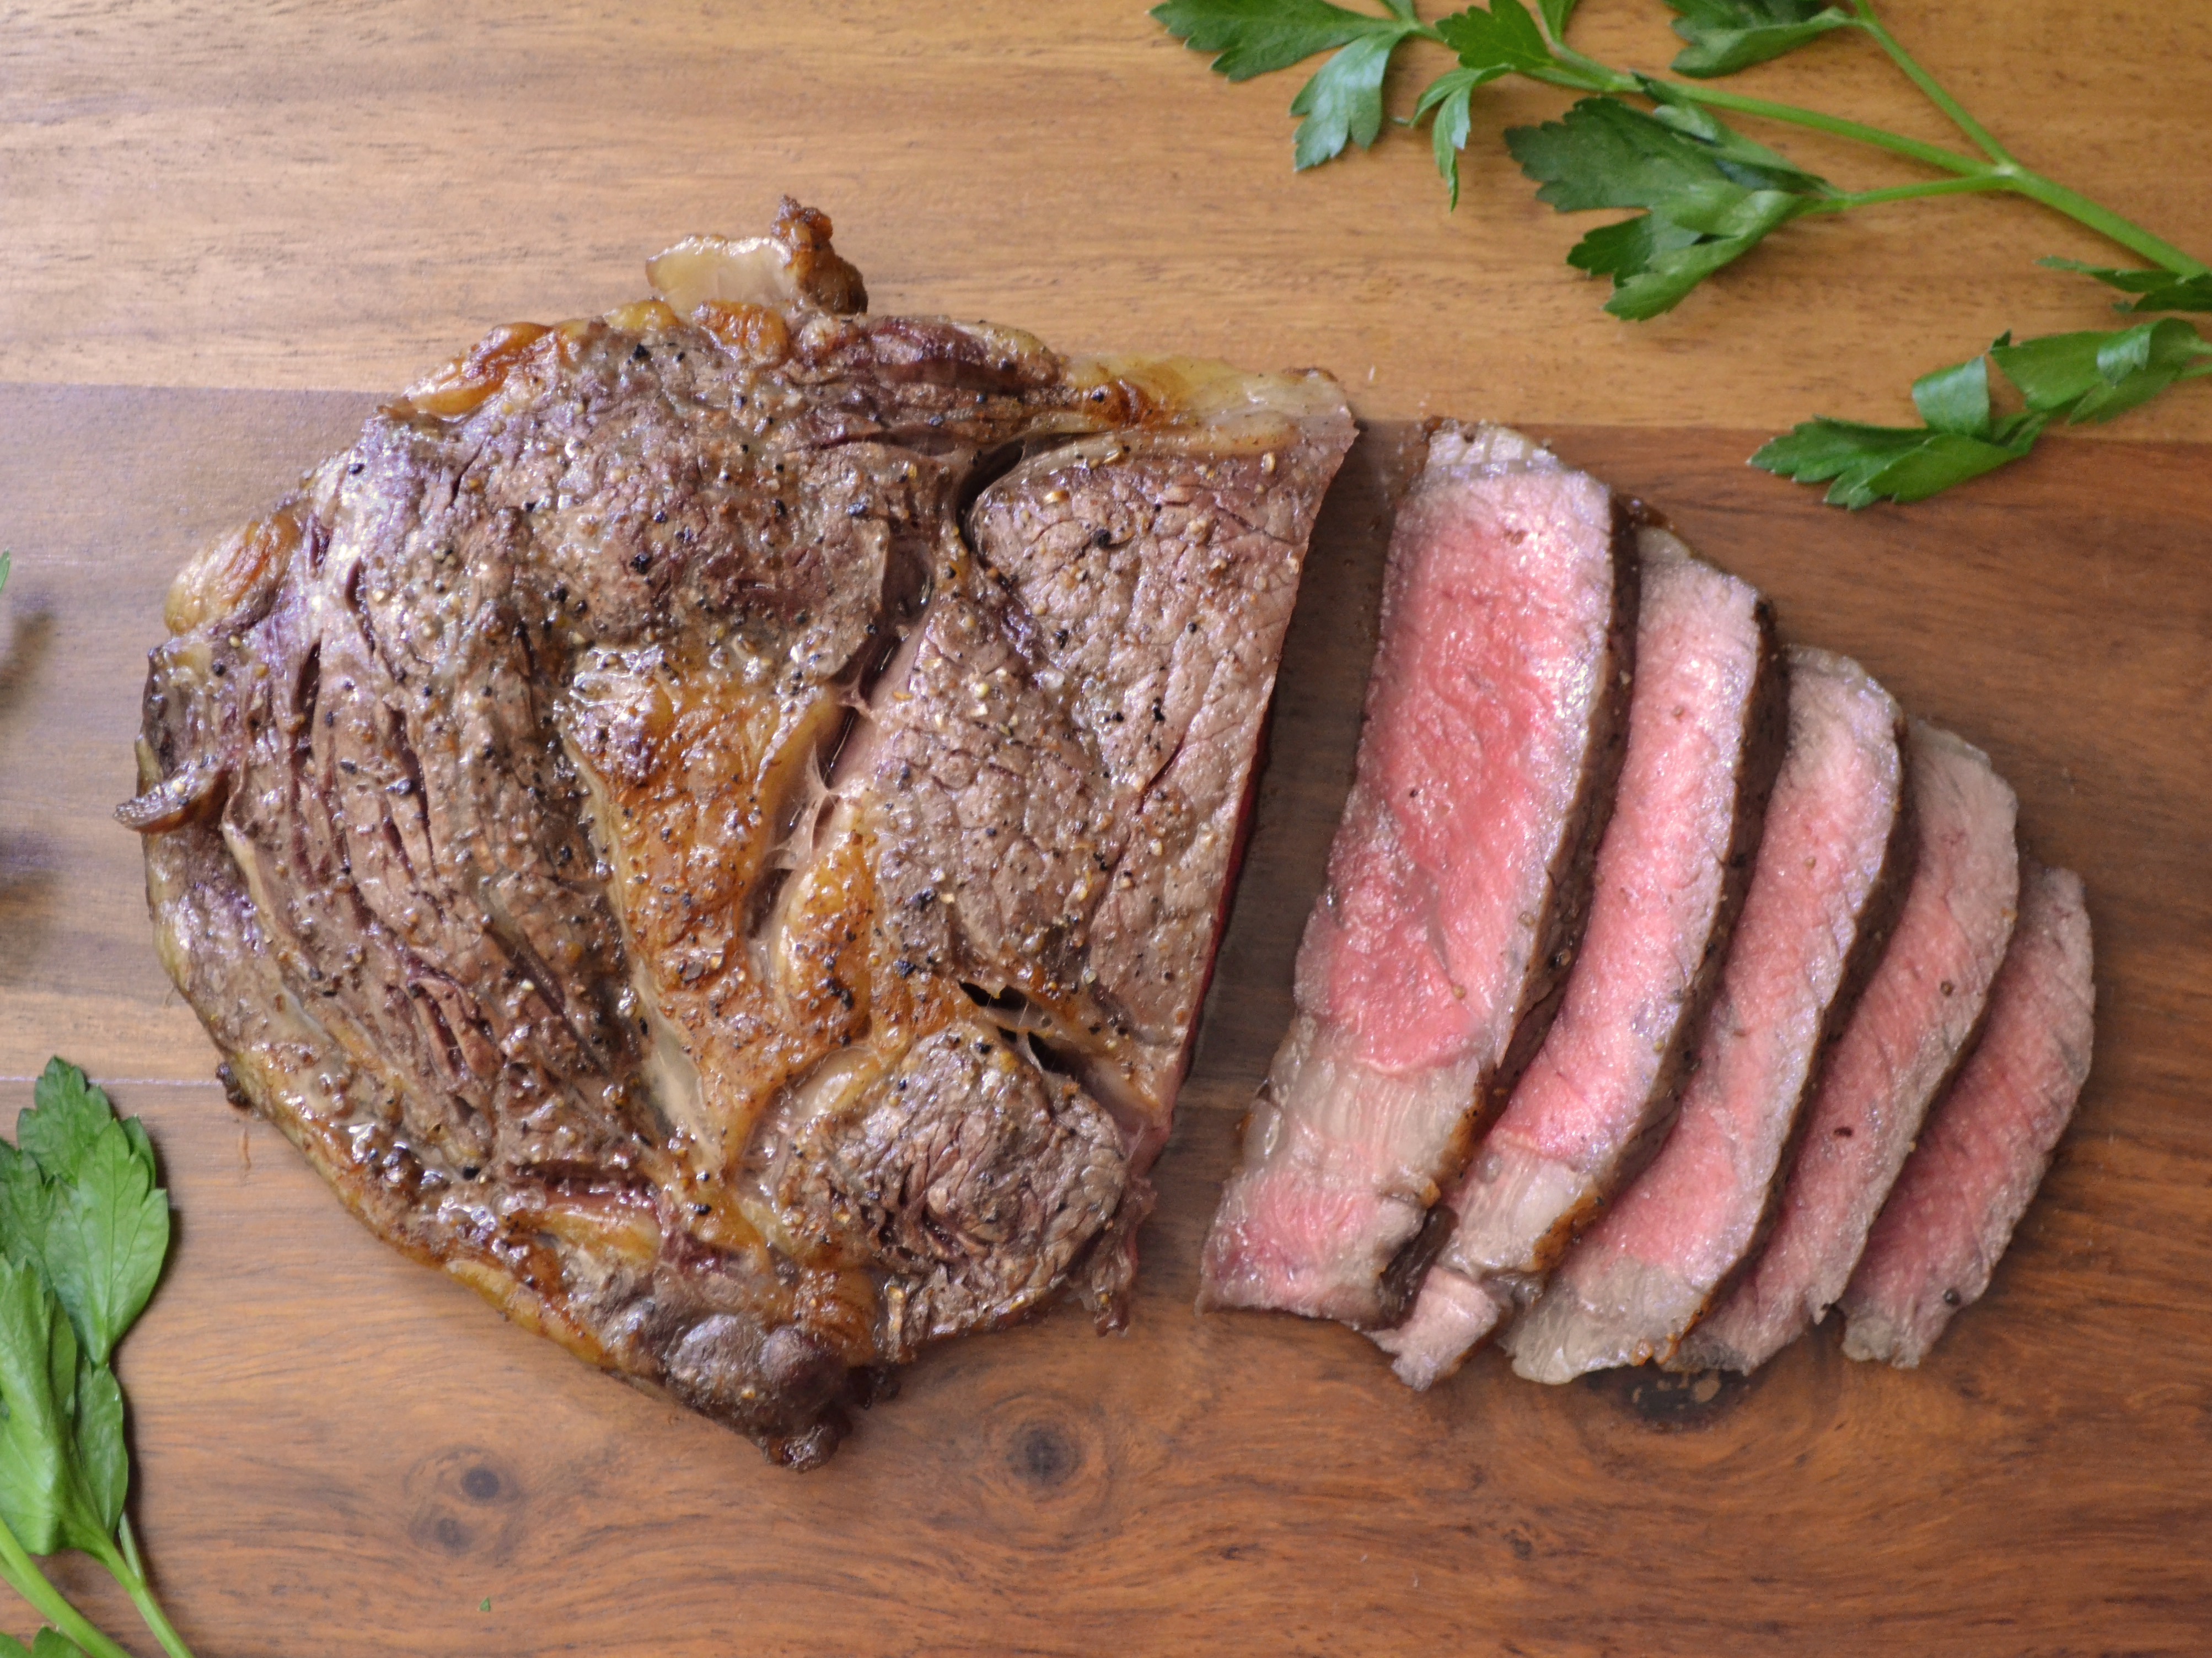
Broiling is the most forgiving method for cooking a steak at home. Broiling is essentially like grilling upside down, with the steak placed very close to, but not touching, the heat source. In this case, the heat source is the broiler, which is usually the heat element on the inside roof of your oven.
4 Choose a Pan

A double-level broiler pan helps create a crust on the steak by holding the meat up and out of its juices as it cooks. If you don't have a broiler pan, you can use a rimmed baking sheet with a wire cooling rack placed on top. Adding an inch or so of water in the bottom of the broiler pan will prevent smoking by catching the hot grease.
Adjust your oven rack so that the top of the meat will be about five inches from the heat. Remember to account for the height of the pan plus the thickness of the steak when adjusting the rack level. Once the rack is set, preheat the broiler to its highest setting, with the broiler pan in the oven.
5 Season the Steak
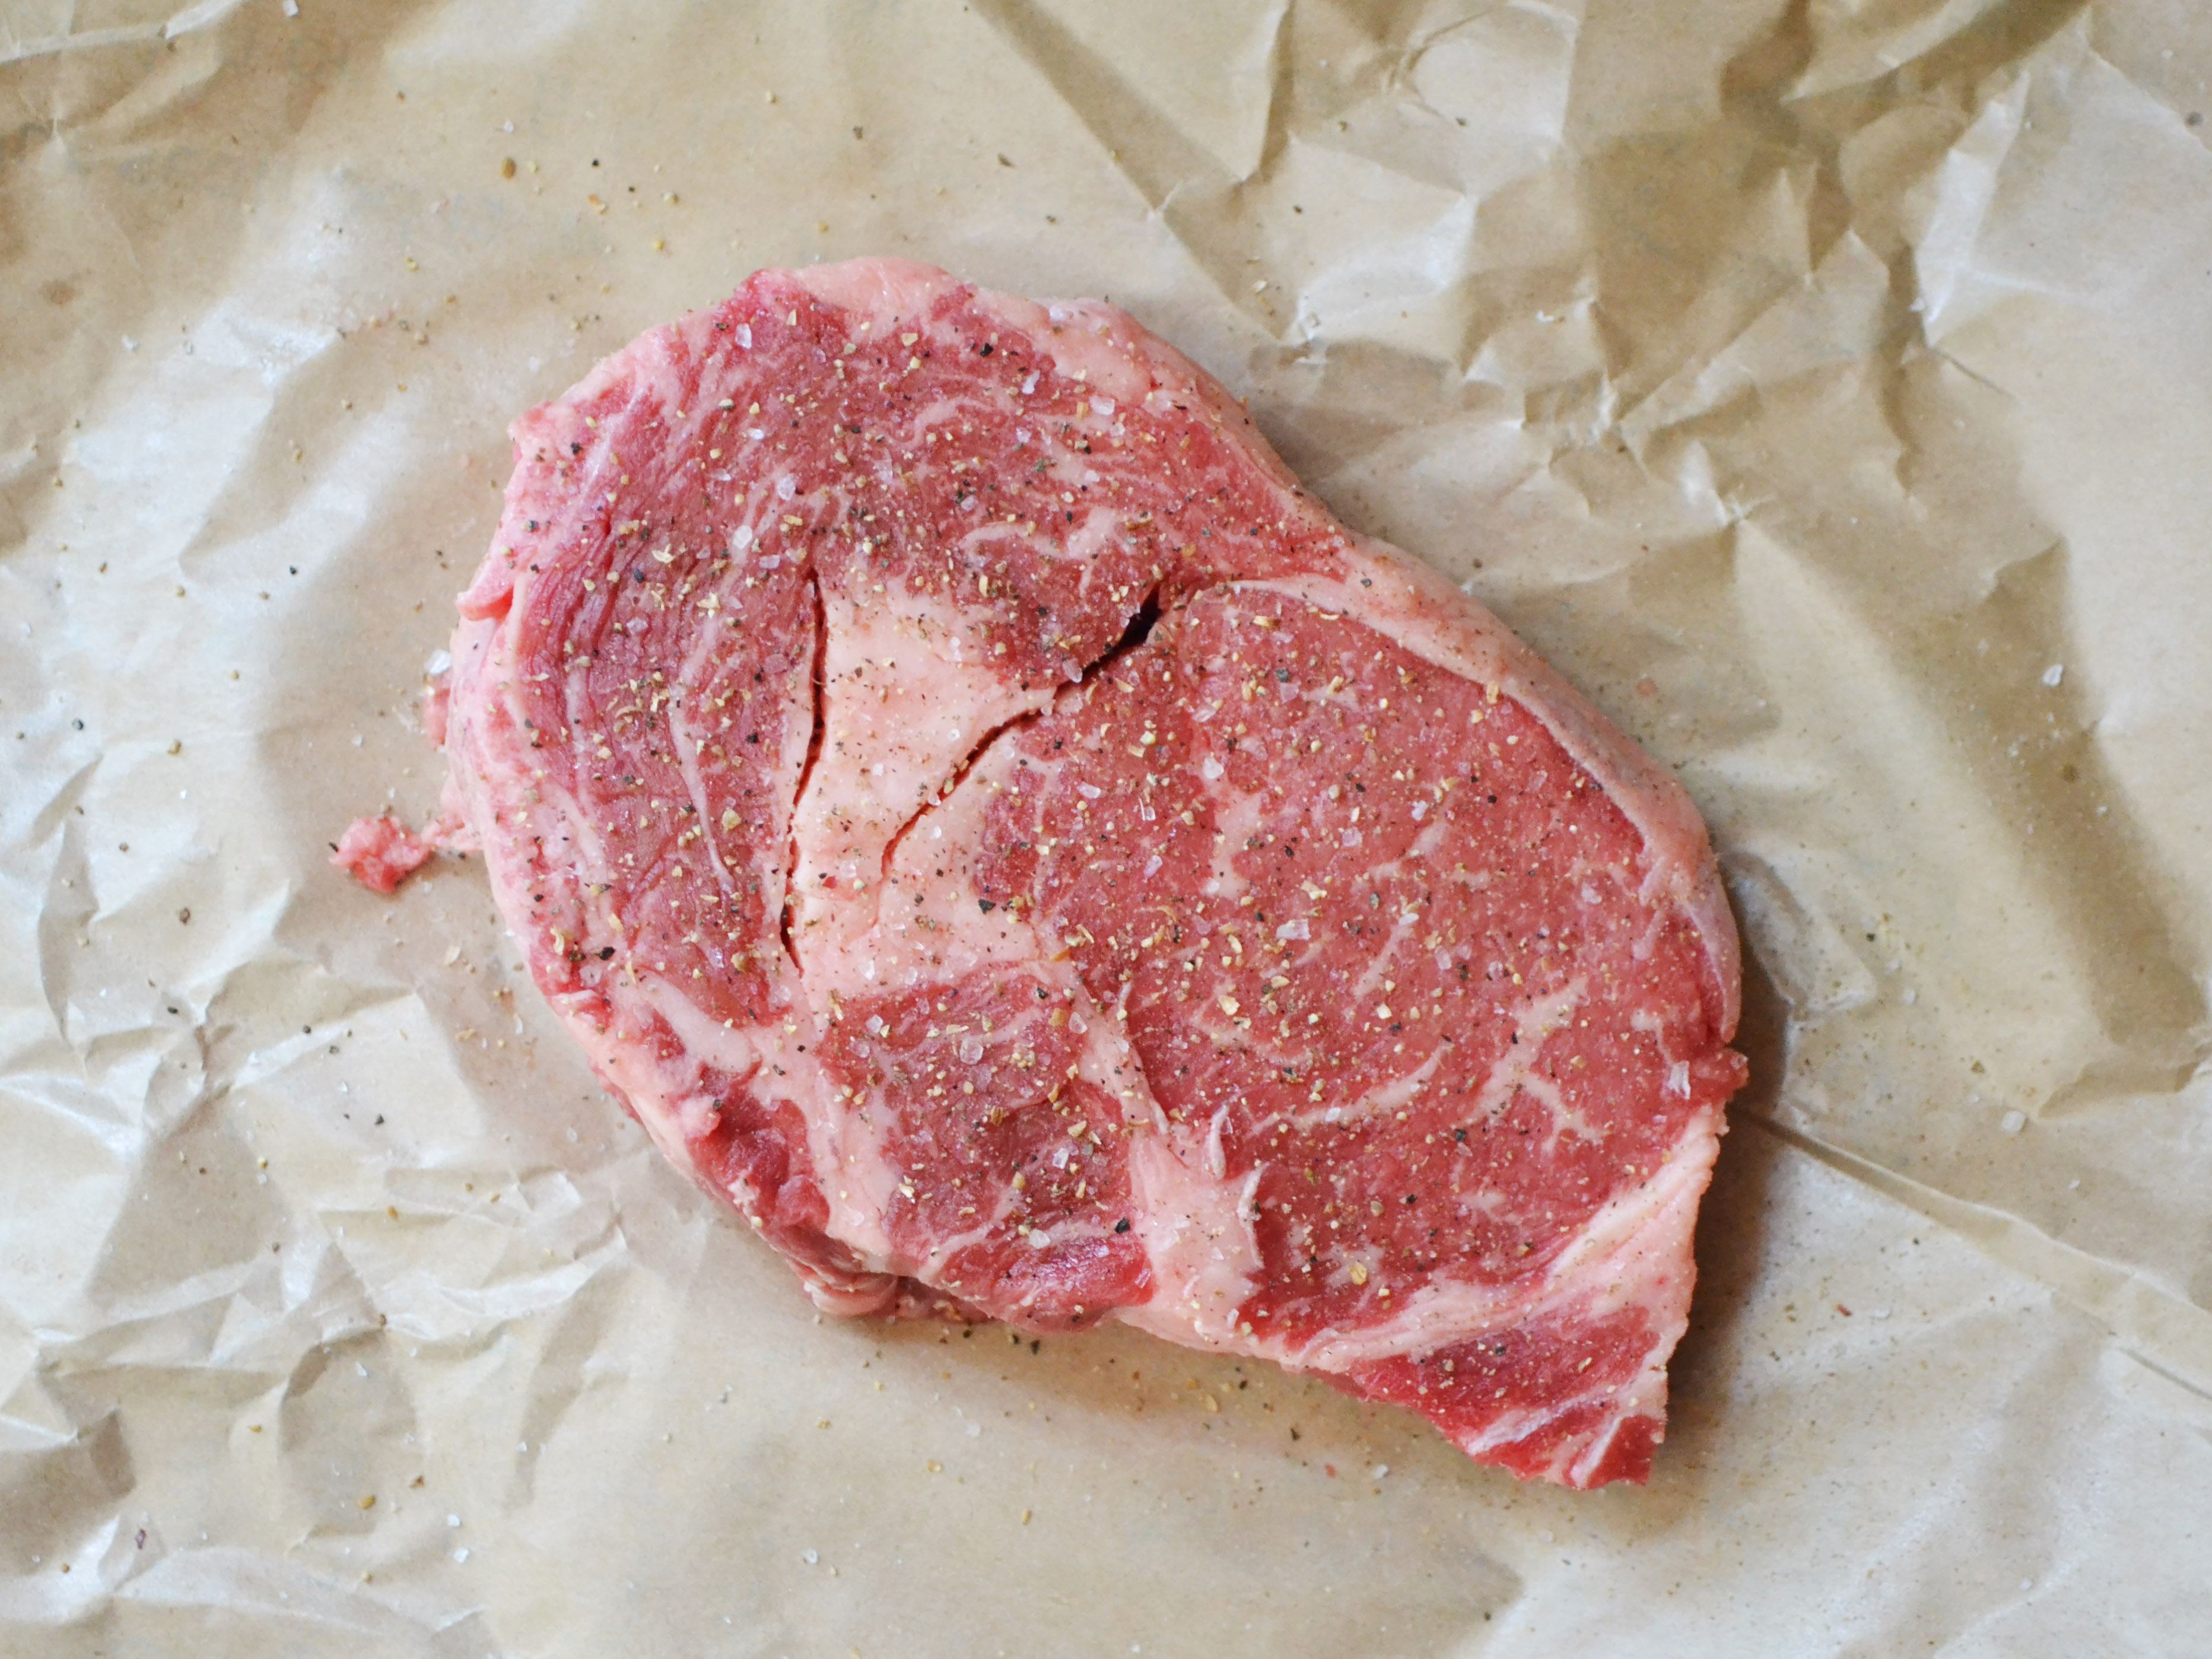
Just before placing the meat in the oven, season it with coarse sea salt and freshly cracked pepper. Wait until the last moment to season the steak, so that the salt doesn't draw moisture out and make the surface of the meat wet.
6 Broil the Steak

Once the broiler is fully heated, transfer the seasoned steak to the broiler pan. Cook the steak for five-to-10 minutes, depending on its thickness (five minutes for a one-inch steak, 10 minutes for a two-inch steak), then flip and cook for another five-to-10 minutes, on the second side.
The steak should be sizzling and have a nice deep brown crust forming on the outer edges. Once fully browned on both sides, transfer the steak to a cutting board to rest for five minutes before slicing.
7 Skillet or Grill Pan Method

Using a cast-iron skillet is a super-fast way to cook a steak, and thanks to the direct contact of meat to heat, it produces an incredible crust. The high heat and direct contact means you'll want to season the meat towards the end of cooking, rather than before, to prevent the pepper from burning. As always, make sure the meat is near room temperature and as dry as possible before cooking.
8 Preheat Your Pan
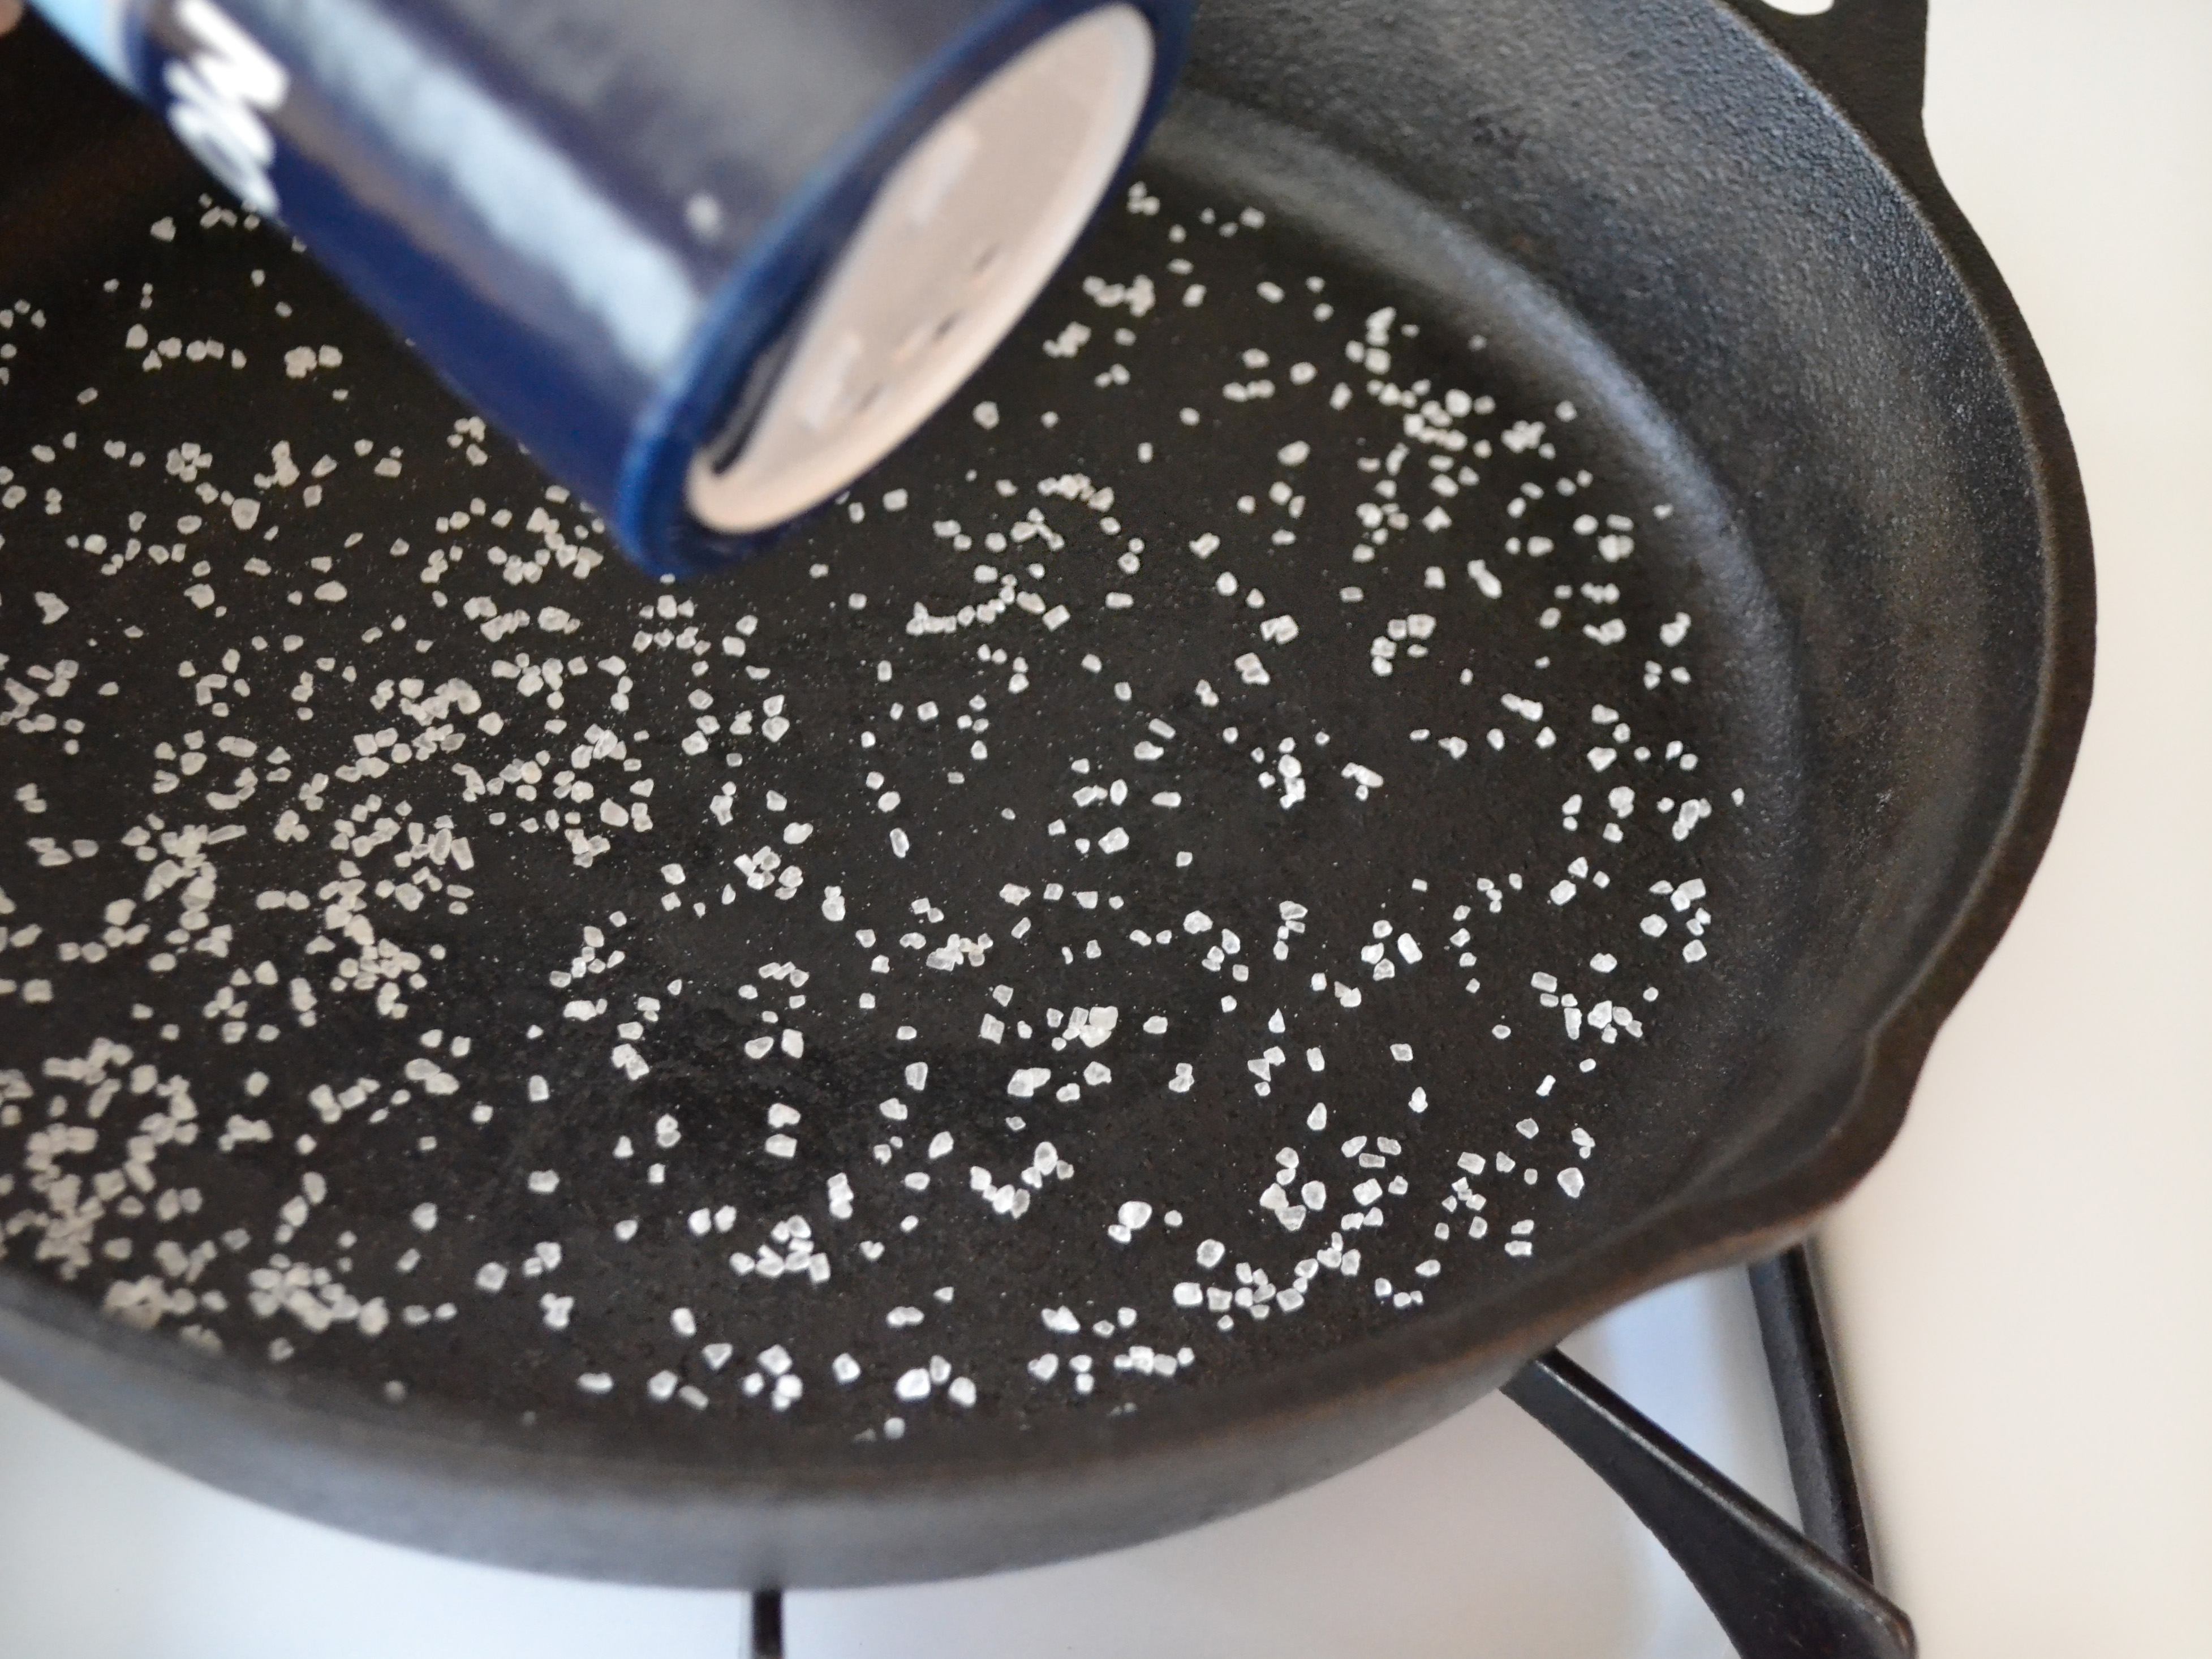
You want the skillet hot to simulate the high-heat temperatures achieved with an open flame grill. So start by preheating a cast iron skillet or cast iron grill pan over high heat for about ten minutes.
Because seasoned cast iron is naturally non-stick, you won't need to add any extra oil or butter to the skillet. Instead, give the skillet a good dose of coarse sea salt. Salting the skillet instead of the meat ensures that the meat's surface remains dry and can form an excellent crust on contact.
9 Place Steak on the Pan
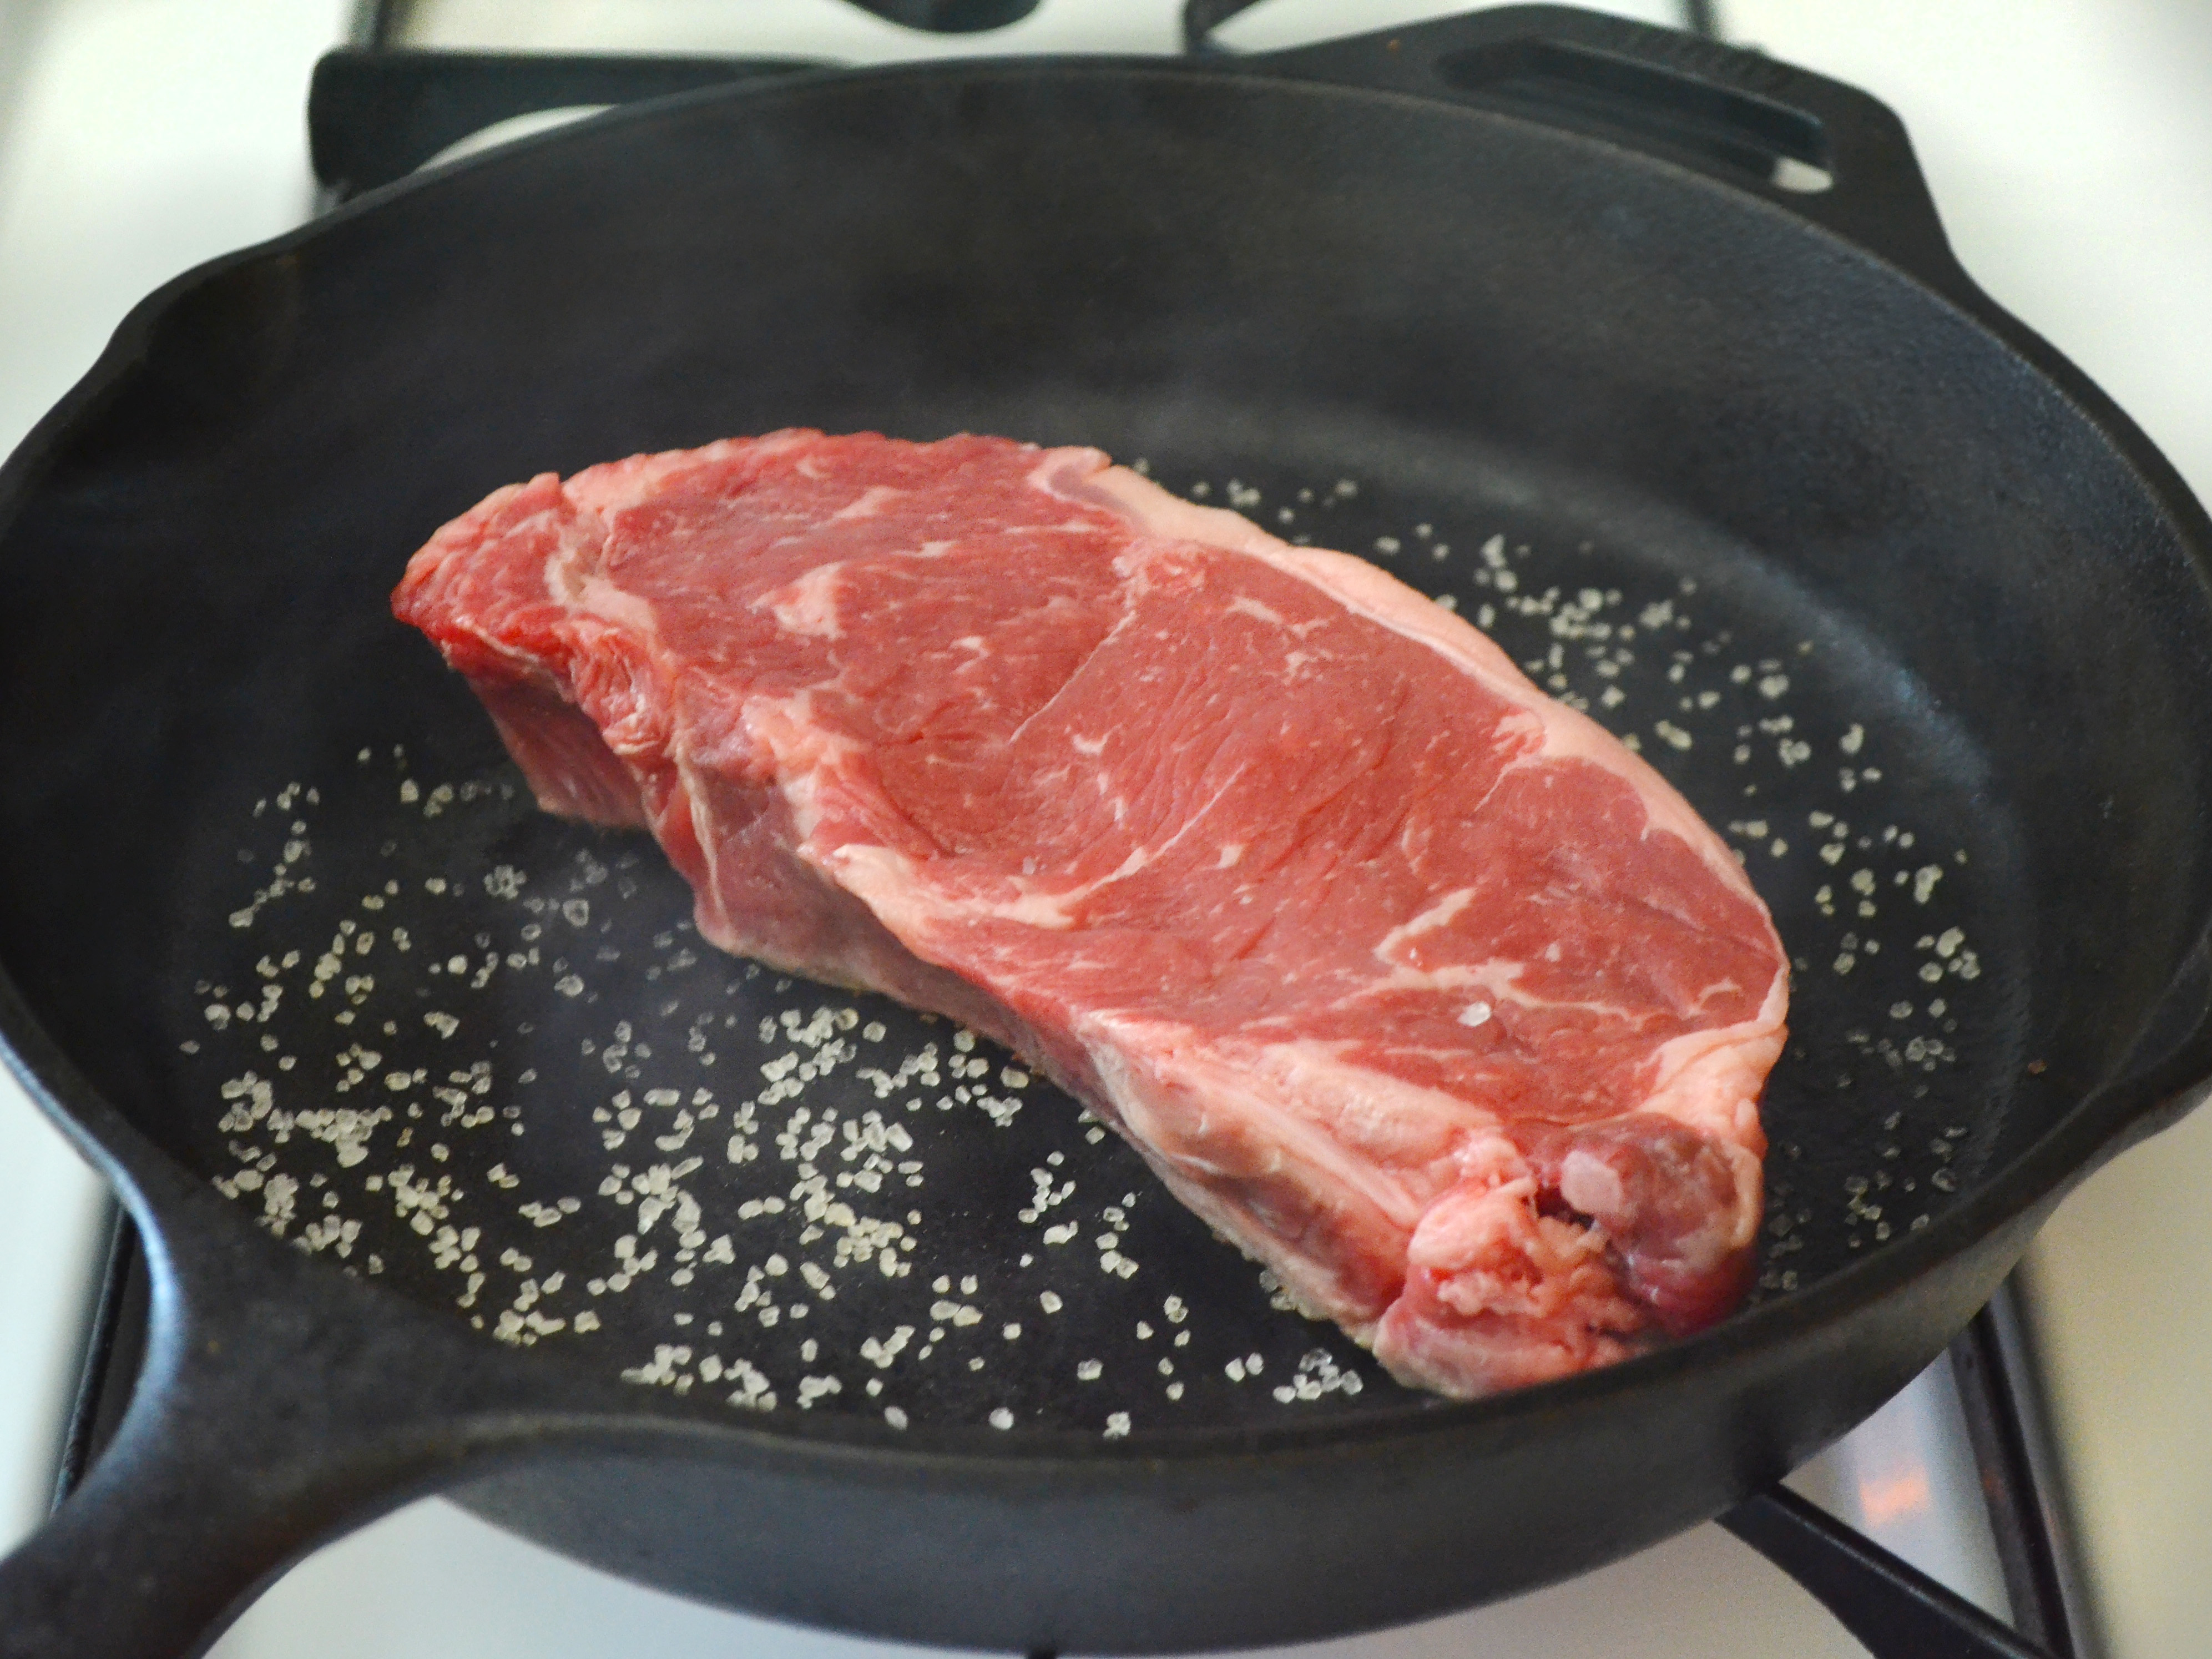
Once the skillet is extremely hot, lay the steak in the center and let it cook for about 60 seconds. This cooking method produces a lot of smoke, so make sure to have your exhaust running on its highest setting or windows open wide. But don't worry, the smoke means it's forming a crust.
10 Flip the Steak

After 60 seconds, flip the steak, mop up some of the extra salt and allow the steak to cook for 60 seconds on the other side. After a crust has formed on each side, flip the steak every 30 seconds until the steak is to your desired doneness.
For a medium-rare steak, the meat should only be in the skillet for about five minutes total, but this will depend on the size and thickness of your meat.
Season the steak with freshly ground pepper during the last minute in the skillet, then remove the steak from the skillet and allow it to rest for five minutes before slicing.
11 Grill Method

Grilling steak combines the best of the broiling and skillet methods, with both direct and indirect heat. The hot coals below provide indirect heat, while the hot iron grates provide direct heat for searing.
Make sure the grill is preheated to its highest level before beginning. Just as with the skillet method, the high heat may burn the pepper, so season the steak near the end of cooking. Add a pinch of salt to the well-dried steak just before laying it on the grill.
12 Cook the Steak

Lay the steak on the preheated grill and let it cook for about five minutes, or until it is charred on one side and the grill "releases" the steak – when the meat has a good sear, the meat will no longer stick to the grill. Flip the steak over and continue to cook until it is charred on the second side three-to-five minutes. Transfer the steak to a cutting board to rest for five minutes before slicing.
13 Finish to Your Desired Doneness

If you prefer your steak more medium than rare, you can move the meat to an area of lower heat after it is well seared. This can be the upper level on a grill or the outer edges of the main grill plate, which are not directly above the hot coals.
Continue to cook the steak with the lower indirect heat only until it reaches your desired level of doneness.
14 How to Tell the Steak is Done
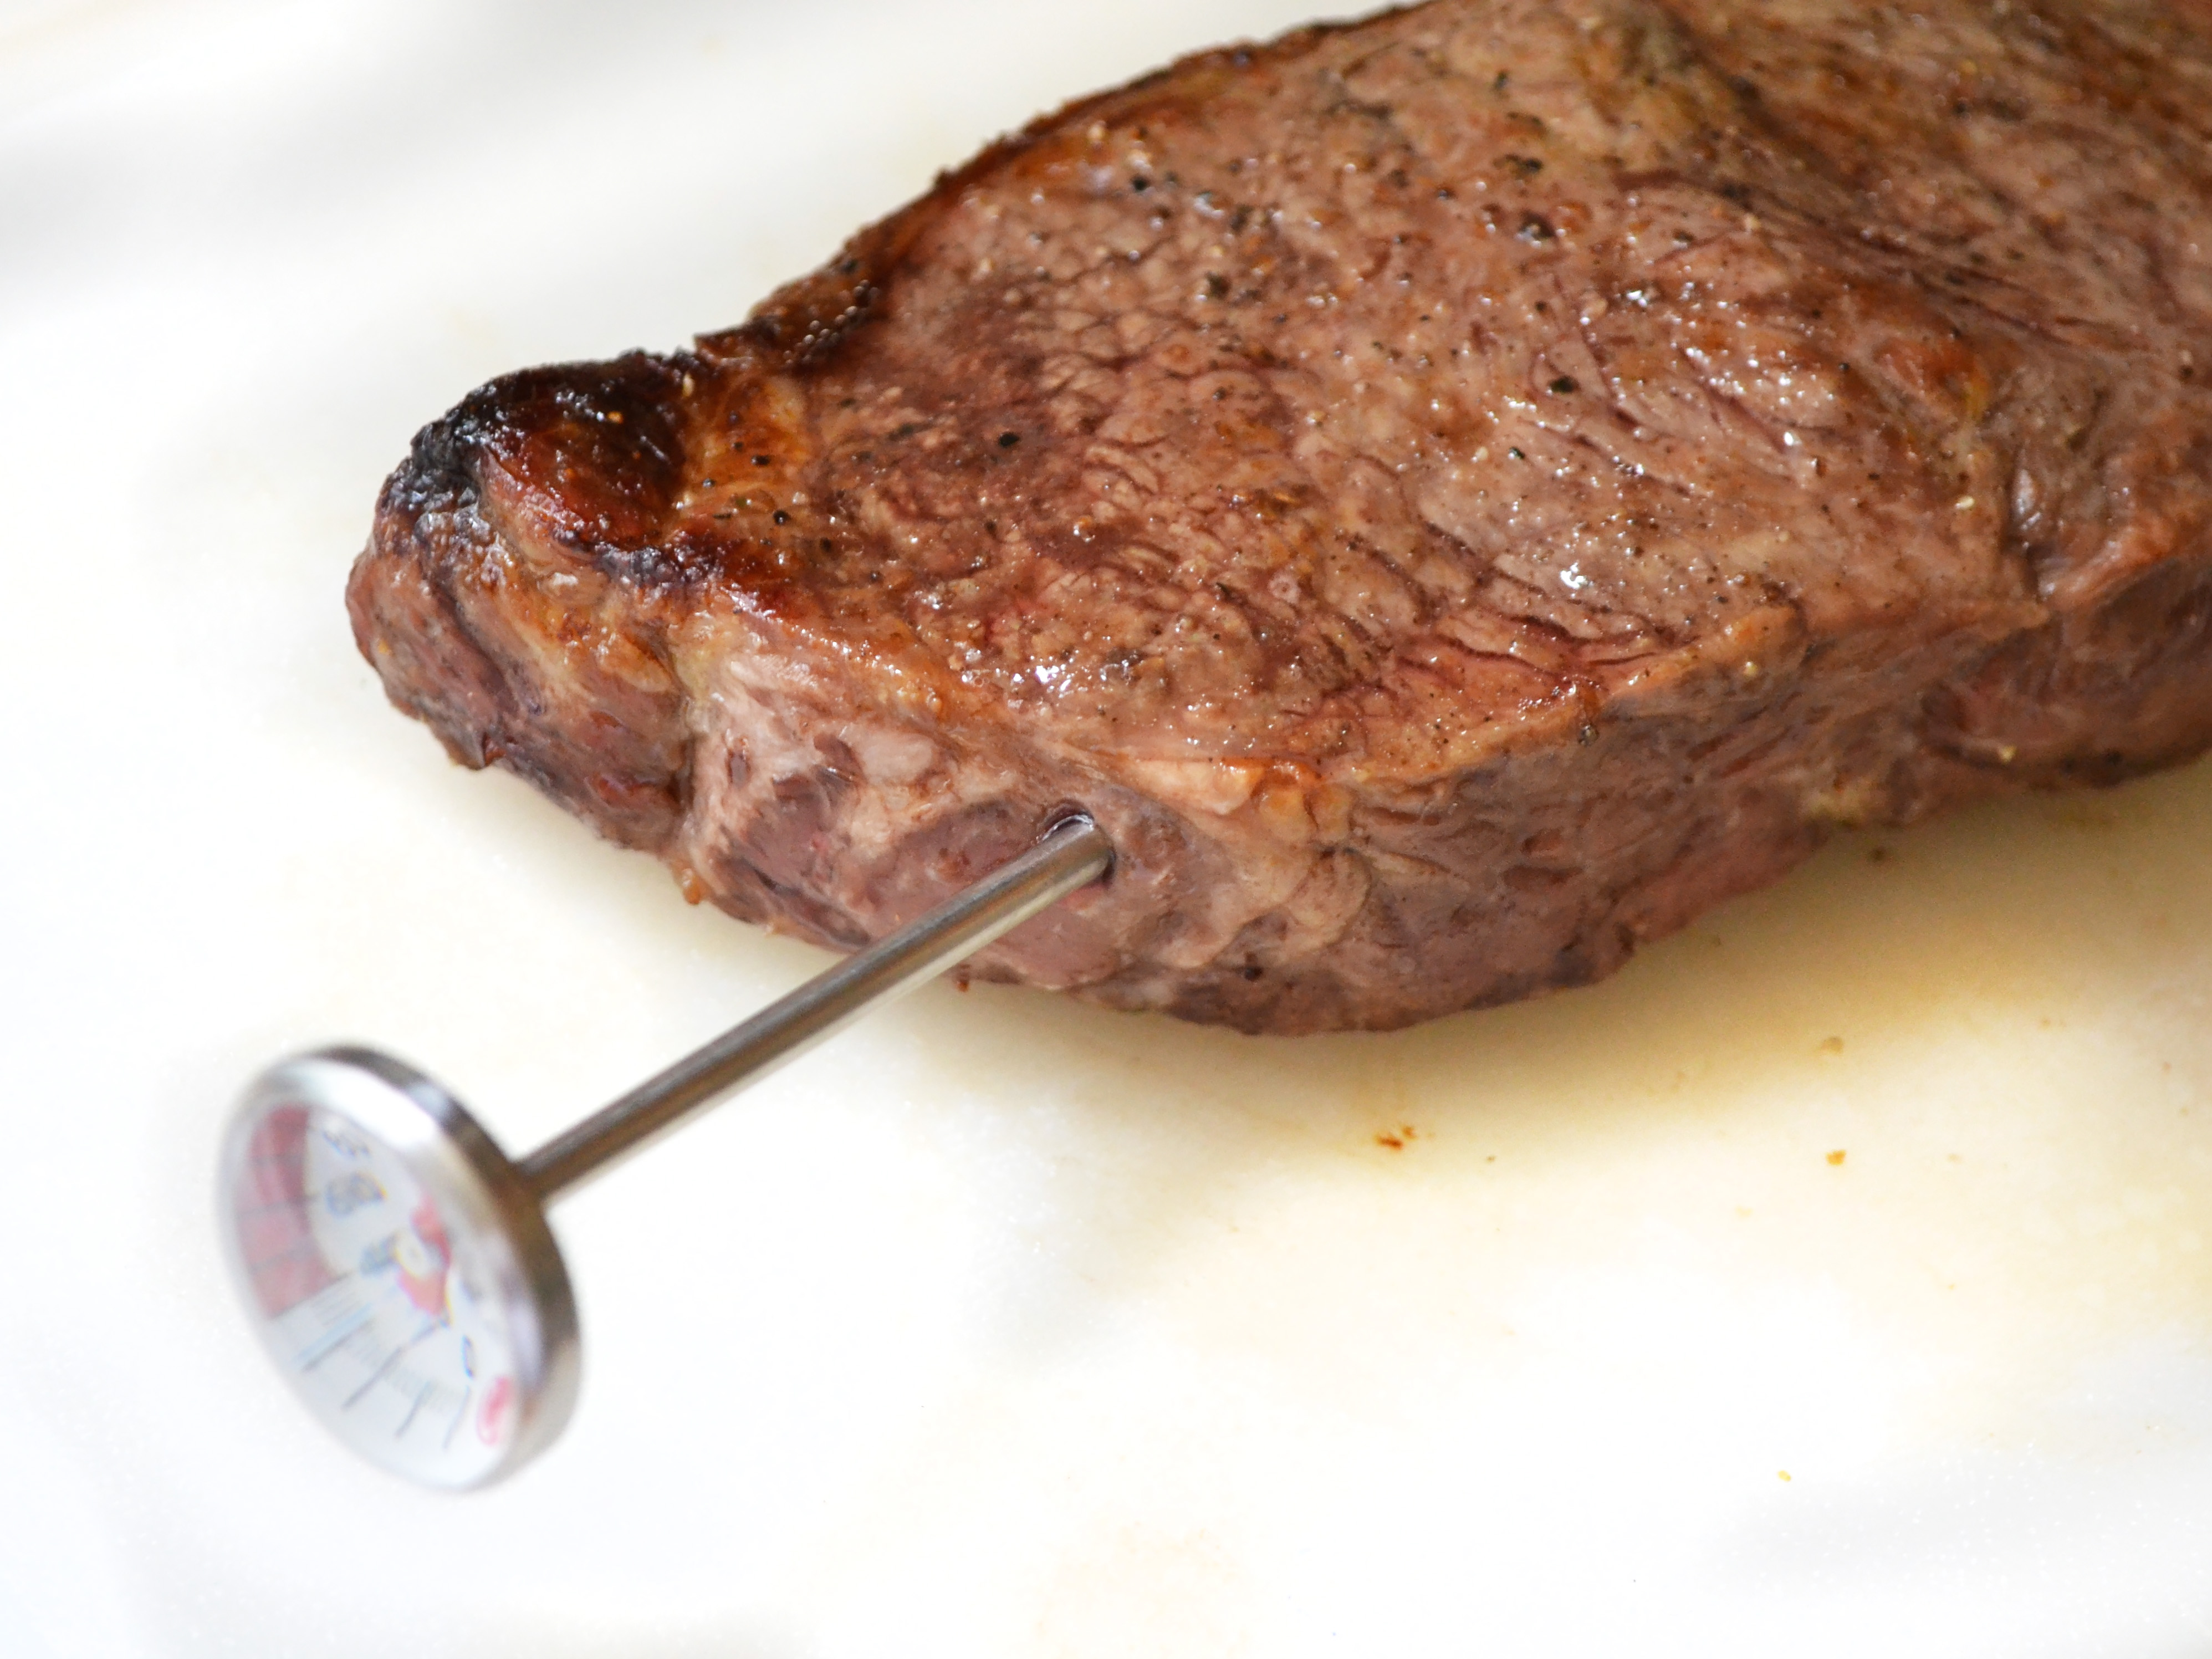
There are a couple method to determine if the steak has passed the point of no return. An instant read thermometer is the easiest option, although those can be pricy. Basic, non-electronic meat thermometers are less expensive, but they take a few moments to accurately read and the meat must be removed from the heat source before testing.
With either thermometer type, slide the pin in the side of the steak towards the center, rather than top down through the middle to get the most accurate read. A medium-rare steak will be about 130 degrees, 140 degrees for medium, and 160 degrees for well done. Remember, the steak will continue to rise in temperature after it is removed from the heat source, so take it off the heat about five degrees before the desired temperature has been reached.
If you don't have a thermometer, you can tell the “doneness” of the meat by its texture. Raw meat is soft and squishy, like the fleshy area on your hand between your thumb and forefinger when your hand is at rest. Meat that is cooked to medium is slightly firmer, like the fleshy part on your hand when making a loose fist. Well done meat is firm and tight like the fleshy part on your hand when making a tight fist.
If all else fails, slice the meat open and take a peak. It's better to lose a few juices to a small slice than to overcook and ruin the entire steak.
Want more? Watch this video for more steak tips and tricks!
Find more summer how-tos here »
Plus, Don't Miss:
• How to Make a Margarita »
• How to Cook Lobster »
• All our How-Tos »
