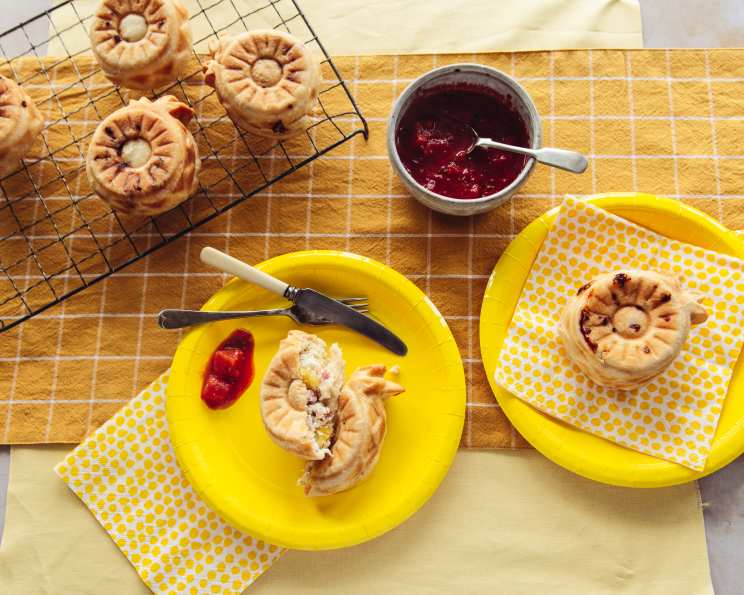
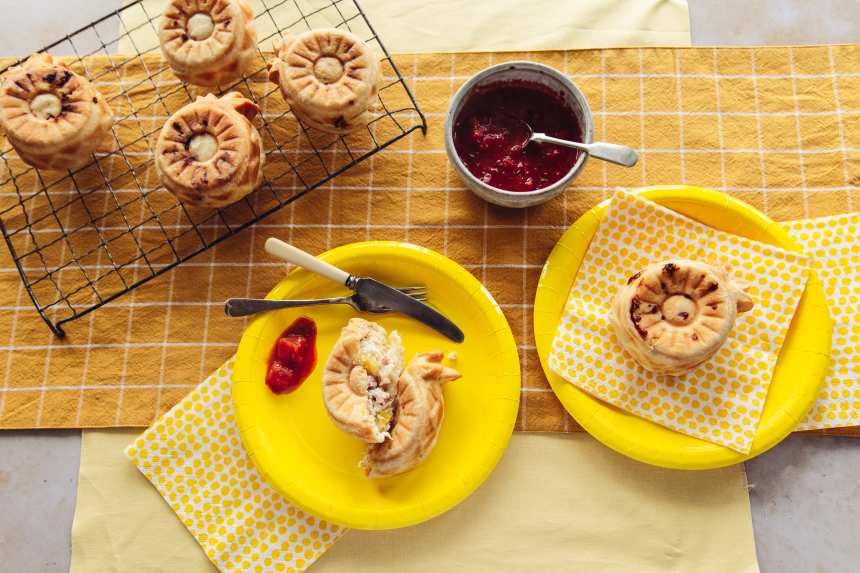
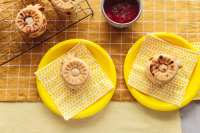
Hawaiian Pizza Pineapples
"Say aloha to an ingenious way to package a Hawaiian Pizza."


- Ready In:
- 50mins
- Ingredients:
- 8
- Serves:
-
6
ingredients
- 2 (14 ounce) cans refrigerated ready-to-bake pizza dough, OR 20 ounces homemade pizza dough
- 2 tablespoons vegetable oil, for the pan
- 1⁄2 cup ricotta cheese
- 2 teaspoons italian seasoning
- 1 cup cubed ham
- 1⁄2 cup well-drained pineapple, bits
- 1 cup shredded mozzarella cheese
- marinara sauce with scallion, for serving
directions
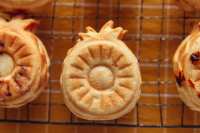
- Preheat the oven to 400 degrees F. Brush each cavity of the Wilton Pineapple Cake pan with vegetable oil, making sure you get into all the crevices.
- If using ready-to-bake pizza dough, unroll the dough from the cans. Cut each sheet of dough into 4 equal rectangles so you have 8 rectangles (you will only need 6 of these rectangles).
- If using homemade pizza dough, roll it out on a well-floured work surface until it’s 1/8 to 1/4-inch thick. Trim to make it an 18 x 18-inch square then cut that square into six 9 x 6-inch rectangles.
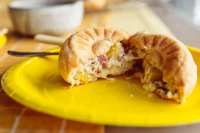
- Place one rectangle of dough into a cavity of the pan and gently press down so it lines it. Add a layer of ricotta cheese, then pineapple chunks, cubed ham, mozzarella cheese and a sprinkle of Italian seasoning on top. The cavity should only be about 1/3 to 1/2 full – the fillings should not come to the top as you need to allow space for the dough to rise when baked. Fold the edges of the dough rectangle over the filling, letting them overlap – trim any dough off that seems excessive. Press firmly to seal.
- Repeat this to fill all of the cavities of the pan.
- Bake for 15-20 minutes until the pizza dough is starting to brown on top.
-
Tools:
- https://www.nordicware.com/catalog/product/view/id/2359/s/pineapple-upside-down-mini-cake-pan/.
Questions & Replies

-
 I just tried to make these with the Nordic Ware bunny pan. They rose way too much and the dough that was inside the pan did not brown at all, so the design is barely visible. 1. How thin did you roll out the dough? 2. Did you use an oil or grease on the pan? 3. Did you fill the pan to the top of the well or did you leave some space for it to rise? I did use a homemade dough recipe, so it could be the store bought one is more suited for this, but please elaborate with the directions. I'd really like to get these o produce pretty results. Thanks!
Reviews
-
where did you get the mold?
-
 I thought this was such a fun way to make pizza pockets! The design of the cake pan really added so much to such a simple recipe. It was great how easy to assemble these were. I made sure the homemade pizza dough I was using was rolled nice and thin, plus I trimmed away excess dough as much as possible, to make sure they didn’t become monstrously big when baked!
 -
You definitely need a very thinly rolled out dough. My first run with homemade dough came out wrong, but tonight I tried making them with the skull pan and store bought sheet dough and they look great. I had a couple leak but that was my own fault. Definitely worth a try for anyone who wants a bunch of pizza pockets for the fridge, freezer or just to eat for dinner.
Tweaks
-
I used the skull pan.
RECIPE SUBMITTED BY
Food.com
United States
Hungry for good food AND great conversation? Food.com boasts a smorgasbord of over 500,000 recipes and a community-inspired activity feed that allows our users to add reviews, tweaks, questions and photos to their favorite recipes. Grab a plate and join the fun!