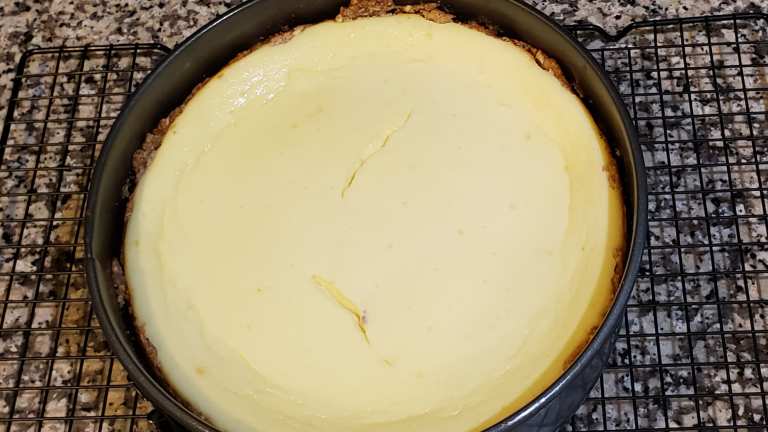
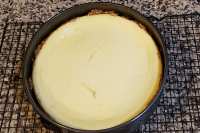
Keto Cheesecake

"New York Style cheesecake that's keto friendly"
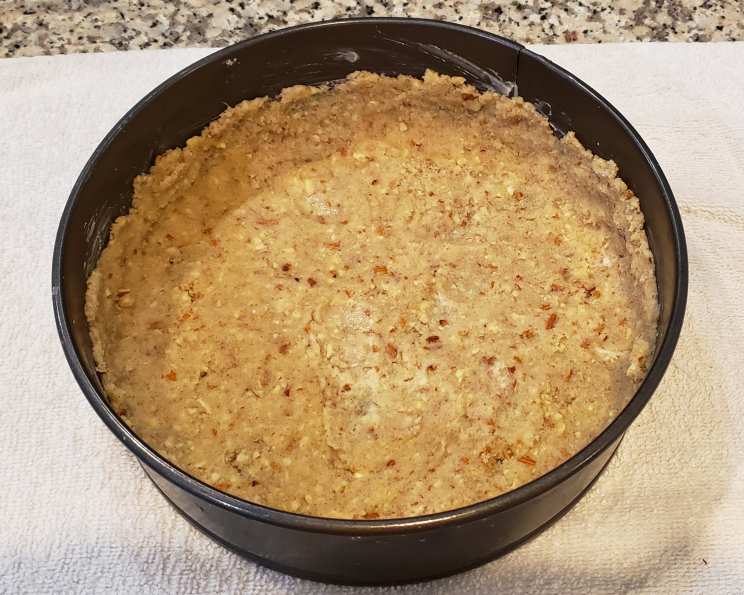
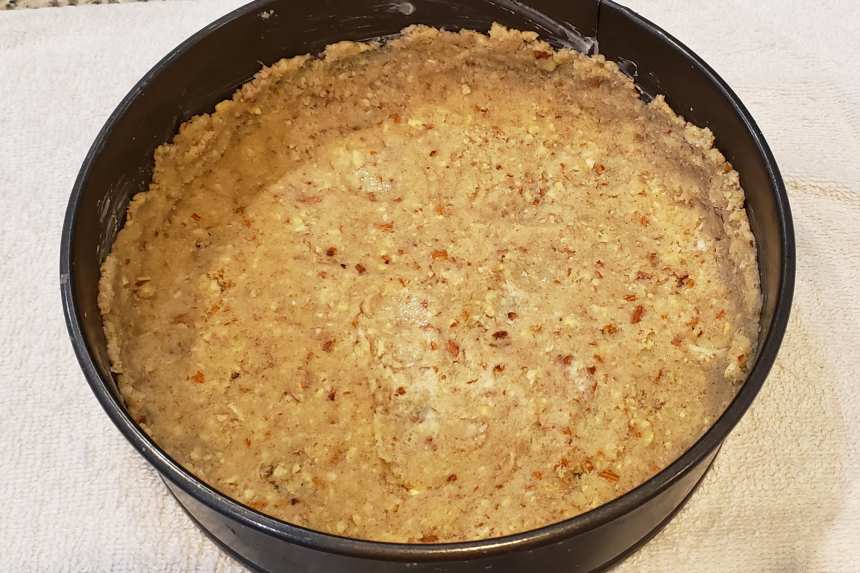
photo by Jim S.


- Ready In:
- 1hr 45mins
- Ingredients:
- 7
- Yields:
-
12 Slices
- Serves:
- 12
ingredients
- 24 ounces cream cheese
- 5 tablespoons unsalted butter
- 1 cup Splenda sugar substitute
- 3 large eggs
- 3⁄4 cup sour cream
- 2 teaspoons lemon zest
- 1 1⁄2 teaspoons vanilla extract
directions
- 1. Preheat the oven to 300F and generously grease a 9-inch springform pan. Cut a circle of parchment to fit the bottom the pan and grease the paper. Wrap 2 pieces of aluminum foil around the outside of the pan to cover the bottom and most of the way up the sides.
- 2. In a large bowl, beat the cream cheese and butter until smooth, then beat in the sweetener until well combined. Add the eggs, once at a time, beating after each addition. Clean the beaters and scrape down the sides of the bowl as needed.
- 3. Add the sour cream, lemon zest, and vanilla extract and beat until the batter is smooth and well combined. Pour into the prepared springform pan and smooth the top.
- 4. Set the pan inside a roasting pan large enough to prevent the sides from touching. Place the roasting pan in the oven and carefully pour boiling water into the roasting pan until it reaches halfway up the sides of the springform pan.
- 5. Bake 70 to 90 minutes, until the cheesecake is mostly set but still jiggles just a little in the center when shaken. Remove the roasting pan from the one, then carefully remove the springform pan from the water bath. Let cool to room temperature.
- 6. Run a sharp knife around the edges of the cake to loosen, the release the sides of the pan. Refrigerate for at least 4 hours before serving.
Questions & Replies

Got a question?
Share it with the community!
Reviews
Have any thoughts about this recipe?
Share it with the community!
Tweaks
-
 Added keto crust: 1 cup almond flour 1/2 cup finely crushed unsalted almonds 1/4 cup monk fruit sweetener 6 table spoons softened butter 1 teaspoon cinnamon Press into 9 inch spring form pan and half way up the sides
 -