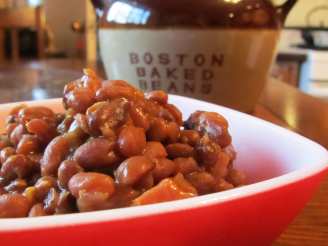
Almost Boston Baked Beans

"Not strictly traditional but close and very tasty. Dried beans, even the same kind of bean, can vary quite a bit in cooking time so start this one early. It only gets better with time. Adapted from Fine Cooking magazine."
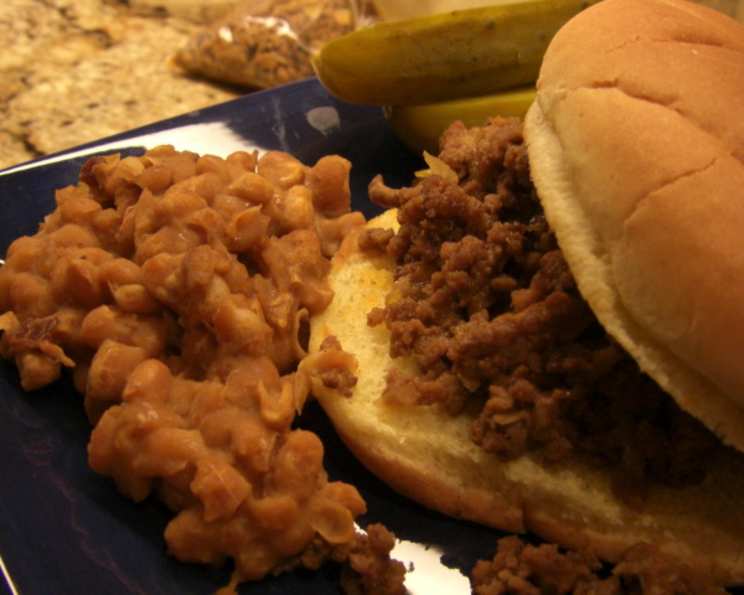
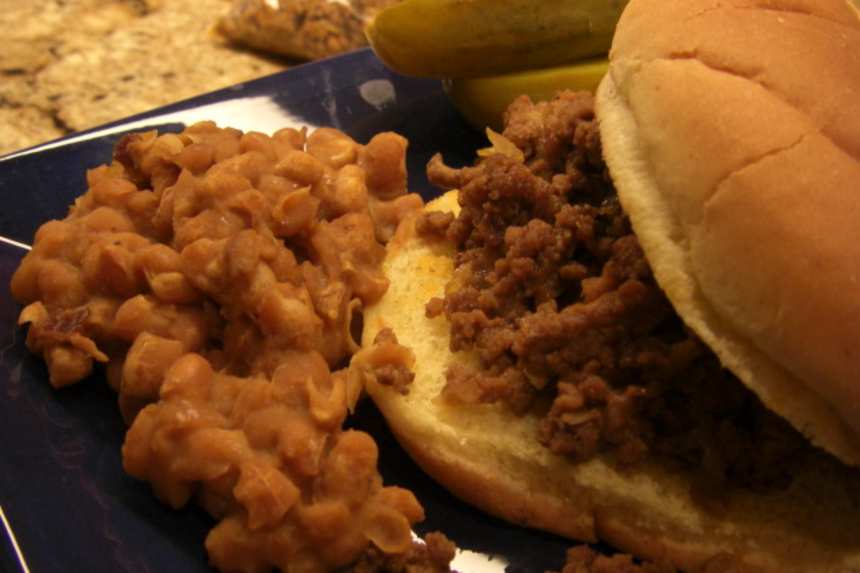
photo by puppitypup

- Ready In:
- 4hrs
- Ingredients:
- 13
- Yields:
-
7 cups
- Serves:
- 7
ingredients
- 1 lb dried white pea beans (other beans may be substituted but increase cooking time)
- 4 ounces bacon, diced
- 1 medium white onion, diced
- 1 tablespoon garlic, minced
- 4 -5 cups water (start with 4)
- 2 tablespoons molasses (not blackstrap)
- 2 tablespoons maple syrup
- 3 tablespoons chili sauce, such as Heinz (or ketchup)
- 2 tablespoons Dijon mustard
- 1 tablespoon Worcestershire sauce
- black pepper, freshly ground to taste
- 1⁄2 teaspoon kosher salt (to taste)
- 1 teaspoon apple cider vinegar
directions
- Wash and pick through the beans.
- Place in a large pot, cover with a few inches of water and bring to a boil. Boil hard for 2 minutes, remove from heat and let sit covered for 1 hour.
- Drain in a colander and rinse and dry pot to use again.
- Heat pot over medium heat and add bacon, cooking to almost crisp. You may remove most of the rendered fat but I like to leave it in for the flavour.
- Add onions and saute for 3 minutes, then add garlic and saute a couple more minutes until both are softening but not brown.
- Add 4 cups of the water, the molasses, syrup, chile sauce, mustard, worcestershire and pepper. Bring to a boil.
- IMPORTANT: do not add any salt or the vinegar. These must be added at the very end or the beans may not soften.
- Add drained beans, bring to a boil again and then place in a large casserole dish or roaster and cover.
- Bake at 350 degrees for 15 minutes, then reduce heat to 300 degrees. Check after 2 hours for doneness and for liquid level, then every half hour after that. If beans are not done but liquid is almost gone add a small amount of water. Don't add too much especially toward the end.
- When beans are very soft carefully stir in the vinegar and salt to taste. Let rest 20 minutes before serving.
- I like to transfer these to a crockpot when they are almost all soft and keep on low for a few hours, checking now and then.
Questions & Replies

Got a question?
Share it with the community!
Reviews
-
 We really liked these, but would have liked them even better with a little more flavor. I used a full teaspoon of salt. On the plus side, the texture of the beans is just perfect and I didn't need any additional water. I started with an oven proof dutch oven so I didn't have to switch pots and after they were done, I left them in the oven on warm (170 degrees) for two hours 'til dinner time. I will make these again, increasing the sauce amounts. Thanks for posting Cookin-Jo. Made for Comfort Food Tag in the Photo Forum, please see my rating system.
 -
 I really enjoyed the taste of this! I used veggie bacon and I must admit, did not follow the recipe exactly. After bringing to a boil, I loaded it all into the crockpot and cooked it about 6 hours. I made a terrible mistake and accidentally added salt! So I did cook it longer than probably necessary. Anyway, the beans did get soft and I even like this cold! Thank you!
 -
 We really enjoyed these beans. They are much like my Yankee grandmother used to make. I baked them in her bean pot which had not been used in many, many years. I only used 4 cups of water and could have probably used a bit less as I like my beans thicker. Wonderful flavor!! Thanks for sharing.
RECIPE SUBMITTED BY

I was born in a small Canadian prairie town but was raised in the city. Country living appeals to me more and more and now I think I have the best of both worlds, living just outside the city but within a 30 minute drive from downtown.
I enjoy the wildlife I see out my kitchen window and my vegetable and flower gardens in the summer. And I love cooking with the produce from my garden, although there always seems to be too much at once. Learning to can became a necessity with all those beautiful vegetables and I now really enjoy making pickles, relish, salsa, jams and whatever else strikes my fancy.
I have 2 teenage sons and cooking to suit everyone's taste is always a challenge. Recipezaar has certainly made life easier in that regard, with so many great recipes to choose from.
<img src="http://i23.photobucket.com/albums/b399/susied214/projects/pacbanner.jpg" border="0" alt="Photo Sharing and Video Hosting at Photobucket"> <img src="http://i23.photobucket.com/albums/b399/susied214/projects/200_PACpic.jpg" border="0" alt="Photo Sharing and Video Hosting at Photobucket">
<img src="http://i42.photobucket.com/albums/e347/Saturn6666/KiwiDutch/3chefstag1.jpg">
<img src="http://i21.photobucket.com/albums/b280/carolinamoon21/TasteofYellow.jpg">
<img src="http://i21.photobucket.com/albums/b280/carolinamoon21/Derfcookathon.jpg">
<img src="http://i23.photobucket.com/albums/b399/susied214/permanent%20collection/smPACp.jpg" border="0" alt="Photo Sharing and Video Hosting at Photobucket"> <img src="http://i23.photobucket.com/albums/b399/susied214/permanent%20collection/Adopted1smp.jpg" border="0" alt="Photo Sharing and Video Hosting at Photobucket">
<img src="http://i21.photobucket.com/albums/b280/carolinamoon21/personal/FRENCH-foodfun.jpg">
<img src="http://www.recipezaar.com/members/home/1956/holidaylightssticker.jpg">
<img src="http://i21.photobucket.com/albums/b280/carolinamoon21/Ingredients/Other/photo-swap-7sticky.jpg">
<img src="http://www.recipezaar.com/members/home/1956/SoupsandsaladSTICKER.jpg">
<img src="http://www.recipezaar.com/members/home/1956/PotLuckSTICKER.jpg">
<img src="http://www.recipezaar.com/members/home/237330/CameraLesschef-STICKER.jpg">
<img src="http://www.recipezaar.com/members/home/237330/TEXMEXstickr.jpg">
<img src="http://i151.photobucket.com/albums/s124/Cookin-jo/banners%20and%20stickers/piggysticker.jpg">